Using Slic3r with the FlashForge Creator Family of 3D Printers
June 08, 2023
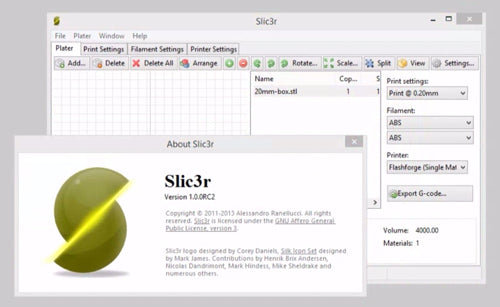
My setup:
- Flashforge Creator and Creator X (dual extruder models)
- Sailfish firmware v7.6
- Windows 8.1
- Slic3r v1.1.7
Setting Up Slic3r for a Flashforge Creator, Creator X, or Creator Pro

Custom G-Code (Single Material Prints - Right Extruder)
In summary:
- Slic3r's default g-code wasn't setting temperatures properly for my machine. This g-code uses the proper M-commands for the FlashForge and utilizes the Slic3r variables to fill in the temperatures you have set for the first layer.
- Note the use of the "" variable. I couldn't find this documented or addressed anywhere, but I tried something and got lucky. The variable seen in all the documentation and the Slic3r .ini files is "", but on my dual extruder printer, that was returning two numbers separated by a comma. So the resulting g-code would be M104 S225, 225 T0 (which doesn't compute). On a whim, I decided to try "" and found that yes, this will return just the value for the first extruder (and "" is for the second extruder).
- The default Start g-code used a simple purge routine to extrude some plastic in a corner of the build plate before starting the job. I found that sometimes, especially if there was some oozing plastic already hanging on the extruder nozzle, the blob of plastic created by this initial purge routine would get caught on the nozzle and would then get dragged along, interfering with the first layer of the print. I greatly prefered Makerware's approach, which extrudes a thin line of plastic along the front edge of the build plate before starting a job. It has a tendency to wipe off any oozing plastic that was already on the nozzle so you get a nice clean start to each print. I analyzed some g-code from Makerware and incorporated the appropriate bits here, with some modifications (i.e. it uses Slic3r's "" variable.)
Custom G-Code (Single Material Prints - Left Extruder)
Custom G-Code (Dual Material Prints)
In summary:
- Same use of temperature variables as discussed previously. Note the use of both "" and "" for the first and second extruders, respectively. These temperatures are determined by the material you're using, as defined in the Filament profiles within Slic3r.
- The same improved purge routine discussed above but modified so that it is repeated for each extruder. The second extruder uses a Y value that's +1, so it lays the filament down right next to the filament from the first extruder.
- Tool changes for dual extrusion prints weren't working for me. When I looked at Slic3r's g-code, I found that it was using "M108 T0" or "M108 T1" to change extruders. Looking at g-code from ReplicatorG/Skeinforge, I saw that the Makerbot type printers seem to be looking for a simple "T0" or "T1" and don't seem to recognize the M108 commands. Using the above "Tool-Change G-Code" takes care of this issue by inserting the appropriate commands before each tool change. The M108 commands are still in the g-code, but they just get ignored by the printer.
Converting from G-Code to .X3G Using GPX as a Slic3r Post-Processor
Closing Comments
Written By Jeremy Simon

There is so much happening in 3D printing right now! There is an enormous global community driving development, aided by each others’ efforts thanks to the Internet....
Related Articles
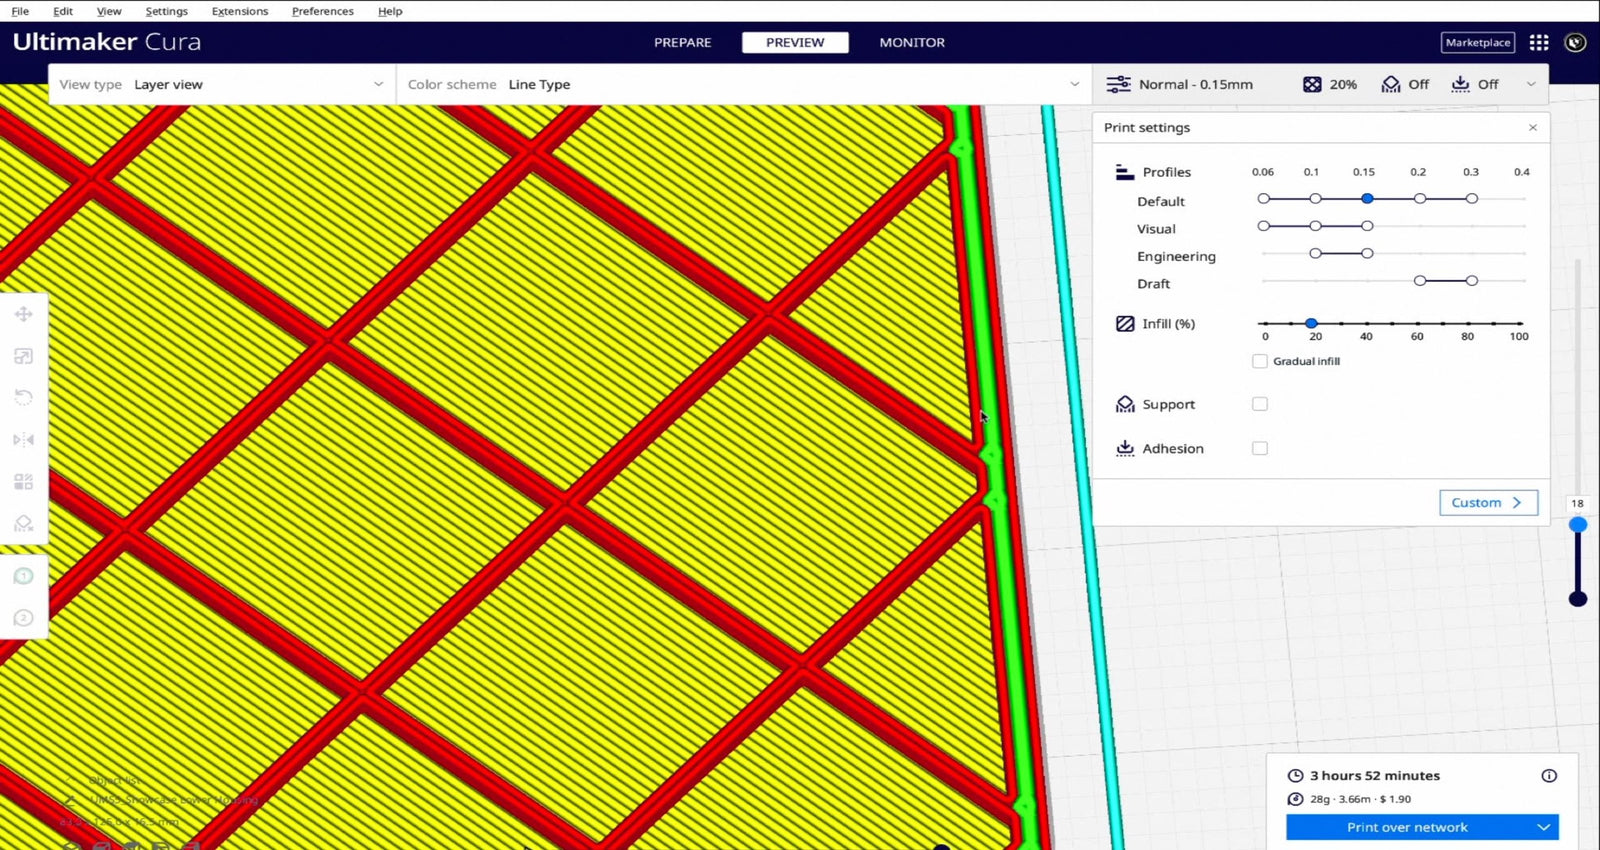
UltiMaker Cura v5.6.0 Adds Support for Method Series Printers and Prime Tower Improvements
Nov 16, 2023
The world's most popular slicing software keeps getting better! With the latest version of UltiMaker... More
UltiMaker Cura 5.5 beta Introduces Significant Print Speed Improvements and Powerful New Plugins
Oct 13, 2023
UltiMaker just released UltiMaker Cura 5.5 (currently in beta), and the primary focus has been... More

Introducing Polar3D Cloud, the #1 Cloud-Based 3D Printing Platform in the World
Nov 30, 2022
We are excited to introduce you to Polar3D, a software company offering the Polar Cloud,... More
Ultimaker Cura 5.0 is Here!
Apr 27, 2022
It's here! Ultimaker Cura 5.0 is finally here! This exciting release introduces an entirely new... More
CURA Deep Dive Tour | Video with Jeremy Simon
Jun 10, 2020
During our “3D Printing in the Workplace and STEM Education” free virtual conference in April,... More

Ultimaker Cura Adaptive Layers Tutorial
Apr 06, 2018
How to use Ultimaker Cura Adaptive Layers to Reduce Print Time Without Sacrificing Quality In... More
Search All Articles
Latest Posts From Slicing Software
-

UltiMaker Cura v5.6.0 Adds Support for Method Series Printers and Prime Tower Improvements
-

UltiMaker Cura 5.5 beta Introduces Significant Print Speed Improvements and Powerful New Plugins
-

Introducing Polar3D Cloud, the #1 Cloud-Based 3D Printing Platform in the World
-

Ultimaker Cura 5.0 is Here!
-

CURA Deep Dive Tour | Video with Jeremy Simon
All Blog Categories
-
3D Universe Untethered Video Podcast Series
-
Digital Fabrication in Education
-
Digital Fabrication Projects
-
Digital Fabrication Tutorials, Tips, and Tricks
-
Slicing Software
-
3D Printing Materials
-
Case Studies
-
Digital Fabrication Products
-
3D Forming (Vacuum Forming & Pressure Forming)
-
Laser Cutters
-
Digital Fabrication in the Workplace
-
3D Printed Prosthetics and Assistive Technology
-
3D Modeling (CAD)
-
Digital Fabrication in the News


