We Built a Pair of Ultimaker 2 3D Printers
June 08, 2023
NOTE: this post was written by Aleks Jones, co-founder of 3D Universe. Until now, he's been working behind-the-scenes doing all the programming and design work for the online store.
Last week, we went on a 3D Universe field trip, this time to Memphis, Tennessee. Jeremy and I took a 550-mile journey to visit Ultimaker's United States-based partner, Fbrc8. They are the folks responsible for the assembly and distribution of Ultimaker 2's in the United States.
At 3D Universe, our whole philosophy is that we use the actual products we sell. It's an easy value proposition to own up to: we get to tinker and play with 3D printing technology for a living. What's not to like about that?
One of our favorite 3D printers to play with is the Ultimaker 2. It's an easy product to like. We knew that if we were going to sell them, we wanted to be able to provide the best support possible. With Ultimaker committed to growing into the United States market, we needed to go no further than Memphis, Tennessee to get the training needed.
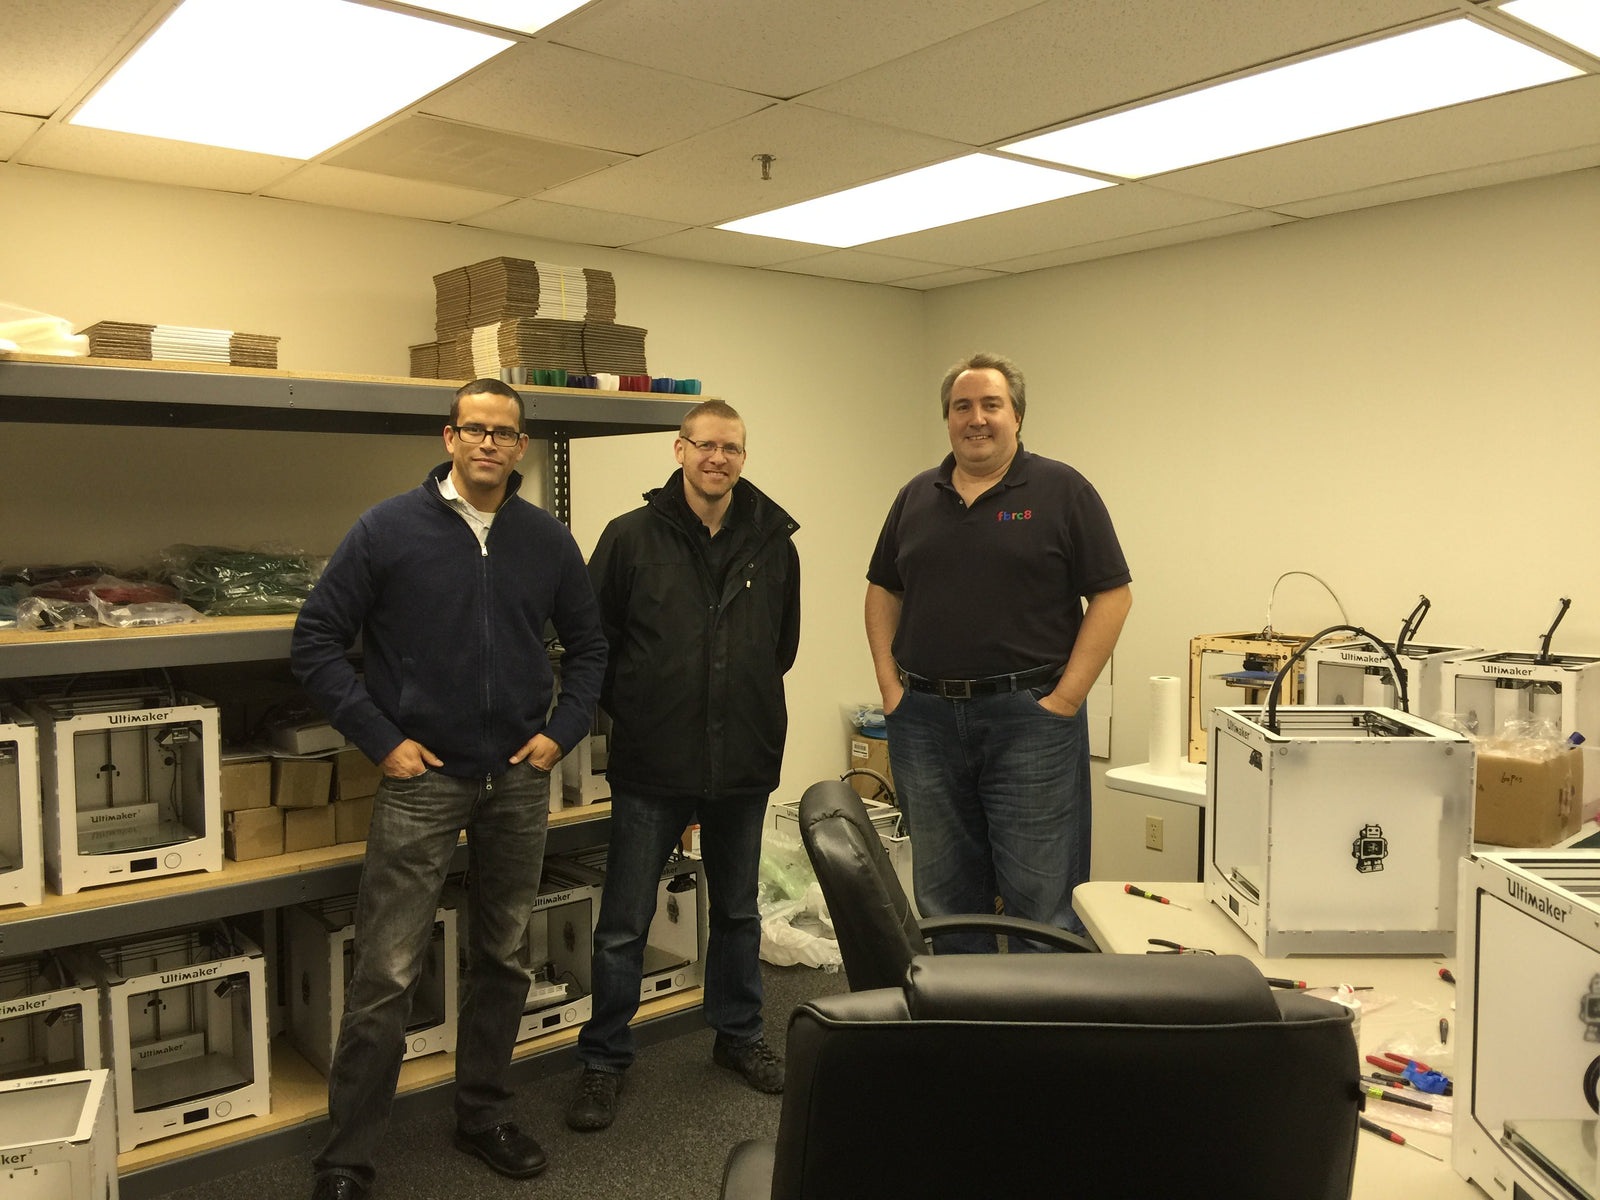
We were excited about getting to spend an entire day with Simon Oliver, owner of Fbrc8. What we didn't know is that we were each going to get to build a brand new Ultimaker 2 from the ground up. Talk about getting some serious hands-on training!
Simon is a highly respected moderator known as “Illuminarti” on the Ultimaker forums. There are few people who have spent more time than Simon working with Ultimaker 3D printers. We couldn't have asked for a better instructor!
We spent the morning going through some basic support issues and getting oriented. After lunch, we plunged head-first into building our two Ultimaker 2 3D printers.
We started with two empty Ultimaker 2 cases and by the end of the day, we had two fully functional printers built. This was a pretty surreal experience!

We started here. 
Simon Oliver, our instructor. 
I'm assembling a hot end. 
The fully assembled hot ends, prior to installation 
Jeremy is connecting the Bowden tube. 
My test print.
The master and his newly initiated apprentices near the end of the day. In the right side of the photo, you can see our two completely assembled Ultimaker 2's sitting on the table.

We started with two empty cases, installed all the major and minor components, including the main circuit board, the hot end assembly and the backbone wiring. The result was two fully assembled Ultimaker 2's. And a pretty proud pair of tech geeks!
After lubricating the appropriate moving parts, we ran our first test prints. I watched as the nozzle emitted the first layer of plain-white PLA, then the next, and so on… until the entire 1 mm-tall test square was completed.
Eventually, I was holding the 3D print from a machine which I had built with my own hands, in no small way with the benefit of Simon's expert instruction! In the long course of my career, this stands as one of those subtly defining moments that I'm sure I'll fondly remember, decades from now.
Interested in the Ultimaker line of 3D printers? Check out our selection HERE.
Learn how to upgrade your Ultimaker 2 to and Ultimaker 2+ HERE.
More 3D Universe blog posts:
Check out our review of Simplify3D HERE…
Check out my post titled “Man Compares His $50 3D Printed Hand to His $42K Prosthesis” HERE…
Related Articles
Seton Hall Prep Students Make 3D Printed Ocean Drifter to Monitor Currents with NOAA
Aug 17, 2023
David Snyder is a teacher at Seton Hall Prep, an all-boys school located in New Jersey.... More
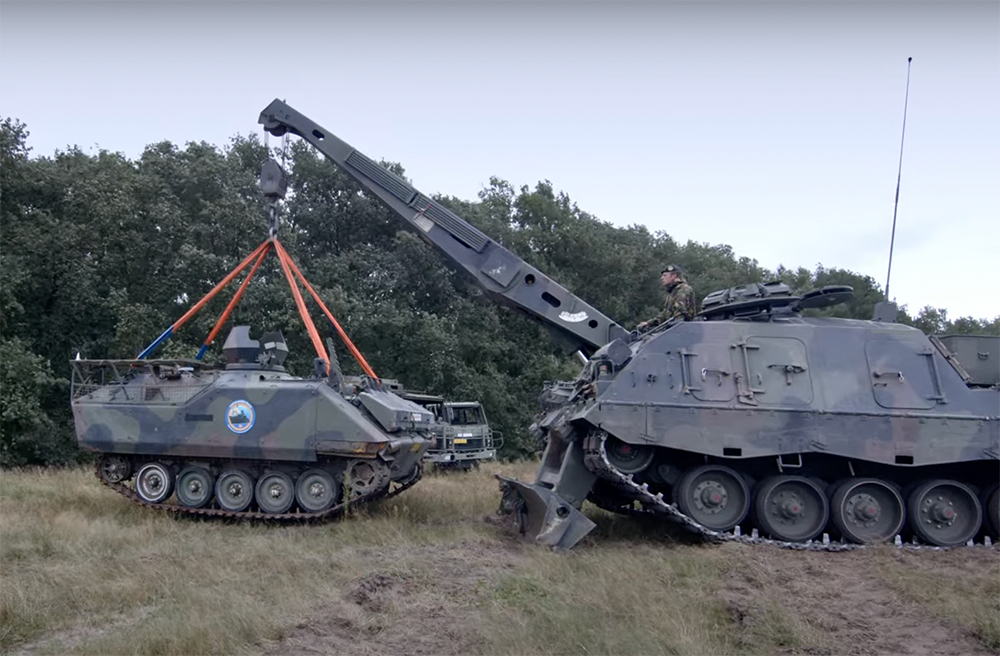
12-Tonne Tank Lifted with 3D Printed Parts
Nov 03, 2022
Recently, engineers from Ultimaker, Covestro, and the Royal Dutch Navy came together to answer the... More

Talking Additive: Jason Enders of RE Suspension, Inc. introduced by Jeremy Simon, 3D Universe
Aug 26, 2022
In the first episode of Ultimaker's Talking Additive Season 4, they sit down with our... More
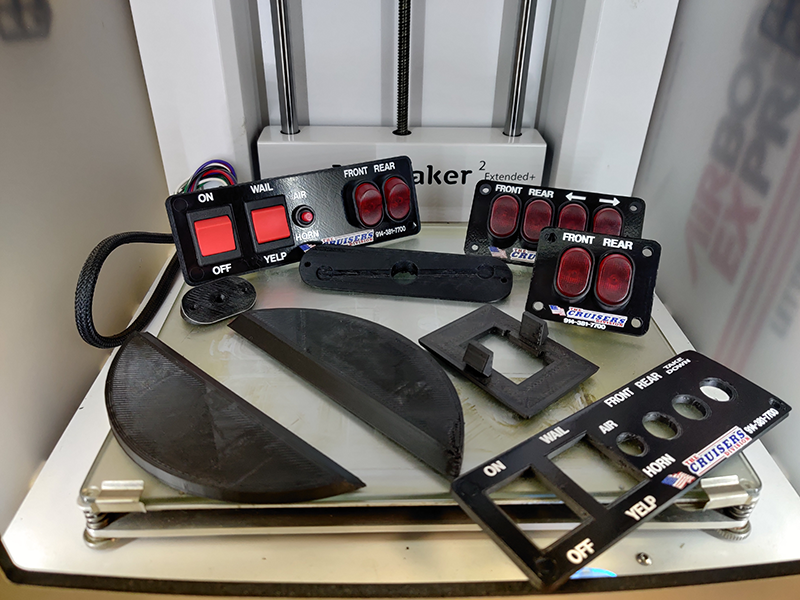
3D Printing for Emergency and Police Vehicles | Customer Spotlight
Jul 28, 2020
In this week's Customer Spotlight, we hear from emergency and police vehicles upfitter, R&D engineer,... More
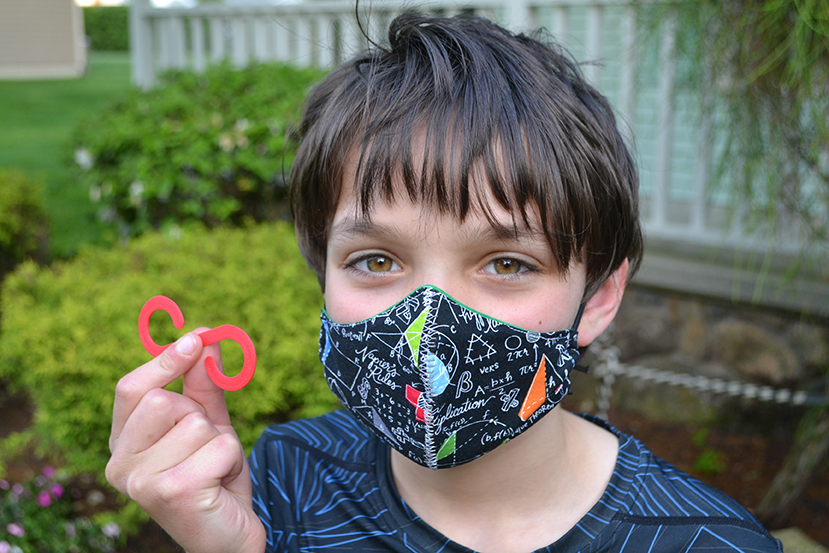
10 Year Old Ryan Golditch Making 3D Printed PPE | Customer Spotlight
Jun 04, 2020
We are excited to share our first 3D Universe Customer Spotlight feature on 10-year-old Ryan... More
Customer Spotlight | 3D Printing Artist Jesse Mesa Toves
Jan 03, 2020
Over the holidays, we threw out a challenge for you to share your favorite Star... More
Search All Articles
Latest Posts From Case Studies
-

Seton Hall Prep Students Make 3D Printed Ocean Drifter to Monitor Currents with NOAA
-

12-Tonne Tank Lifted with 3D Printed Parts
-

Talking Additive: Jason Enders of RE Suspension, Inc. introduced by Jeremy Simon, 3D Universe
-

3D Printing for Emergency and Police Vehicles | Customer Spotlight
-

10 Year Old Ryan Golditch Making 3D Printed PPE | Customer Spotlight
All Blog Categories
-
3D Universe Untethered Video Podcast Series
-
Digital Fabrication in Education
-
Digital Fabrication Projects
-
Digital Fabrication Tutorials, Tips, and Tricks
-
Slicing Software
-
3D Printing Materials
-
Case Studies
-
Digital Fabrication Products
-
3D Forming (Vacuum Forming & Pressure Forming)
-
Laser Cutters
-
Digital Fabrication in the Workplace
-
3D Printed Prosthetics and Assistive Technology
-
3D Modeling (CAD)
-
Digital Fabrication in the News


