Soap Making on the Mayku FormBox with "The Traveling Dork"
June 08, 2023

As the Creative Director for 3D Universe, I spend my workdays blogging and sharing about cool new 3D printers, laser cutters, vacuum formers, and all kinds of interesting filaments. In my free time, however, I have been working on my own fun project to build out my Dodge Grand Caravan into a minivan camper for my very own “Traveling Dork” van life adventures!
Over the past year, I have been teaching myself how to create things on my Ultimaker S3 and now that I have my very own Mayku FormBox, I am learning how to use them together to create something new!
I have a few plans for some epic road trips this summer and decided that the first thing I wanted to make was a bar of soap with my very own “Traveling Dork” logo on it to take with me for showering at campgrounds as I wander through the Pacific Northwest! I thought it would be a fun, first project to try and it gave me the opportunity to use 3D printing and vacuum forming together to build my final product.
Making My Soap Form With My Ultimaker S3

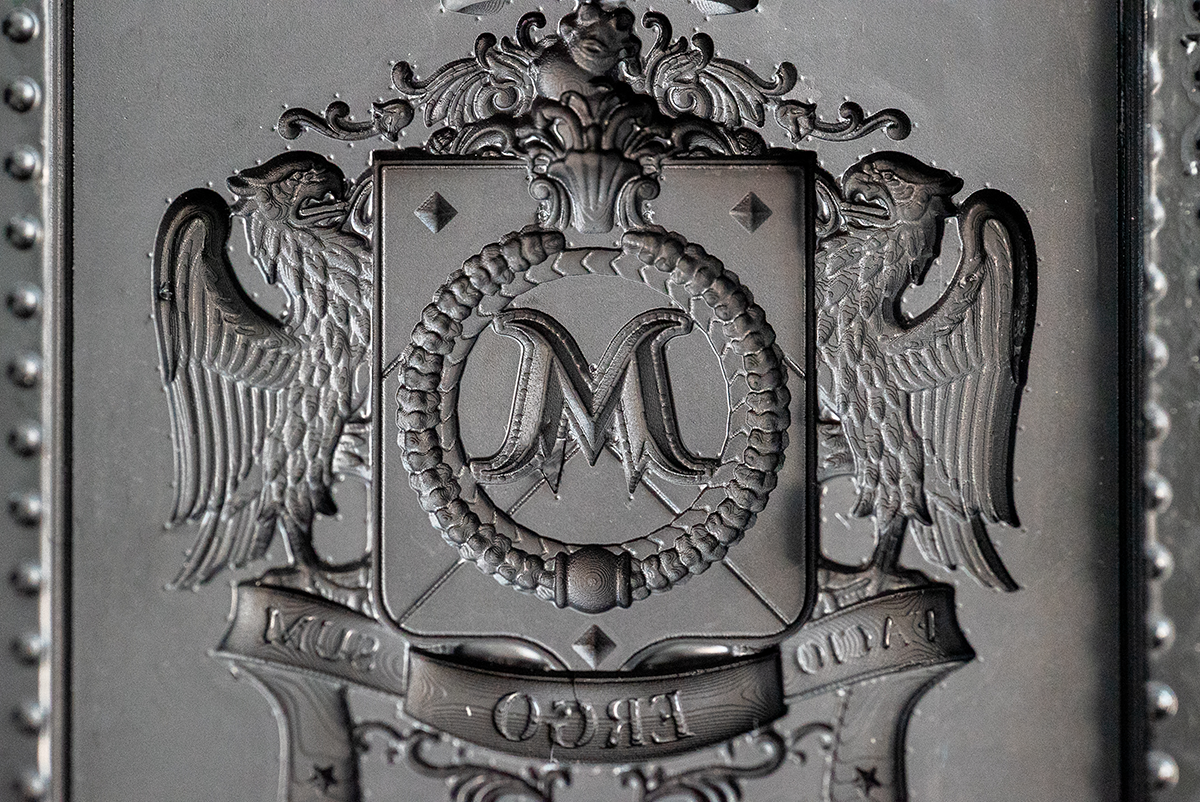
For this project, we turned my Traveling Dork logo into a 3D printable file to use to create the mold for my soaps. Once designed, I printed it out on my Ultimaker S3 in a basic disc shape to easily vacuum form it on the Mayku FormBox. I had to skip the text for this but kept the rest of the design.

When using an intricate design on the Mayku FormBox, sometimes you have to make sure you have holes in the form in various locations to allow the vacuum to suck the air out around the design properly. This logo design had a lot of detail in some areas so we had to have multiple small holes in the 3D print to ensure that it would form properly when the vacuum former kicked on.

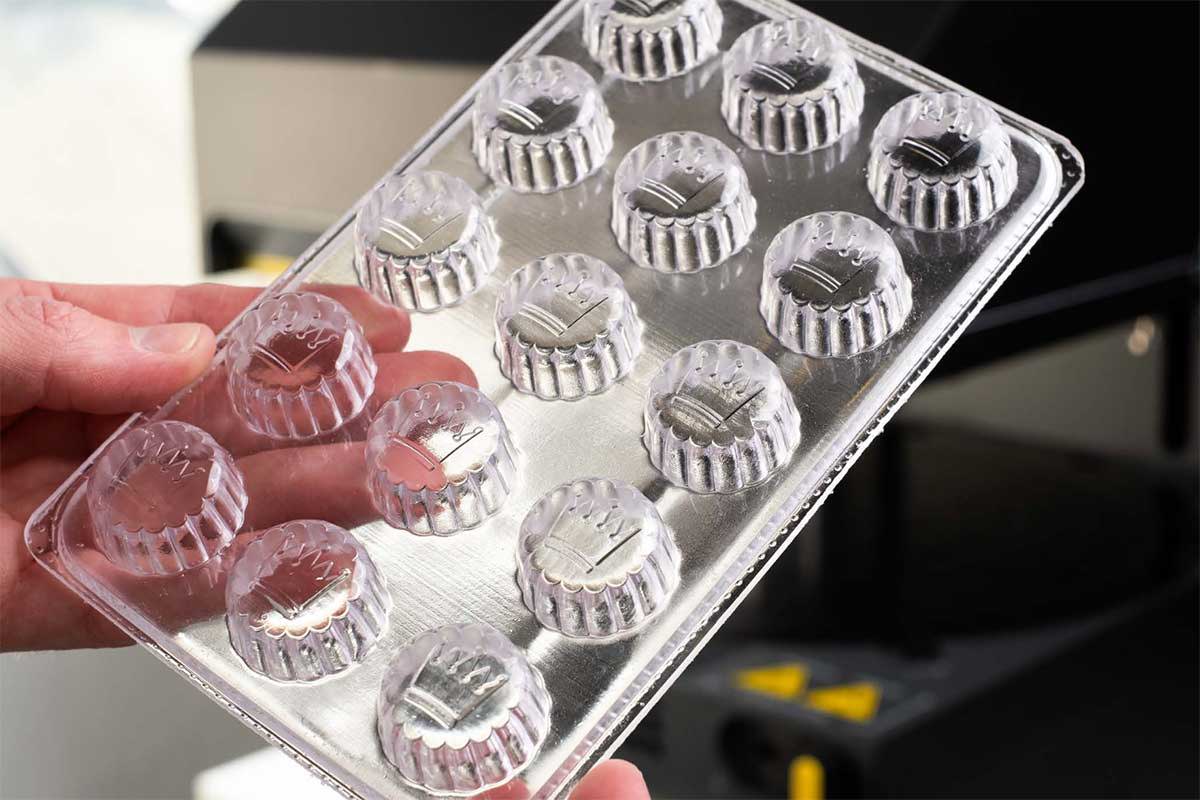
For this mold, I used the Mayku Clear Form sheets. They work well with a variety of materials including, concrete, silicone, chocolate, jello, foam, ice, plaster and soap. My 3D printed forms popped out easily and my molds were ready to head to the kitchen to start mixing my soaps.
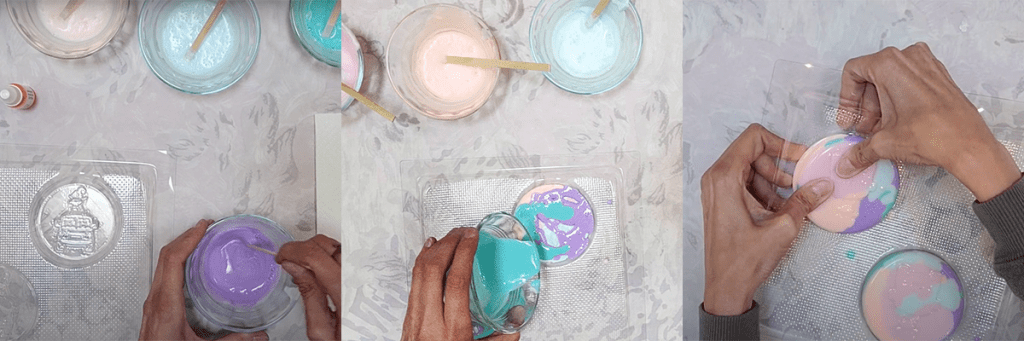
For my very first try making soaps, I wanted to do the easiest process I could find. I decided to go with the option of a solid soap base that you warm up in the microwave or on the stovetop to melt and then add your colors, your fragrance, pour into your mold and let it set for an hour or so to re-harden.
It wasn't the prettiest soap I had ever seen but it was fun and I am excited to make more!
I had a lot of fun doing this project and I can't wait to make more! I have all kinds of ideas for interesting as well as very personal projects that I want to do. There are countless things I want to create with the Mayku FormBox and I will be documenting those projects as well, so make sure you follow our channel and subscribe so you can follow along on my journey!
For more information on the Mayku FormBox, please visit our website or email us at info@3duniverse.org!
If you are using the Mayku FormBox for your own projects, we would love to hear from you!
If you are interested in following my “Traveling Dork” adventures, feel free to visit my Youtube channel and say hello there as well!
Written By Jen Owen

Related Articles
Benefits of Thermoforming in Business and Education
Nov 27, 2023
Introduction to Thermoforming Technology with the Mayku Multiplier Thermoforming, specifically pressure forming, is a transformative... More
Next-Level Production: Combining 3D Printing with Thermoforming
Oct 05, 2023
3D Printing and Thermoforming are both powerful technologies for digital fabrication. But the greatest benefits... More

Introducing the Mayku Multiplier Reducing Plate and Custom Mode!
Sep 26, 2023
The Mayku Multiplier is a desktop pressure former that can achieve sub-one-micron resolution in sheet... More

Comparison: Vacuum Forming vs Pressure Forming
Aug 22, 2023
How vacuum forming works Vacuum forming is the oldest method of thermoforming, and refers to... More

Laser Cut Halloween Decoration Ideas
Oct 17, 2022
It's that time of year again to share some of our favorite spooky, scary, creepy,... More

Benefits of Pairing a Vacuum Former with a 3D Printer
Sep 09, 2022
A 3D printer paired with a vacuum former can create objects with intricate shapes and... More
Search All Articles
Latest Posts From 3D Forming (Vacuum Forming & Pressure Forming)
All Blog Categories
-
3D Universe Untethered Video Podcast Series
-
Digital Fabrication in Education
-
Digital Fabrication Projects
-
Digital Fabrication Tutorials, Tips, and Tricks
-
Slicing Software
-
3D Printing Materials
-
Case Studies
-
Digital Fabrication Products
-
3D Forming (Vacuum Forming & Pressure Forming)
-
Laser Cutters
-
Digital Fabrication in the Workplace
-
3D Printed Prosthetics and Assistive Technology
-
3D Modeling (CAD)
-
Digital Fabrication in the News


