Creating Product Casings with 3D Printing and the Mayku FormBox
June 08, 2023

The Mayku FormBox gives you end-to-end product development on your desktop. To prove this, Mayku asked one of their internal design team members to prototype and create a working synthesizer from scratch.
In this blog, we show you how Mayku prototyped and manufactured product casings in-house. Doing this generated significant savings of both time and money compared to outsourcing to achieve the same result.
Designing Product Casings with 3D Printing and Vacuum Forming

CAD and 3D printing are both great for tightly controlling the dimensions and specifications of a design, but both are severely limited when it comes to prototyping. CAD severely limits your ability to properly assess the look and dimensions of a design, whilst 3D printing creates an illustrative, but static version.
In order to experiment and iterate with ease, you need two things:
- The ability to rapidly move between iterations
- An affordable and simple method for creating versions of your design
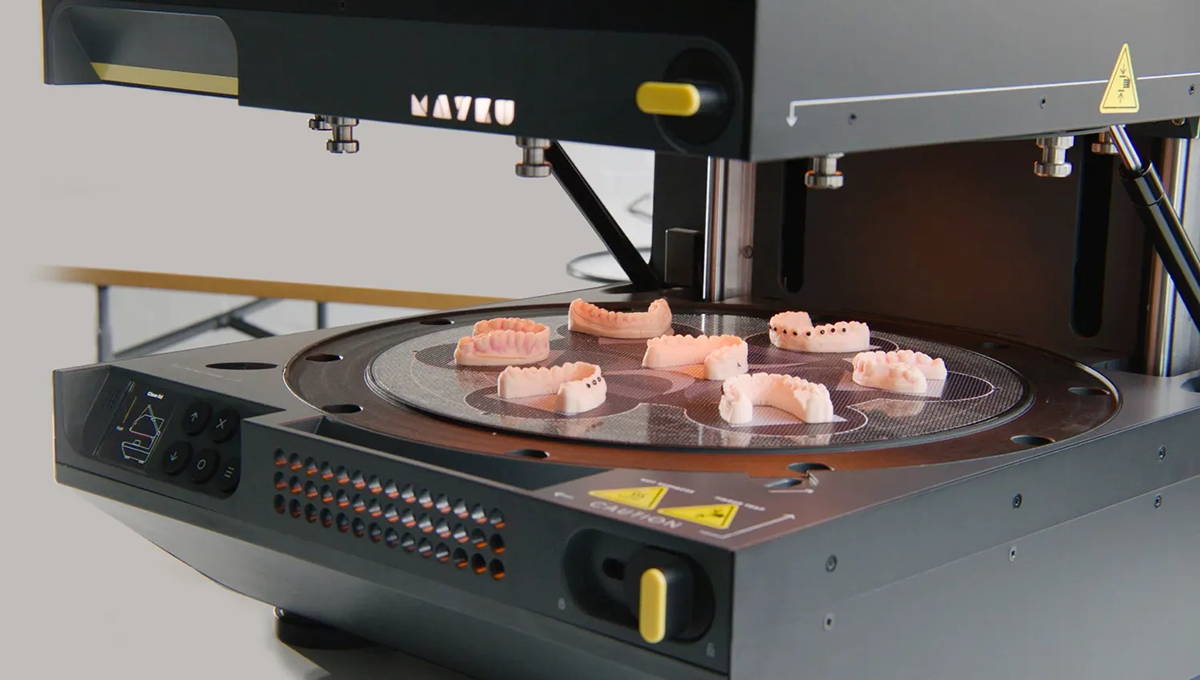
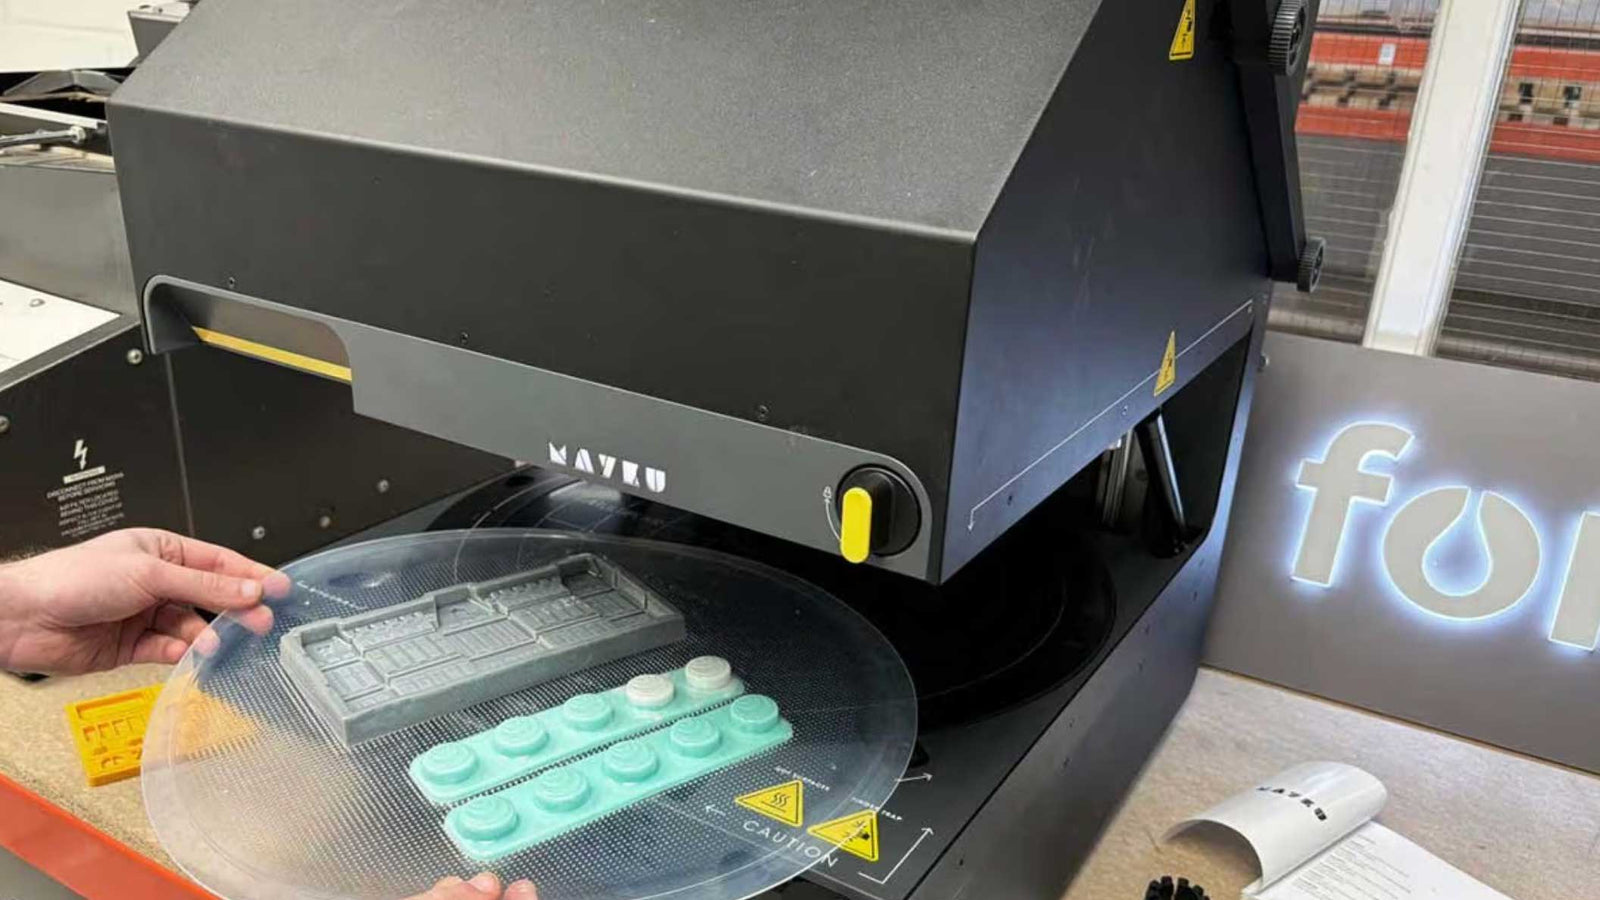
The key to Mayku for their synthesizer project was finding the right finish for their product casing. In order to test and compare a range of colors, a set of 3D printed templates were created. 3D printing the templates meant that the dimensions were exact, and the use of a heat-resistant material meant that they could be used repeatedly.
Finding the Perfect Finish

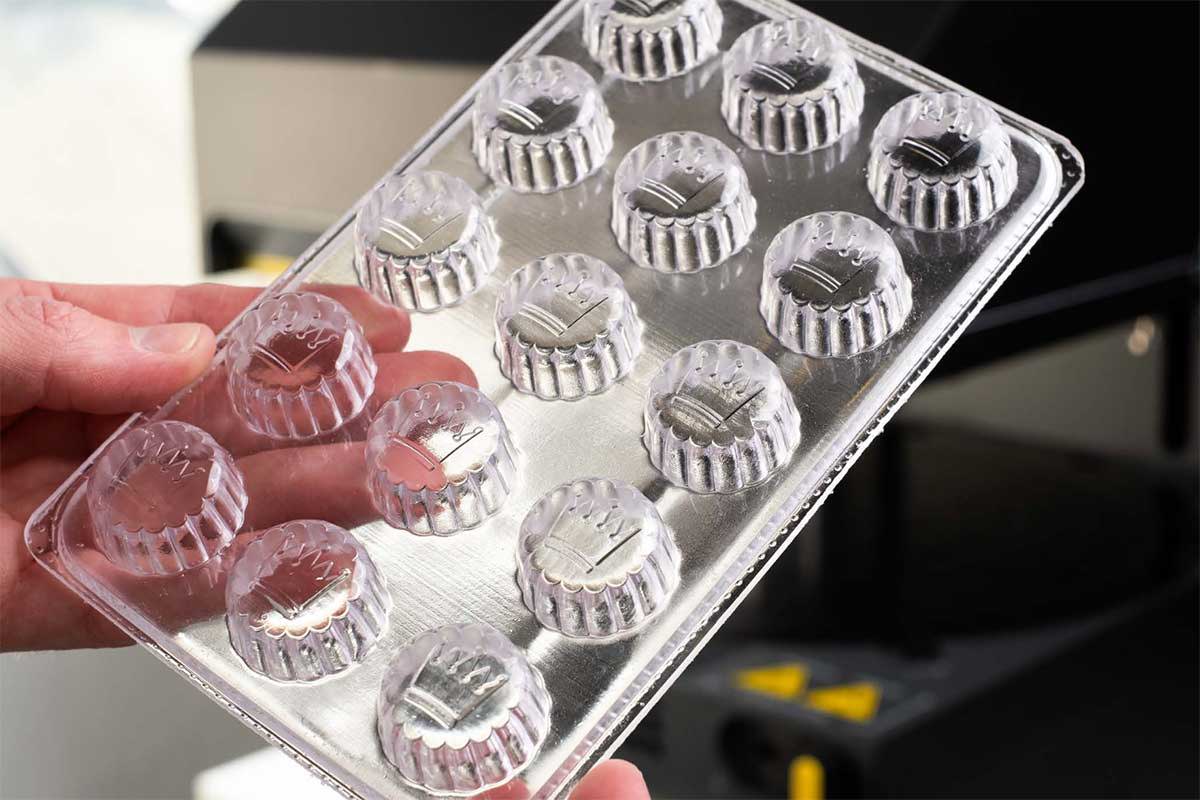
Once the templates had been printed, a FormBox was used to create forms in 1.0 mm thick PETG. Crucially, these forms took seconds to create, meaning that the design team could rapidly assemble a pool of cases to experiment with.
After deciding against a transparent casing, the forms were spray-painted with durable enamel paint. Being able to directly compare a range of finishes side-by-side allowed the design team to properly compare finishes and the final presentation.
Minimizing Processing with the Mayku FormBox

Once the design and prototyping phases had been completed, rapidly creating a short run of product casings became the clear goal. Outsourcing this to a manufacturer requires a willingness to halt your process to accommodate their lead times, and pacifying your accountant to accommodate their minimum order quantities.
Producing product casings in-house freed them from having to negotiate these headaches. Even better, the PETG forms made processing a simple and efficient process.
First, trim lines on the template clearly show where the cut the form with a scalpel. Once cut, holes for the components (primarily buttons) were drilled out. Next, the raw edges were sanded to ensure a smooth finish and close fit.
For the buttons of the synth, a mold was created using 3D printed templates and the shapes were cast in colored silicone. This allows for various elements of the same design to be manufactured on the FormBox.
Finally, the processed parts were sprayed in the previously selected color, meaning the product casings were ready to assemble.
For more information on 3D printers or the Mayku FormBox, please visit our shop or feel free to email us at info@3duniverse.org.
