Taking a Closer Look at the Ultimaker S3 Printer
June 08, 2023

Meet The Newest Addition To the S-line Of 3D Printers
It's often said: “Bigger is better”.
Turns out – with the new Ultimaker S3 – that's just not the case!
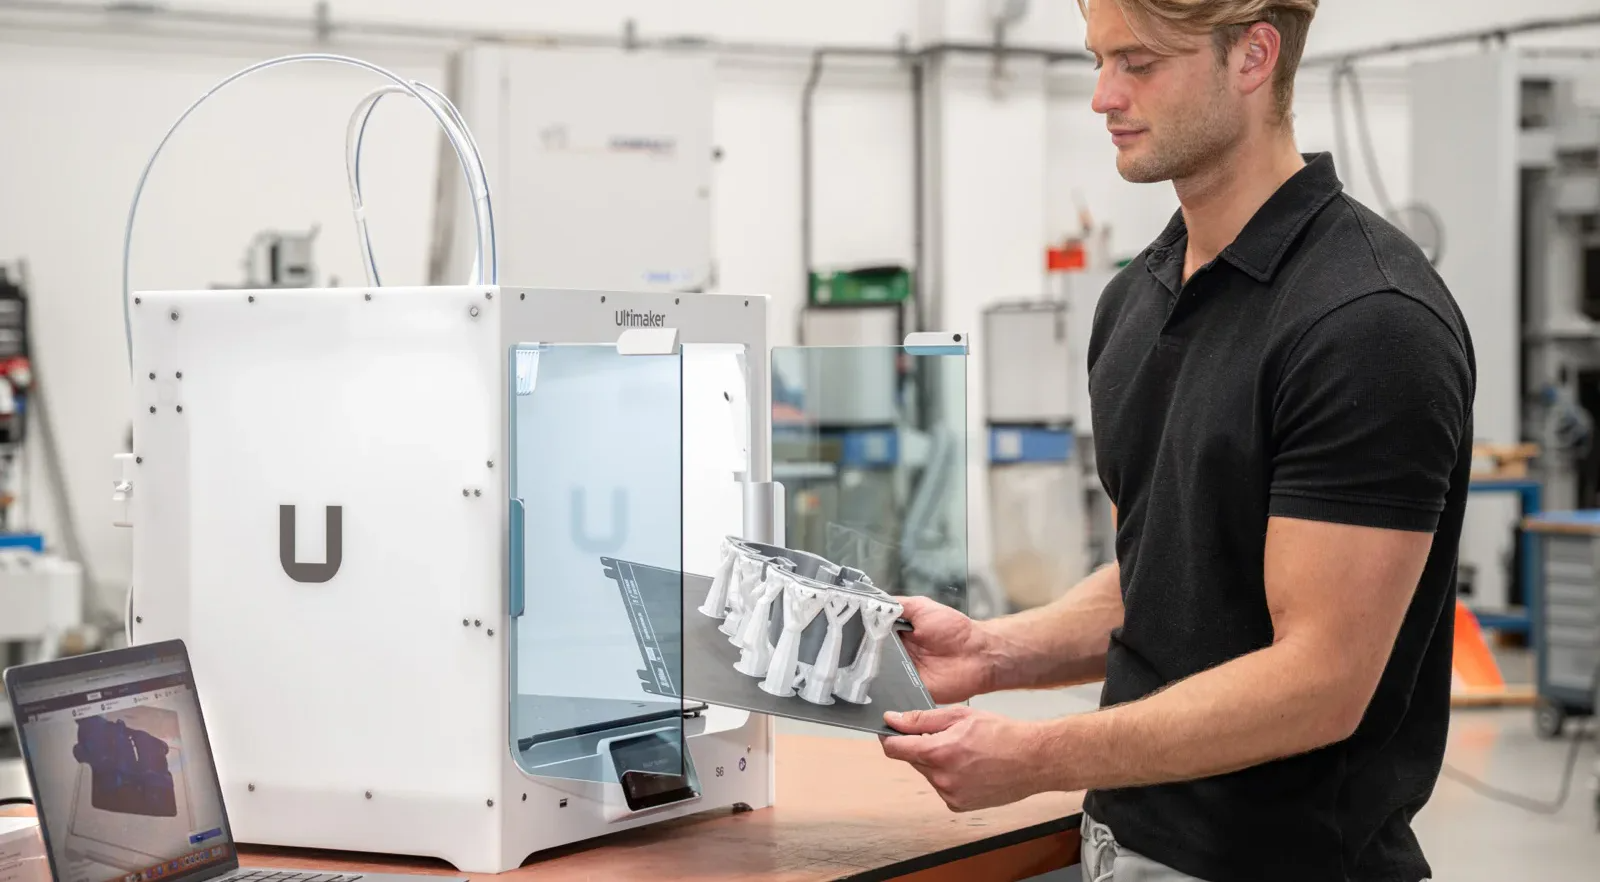
Inside an efficiently small footprint suitable for any desk, the Ultimaker S3 delivers composite-ready dual extrusion that you can rely on. They've packed it full of their latest, market-leading technology, making it is as easy-to-use as it is powerful.
Reliability. It Runs In The Family

To be worthy of the S-line name, the Ultimaker S3 had a lot to live up to. Its big brother, the Ultimaker S5, might only be 18 months old, but already it's won multiple awards and has become a daily driver for thousands of engineers, teachers, and designers around the world.
If global brands and educational institutions need a turn-key 3D printing experience with almost unlimited material choice, they've chosen the Ultimaker S5 or the Ultimaker S5 Pro Bundle.
But what if your company isn't a world-famous brand with an R&D budget to match? What if your school doesn't have the budget for the larger Ultmaker S5? What if your workplace only has space for smaller 3D printers? Or what if this is the first time you've considered in-house 3D printing, and you need a robust machine that's easy to use?
Then the Ultimaker S3 might be just what you're looking for.
They have taken many of the best features from the Ultimaker S5 and combined them into a smaller, more affordable device. The Ultimaker S3 delivers the same high-quality, composite-ready dual extrusion with the same market-leading reliability and ease of use – just with a smaller build volume (230 x 190 x 200 mm or 9.1 x 7.4 x 7.9 inches).
3D Printing Performance You Can Rely On

From the ground up, every detail of the Ultimaker S3 has been designed and built to deliver the S-line print quality you would expect.
Inside the Ultimaker S3, you'll find:
• Reinforced feeder wheels made from coated, hardened steel. These enable abrasion-resistant 3D printing for high-strength parts using glass or carbon fiber composites (when paired with the Ultimaker print core CC Red)
• Dual filament flow sensors that increase your print success rate. If you run out of filament, the S3 will pause your print and notify you to add a new spool. This is a great feature for classrooms that have limited funds to purchase materials and who want to use every available asset they have for their student prints.
• Advanced active leveling that ensures easy and reliable first-layer adhesion. Begin a print job and get on with your work, thanks to precise build area probing and Z-height build plate compensation at the start of every print job.
• High-accuracy stepper drivers taken directly from the Ultimaker S5. These high-precision drivers are quieter than the Ultimaker 3 and run more reliably to consistently provide high-quality prints.
Taking a Closer Look at the Ultimaker S3
The Ultimaker S3 has been further optimized for its form factor.
These small features work together to improve the 3D printing experience:
• A more rigid printer frame reduces small vibrations (or ringing) while printing to improve overall print quality.
• An integrated glass door with a magnetic latch provides a more controlled build environment and reduces the risk of warping or delamination.
• An optimized internal design allowing both dual extrusion nozzles to reach the whole build area, and maintaining a high build-volume-to-size ratio.
• An internal power supply removes the need to make space for a power brick. It also makes the setup process easy across all S-line 3D printers.
The Ultimaker S3 Provides Seamless Integration With Your Workflow

Ultimaker has made every aspect of working with the S3 quick and easy.
Through a seamless hand-off between software and hardware, it helps to avoid outsourcing by providing an end-to-end solution that easily improves and integrates with your in-house production workflow.
For example, instead of the cost and hassle of outsourcing, you can buy an Ultimaker S3 and perform these steps:
1. Export your finished CAD model with one click to Ultimaker Cura thanks to downloadable plugins.
2. Select your Ultimaker S3 printer and desired material (including from the Ultimaker Marketplace of tested, predefined material settings by leading brands).
3. Confirm your model's scale, orientation, position on the build plate.
4. Slice the model into layers and prepare it for 3D printing.
5. Preview your print within Ultimaker Cura to make sure everything looks good before starting your print.
6. Send the file to the Ultimaker S3 via Ultimaker Cloud, LAN, Wi-fi, or USB drive and start printing.
If one 3D printer won't meet your production demands, you can easily scale and optimize your in-house setup with Ultimaker Connect. This free printer management software will then assign a central queue of print jobs to Ultimaker 3D printers when they become available.
Predefined Print Settings For the Market's Widest Range of Materials

You might not realize, but the biggest timesaver in this workflow is something not even mentioned: predefined print settings.
With some machines, successful 3D printing relies on trial and error. (Change a wall thickness here, adjust the infill density there…hope for the best.) But with the Ultimaker S3, that approach takes a backseat.
Instead, you have more flexibility to choose from the widest range of 3D printing materials on the market. Ultimaker Cura then automatically loads tested and optimized print settings for the best results.
This takes a lot of stress off of teachers and students who often do not have the budget for filament experiments and who need to have their projects printed perfectly the first time.
Compatible with the full Ultimaker material portfolio, and with every material on the Ultimaker Marketplace (available within Ultimaker Cura), the Ultimaker S3 takes the hassle out of turning your ideas into physical parts with the aesthetic and mechanical properties you need. That's good news for busy designers, teachers, students, and engineers, who can spend more time focusing on more important tasks and projects.
Award-winning Control At Your Fingertips with the Ultimaker S3

Making that workflow even easier, the Ultimaker S3 also features the same 4.7-inch (11.9 cm) touchscreen as the Ultimaker S5. This intuitive UI won a 2019 iF Design Award for its usability.
Displaying step-by-step setup, navigation, and maintenance, it reduces the learning curve and makes adoption faster. In fact, customers have told us that they feel confident to start printing their own designs after only a 30-minute introduction. So there's no need to spend money on a dedicated operator.
Conclusion: The Ultimaker S3 Provides Professional Performance With a High Return on Investment
We've done the math. And with its low annual cost of ownership, the Ultimaker S3 offers an affordable entry to professional 3D printing, hobbyists and schools.
We can't wait to hear of the businesses that disrupted their market with innovative products or classrooms that have started new and unique 3D printing curriculums – because they started 3D printing with the Ultimaker S3.
The Ultimaker S3 is available today at 3D Universe.
To see how easy it is to get started with an Ultimaker S3, check out our Ultimaker S3 unboxing video! If you create your own video, please share it with us on our social media channels!
Please feel free to follow us on Instagram (@shop3duniverse) and Twitter (@3dprintingisfun) as well as Facebook or tag us with #3duniverse!
