How to 3D Print Your Own Lithophanes
July 30, 2024
Over the past few years, an interesting art form called lithophanes have made a comback with the introduction to new technology like 3D printing. In this blog post we will share a bit of history, how to get started 3D printing your own lithophanes and some basic steps to take to ensure that they come out exactly as you imagined!
What is a Lithophane?
A lithophane, first invented in France in the 1820s, is traditionally created from porcelain as a thin plaque, which has been moulded and carved into varying thicknesses so when it is lit from behind, the different thicknesses show as different shades, forming an image. Only when lit from behind does the image show up as intended.
Lithophanes became very popular in the 19th century and were often used for lampshades, nightlights, or hung on windows. They could also be given a stand to be placed in front of a light source like a candle or eventually a light bulb.
"To make a traditional porcelain lithophane, a wax plaque was placed on a glass backing and carved, so that by lighting from behind the developing image could be seen in a similar fashion to the final lithophane. A cast of the finished wax image was then taken in plaster of paris, which became the reuseable mould for the porcelain. This was generally left unglazed. As lithophanes became produced in larger numbers, more durable metal moulds were often used." - wikipedia
They were very popular from around 1840 to 1870, but by the end of the 19th century lithophanes had lost their excitement and production slowed.
But here we are in 2024, where they have seen a bit of a revival with 3D printing and below, we will share a bit more about how to create your own with a 3D printer and the steps you need to take to create yours!
What is a 3D Printed Lithophane?
A 3D printed lithophane is a three-dimensional image created on a 3D printer that has different thicknesses of materials so it creates light and dark areas for light to pass through. Each lithophane will appear differently, depending on the quality and intensity of light that hits it when backlit.
When backlit, the thicker areas block light from passing through, while the thinner areas allow light to pass through more easily. This results in a grayscale representation of the original image.
Most 3D printed lithophanes are monotone, however Bambu Lab has come out with a Lithophane bundle with CMYK colors to create full color lithophanes for those that are interested in making their images pop with color!
How to 3D Print Your Own Lithophane
Step 1: Choose Your Image
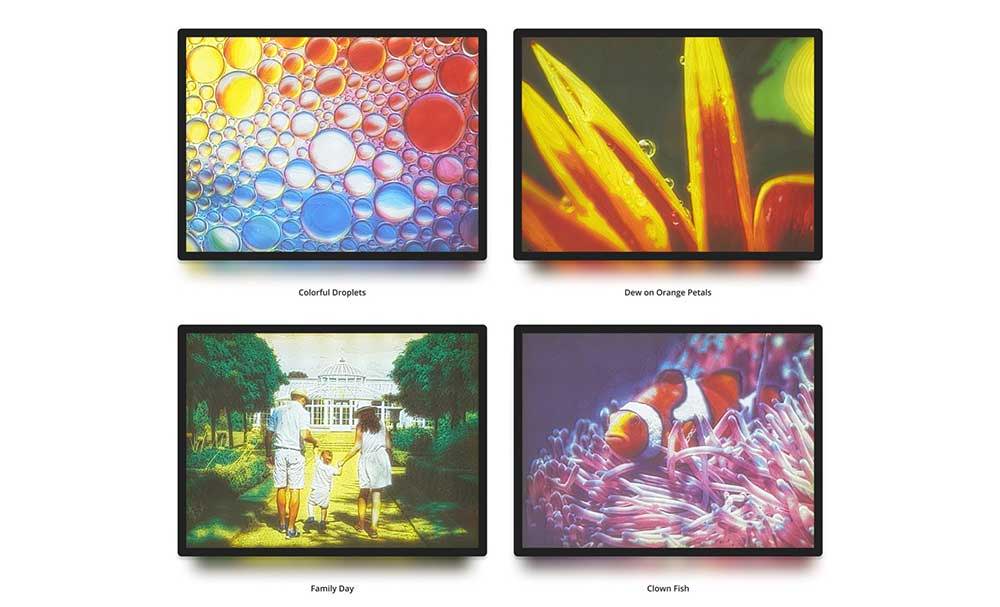
The image you choose for your lithophane is the most important part of the whole process! There are some images that work much better as lithophanes than others. Try not to choose an image that is too "busy" with a lot going on or one that doesn't have a lot of contrast.
Here are some tips to help you choose the perfect image for your 3D printed lithophane masterpiece!
1. Keep it simple: If you choose an image with a lot of things going on in it (textures, colors, etc), it will be very hard to pull out the details you will want to showcase.
2. High Contrast: Choosing an image with high contrast helps to create a more realistic lithophane with much clearer results. Some of the conversion software uses contrast to create the 3D printable files as well so it is important to choose images that can work with the software needed to create these files.
Step 2: Create a Lithophane 3D Model
There are many ways to create a lithophane 3D model and a variety of different software options available to you for this part of the process. Most of them work in just about the same way.
They focus on the primary object of the photo and then emboss it. After that, they create an STL file for you to 3D print on whatever machine you might have.
Some of the most popular programs are as follows:
1. Image-to-Lithophane Converters: Most of the most popular image-to-lithophane converters are browser-based services that turn your image of choice into an STL file for you to 3D print on your 3D printer.
Some of the most popular are: 3DP Rocks, ItsLitho, and Lithophane Maker.
2. CAD or 3D Modeling Software: If you are more familiar with CAD and 3D modeling software like Blender, this is also a great choice for making your images into 3D printable STL files.
3. Slicing Software: A fairly easy option, especially for beginners, is slicing software like UltiMaker's Cura. Besides being a slicer, it also has the option to create meshes and work with photos.
Step 3: Start Your Print for Your 3D Printed Lithophane
While you can create a great lithophane on an FDM printer (Fused Deposition Modeling), resin 3d prints tend to be the favorite for this kind of art.
Once you have your STL file, follow the directions for your specific materials and let your 3D printer do the work for you! Once it is finished 3D printing, find a light source to use to back light your finished project and see how it turned out!
Have Questions?
Are you interested in creating your own lithophane prints? Not sure which materials or 3D printers to look for? Feel free to reach out to us and let us know how we can help you find what you are looking for! Email us at info@shop3duniverse.org for more information!
Written By Jen Owen

Related Articles

Introducing The eufyMake E1 - The World’s First Personal 3D-Texture UV Printer
May 08, 2026
The maker world seems to be evolving fast over the past few years, and the... More

Unleash Your Creative Flair: Discover the Power of Desktop Apparel Printing
Mar 18, 2026
Tired of the limitations of choosing from generic t-shirts and apparel for your wardrobe? Unlock... More
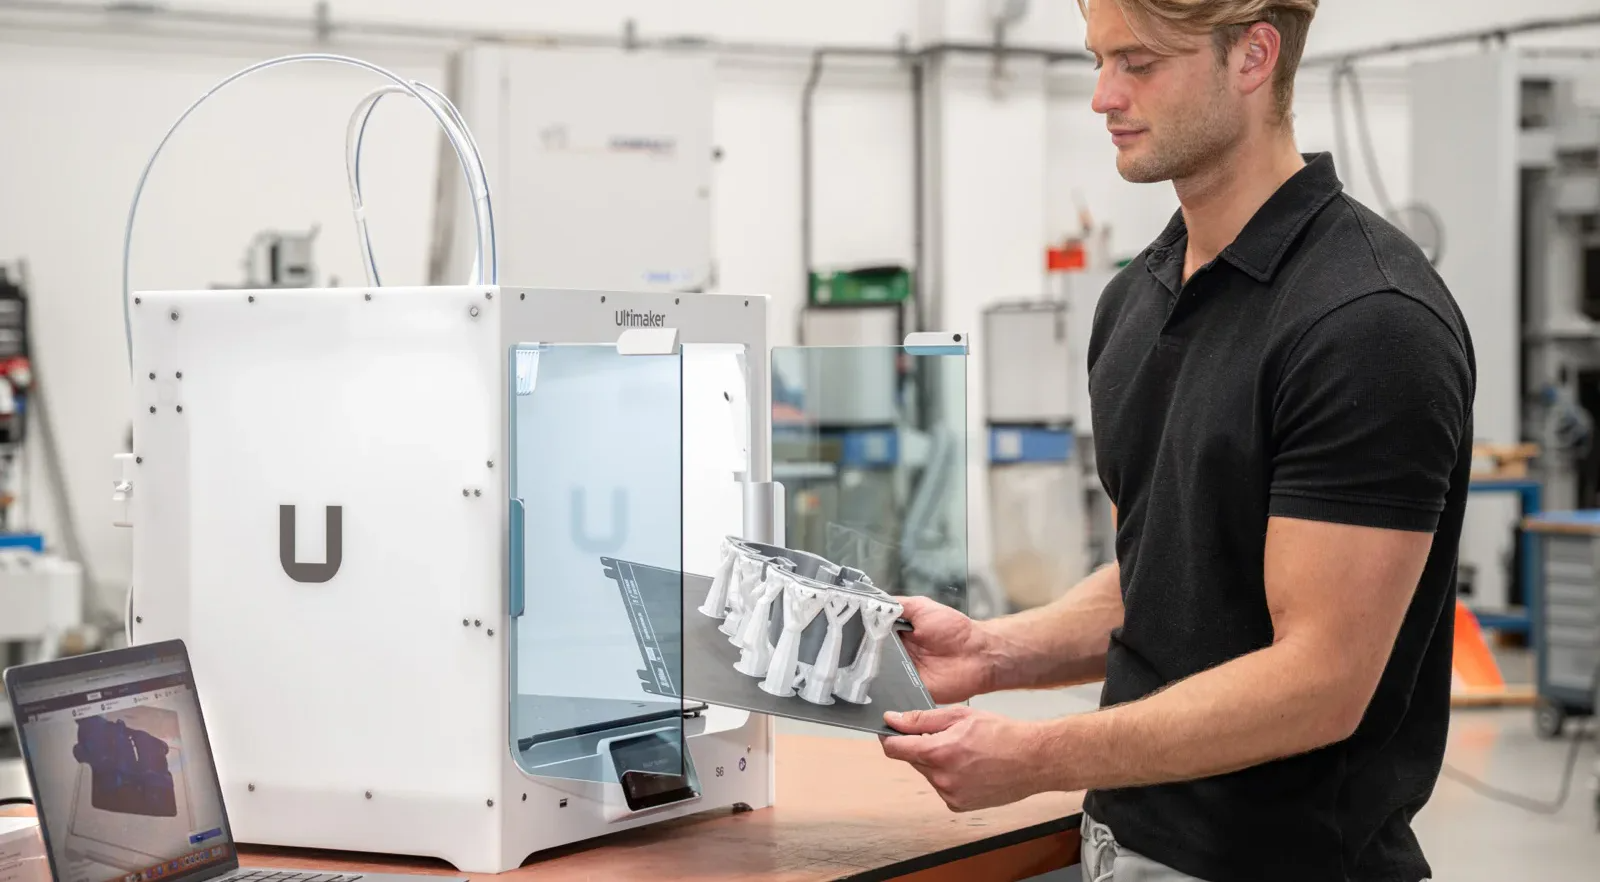
UltiMaker Launches the New S6 with a Focus on Defense, Manufacturing and Education
Jun 04, 2025
This week, UltiMaker introduced the newest addition to their S line with the S6 3D... More
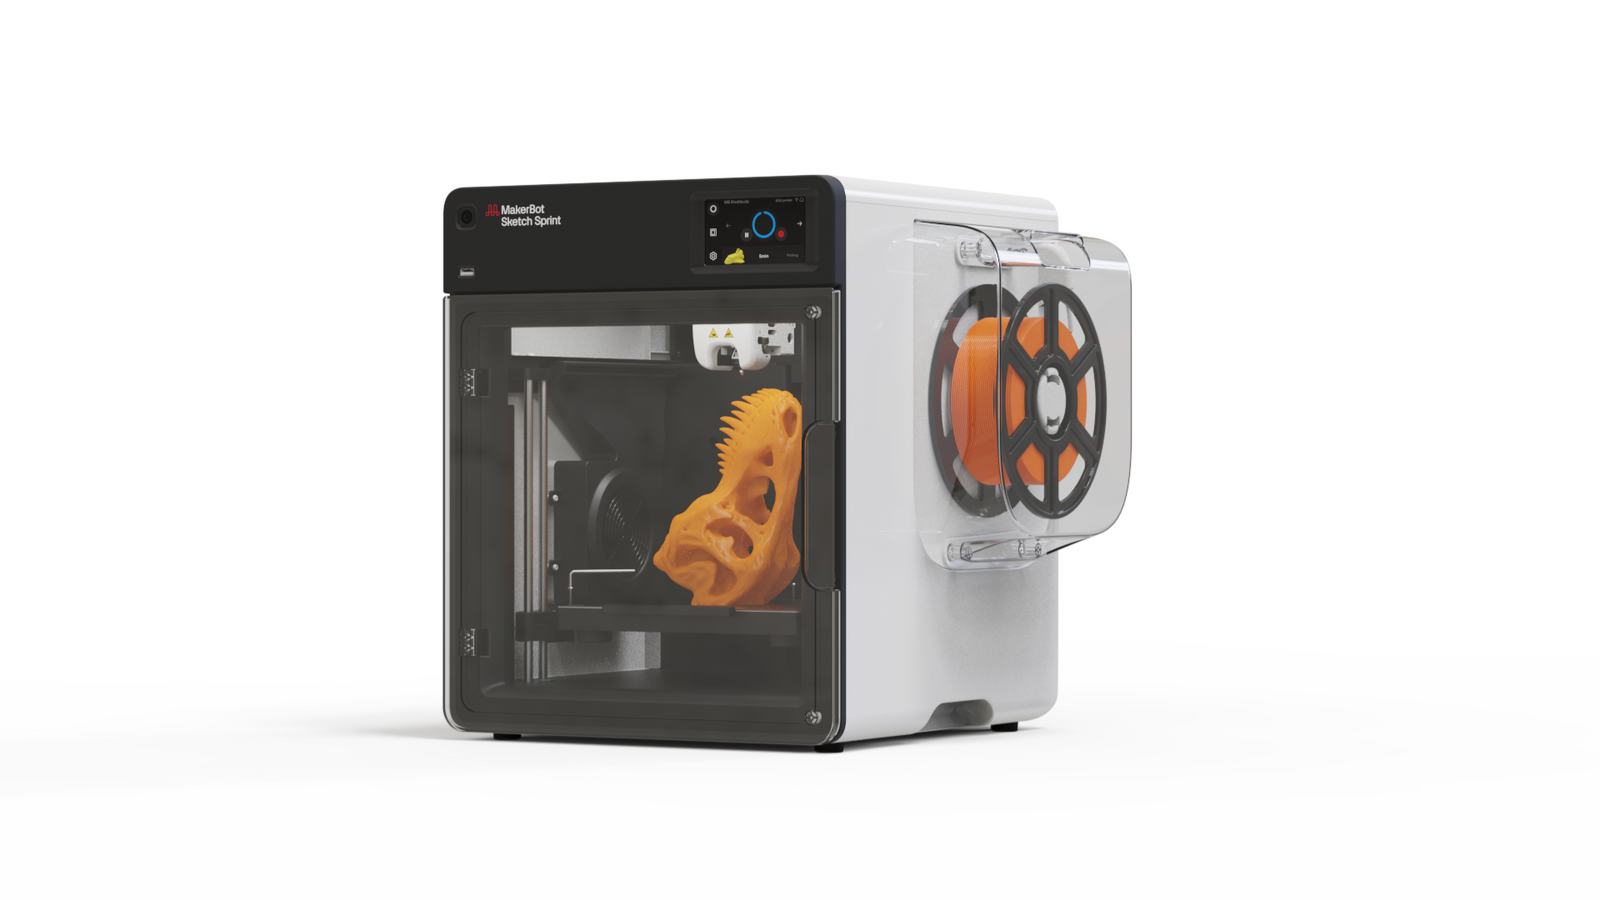
Introducing the MakerBot Sketch Sprint 3D Printer!
Nov 27, 2024
We are excited to announce the newest addition to the MakerBot family of 3D printers... More
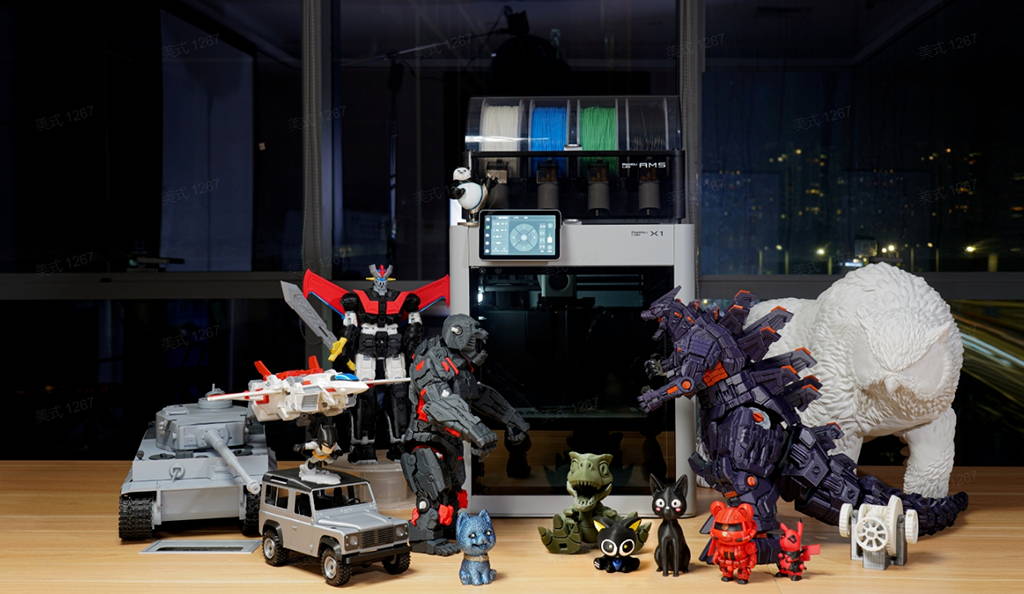
Introducing the Multi-Award-Winning Bambu Lab 3D Printers
Dec 27, 2023
Bambu Labs has taken the 3D printing industry by storm with it's X1 series. Boasting... More
The Benefits of SLA (Resin) 3D Printing, Featuring Phrozen Brand 3D Printers
Aug 17, 2023
We are excited to be adding the Phrozen Resin 3D printer line to 3D Universe! Phrozen 3D printers... More
Search All Articles
Latest Posts From Digital Fabrication Products
All Blog Categories
-
3D Universe Untethered Video Podcast Series
-
Digital Fabrication in Education
-
Digital Fabrication Projects
-
Digital Fabrication Tutorials, Tips, and Tricks
-
Slicing Software
-
3D Printing Materials
-
Case Studies
-
Digital Fabrication Products
-
3D Forming (Vacuum Forming & Pressure Forming)
-
Laser Cutters
-
Digital Fabrication in the Workplace
-
3D Printed Prosthetics and Assistive Technology
-
3D Modeling (CAD)
-
Digital Fabrication in the News


