FLUX beamo Laser Cutter Materials Testing with 3D Universe
September 20, 2023

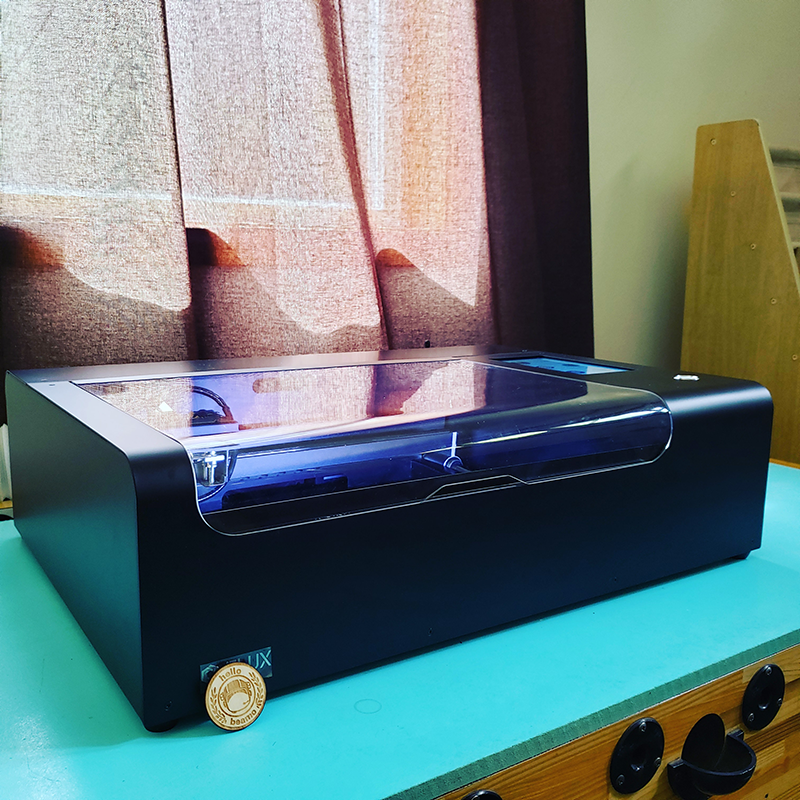
Over the past 5 months, I have been spending a lot of time playing around with the FLUX beamo laser cutter and testing different kinds of materials to see what it is capable of. As a "Newbie" who has never used a laser cutter before, and who was originally intimidated by the idea of owning one - it has been a very interesting and rewarding experience.
Back in July, I was sent the FLUX beamo to see just how easy it would be for someone like me who has no experience with these machines, to set it up, connect it, and get it to work. I was able to successfully unbox it and documented my experience in a video, in hopes of inspiring others who might be under the assumption (as I was) that it is a lot more complicated than it actually is.
It has been really fun to test all kinds of different materials for this new video, but I am now really excited to start using it for my own projects and to challenge myself as an artist and learn to think like a 3D designer and see what I can come up with on my own.
Below, you can see the video showing the different kinds of materials I tested and if you watch to the end, you can see why it is such an adventure to keep your FLUX beamo in the garage in the Pacific Northwest in the winter!
FLUX beamo Materials Testing with 3D Universe | Video
In this video, I show you short clips of the FLUX beamo cutting and etching a variety of materials and share a bit about the process and my observations of each.
Below, I share which materials I used and a little bit more about each one I tried working with.
Plywood Materials Tests
The first material I tried was the plywood that came with the beamo during the setup of the machine. It cut and etched well with the preset parameters that came with the Beam Studio software.
I did discover however that depending on where you purchase your plywood and how it is made, greatly affects the way in which it etches and cuts with the laser cutter. The same settings for plywood will not have the exact same results each time due to potential chemicals, glues, or various layers in the piece you are working with.
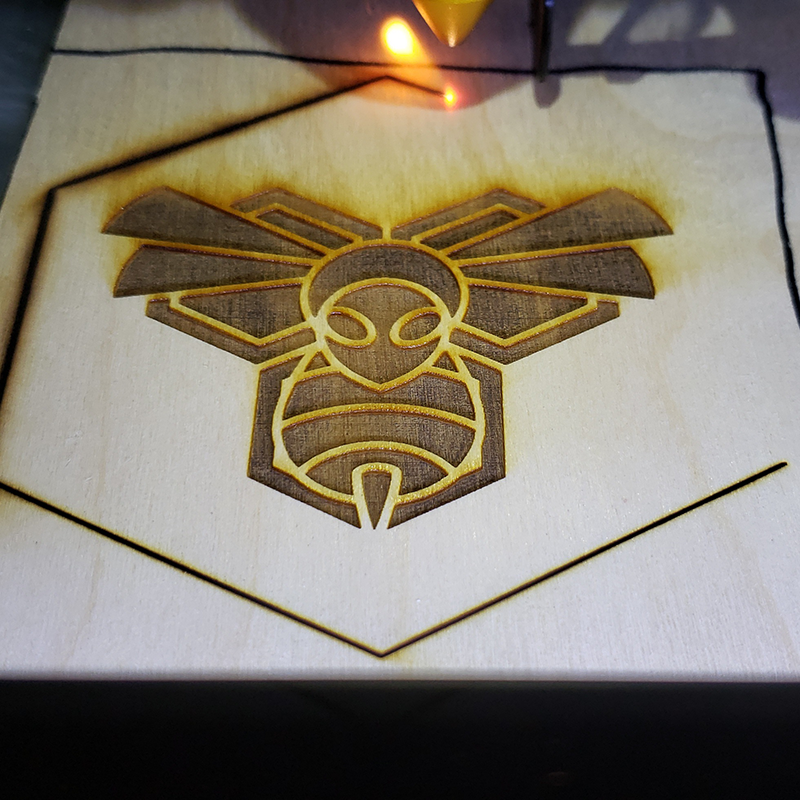
I had a lot of burn and scorch marks on some of my test projects as I tried different types of plywood using the preset parameters in Beam Studio.
Sometimes, as seen above in my "Murder Hornet Belt Buckle" that I made for Halloween, the plywood caught fire behind the laser and a flame followed it around the entire design as it cut. There was also a lot of scorching and yellow discoloration in the etched design.
I recommend doing a small test cut and etch first on any material you use, but especially with the plywood.
MDF | Medium-Density Fiberboard

After spending some time struggling with plywood, I tested MDF (Medium-Density Fiberboard) and fell in love with how smooth and crisp the etches were and how easily it cut. I had no issues with burning or scorching while using MDF for a few projects.
Because MDF is made from wood fibers, it doesn't have noticeable grain and it is all one big, flat layer vs the inconsistency of general plywood which has multiple layers pressed together.
During my materials testing, I had no issues with the MDF having different results from one end of the material to the other whereas, with the plywood, I had struggles with inconsistent results in the same piece of material mere inches away from the last project I completed.
Applewood Rounds Test
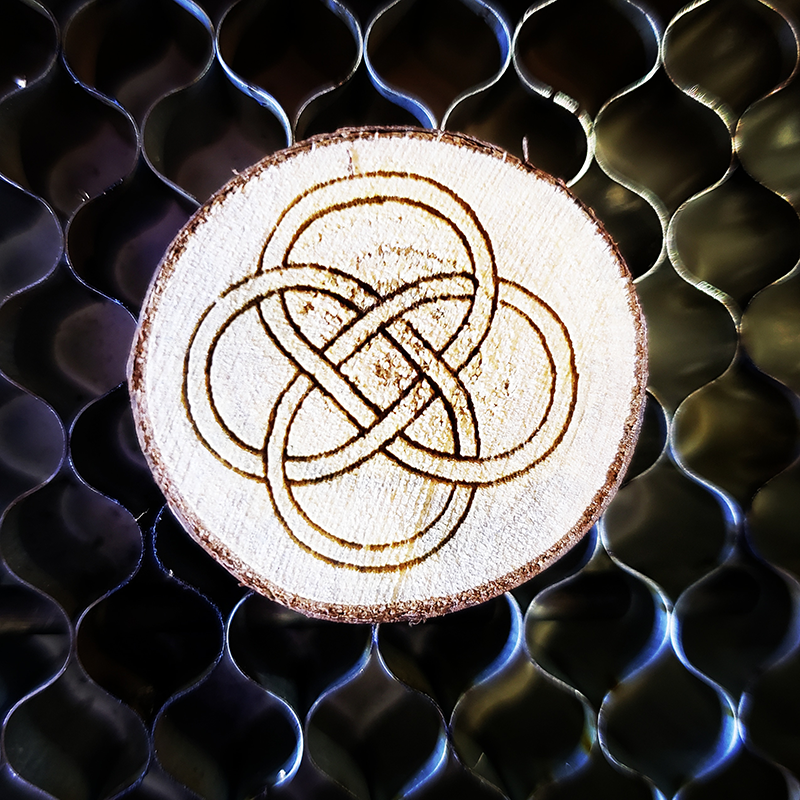
We had some little applewood rounds laying around the workshop that my roommate had used for making some rune banners for Yule. They etched beautifully and we will be using these for some projects coming up!
Leather Testing on the FLUX beamo

I wanted to test out a variety of leathers to see how they would react to being etched and cut on the FLUX beamo. I left the preset parameters for leather as it came with the Beam Studio software to see what would happen to different kinds of leathers with different textures, colors and tanning processes.
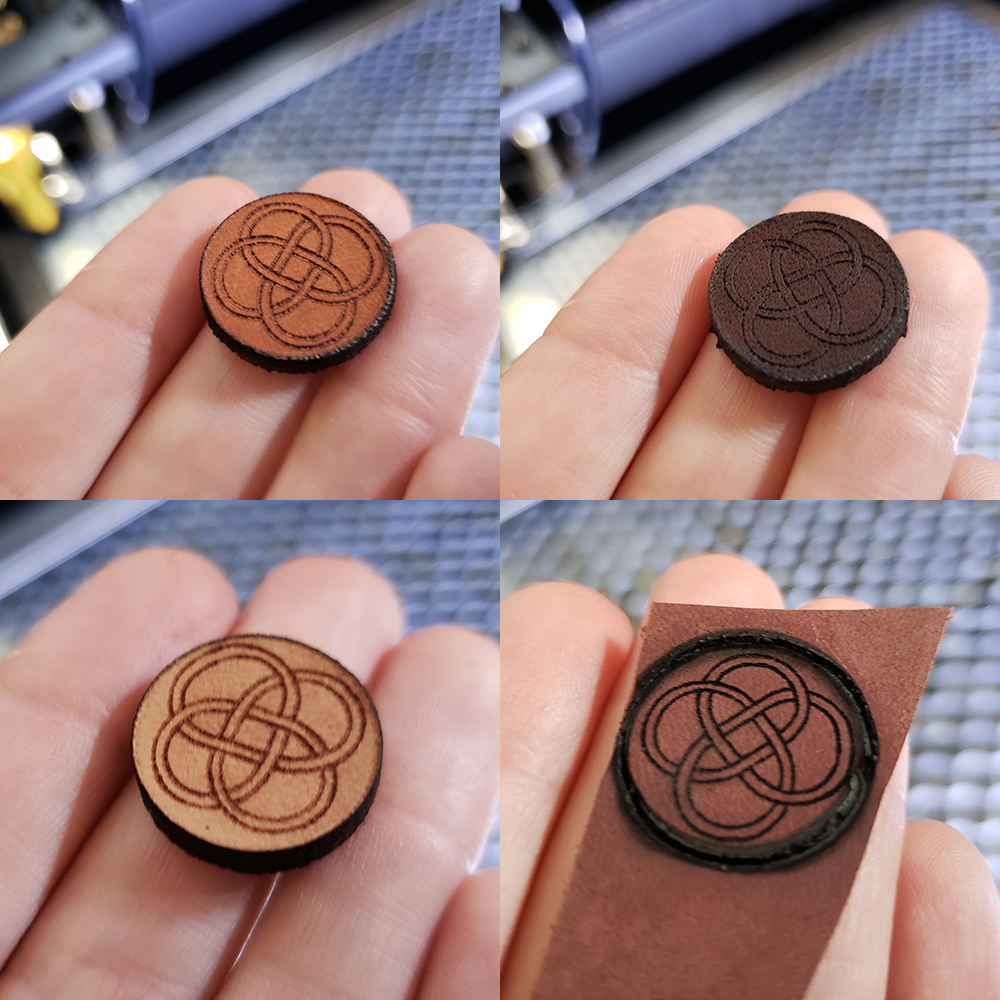
I did some research before starting my leather tests and discovered that it was recommended to wet your leather beforehand to help reduce the risk of burning.
I soaked each piece of leather in water before testing them and patted them dry with a paper towel. However, with the preset settings, many of the samples of leather ended up burned and scorched when it came time for the cutting, even with wetting the leather first.
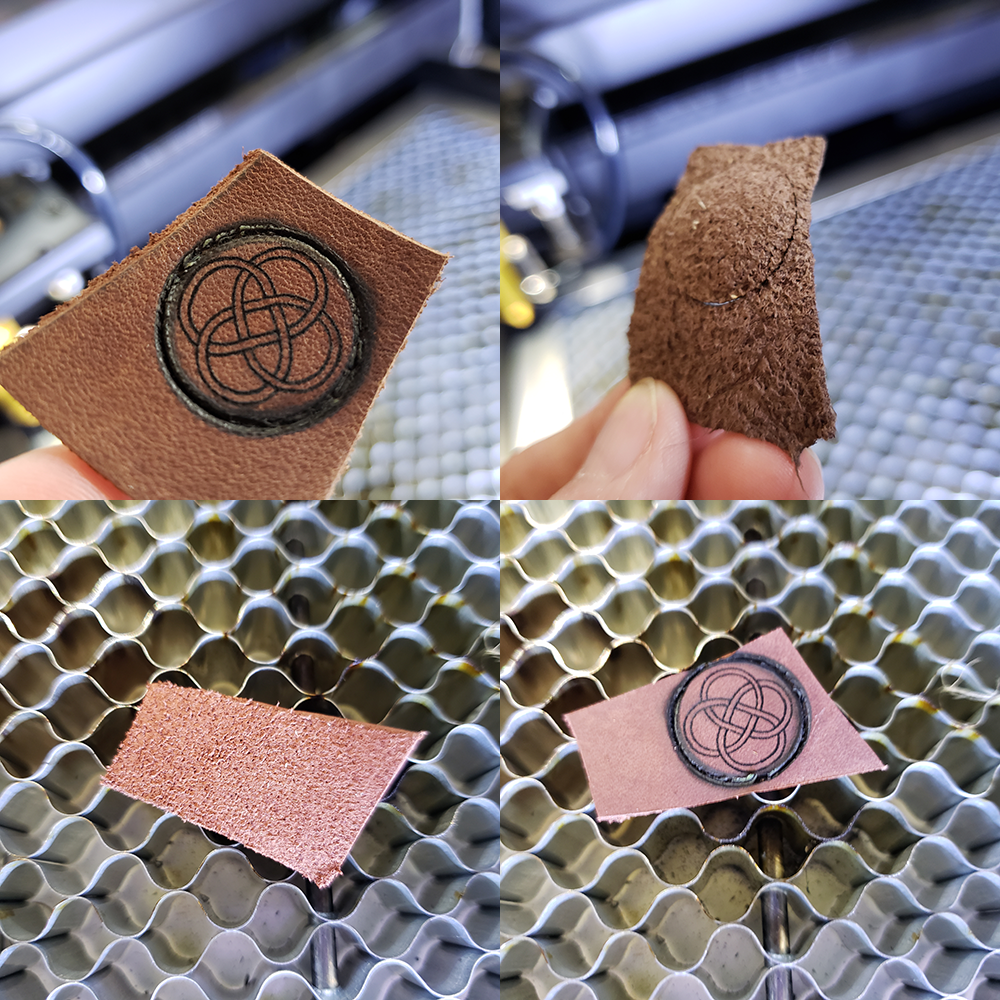
There were a few strips of different types of leather that etched fairly well but failed to cut through the strip with the original first pass of the laser and were so burnt that I was not able to try a second pass.
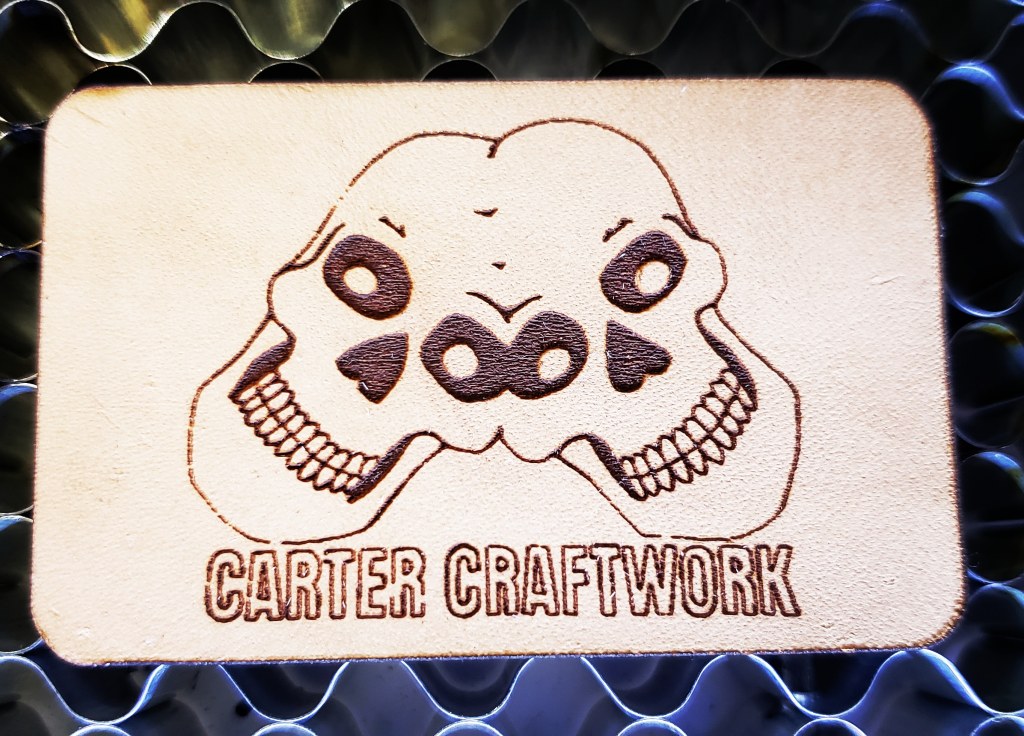
The best results came from the thicker, sturdier leather pieces we had laying around the workshop.
One thing I discovered that I was not expecting, was how unpleasant leather can smell when it is cut or etched on a laser cutter. For some reason I expected it to smell like a nice warm memory from childhood with your Harley-loving grandpa when you buried your face into his jacket as he vroomed you around the block on the back of his motorcycle, but alas...that was not the case.
I wish it was!
Etching Bone and Antler on the Laser Cutter
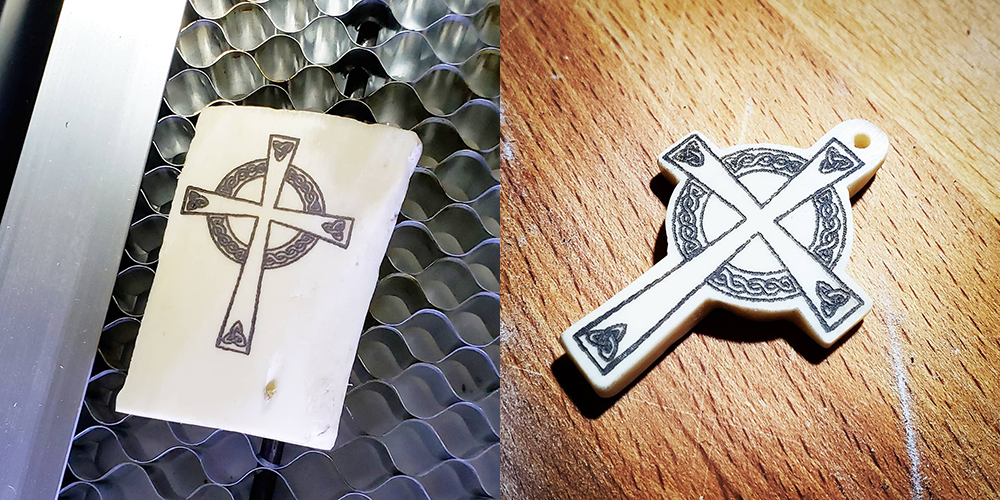
My roommate Bryce and I wanted to try etching a design onto bone and antler that would eventually be turned into pieces of jewelry. While we weren't able to cut these materials with the laser cutter (and didn't try), it etched the design onto the surfaces flawlessly.
What would have taken him a few hours by hand to etch into the bone or antler, took mere seconds with the laser cutter and will allow him to produce a lot more product, much more quickly going forward.
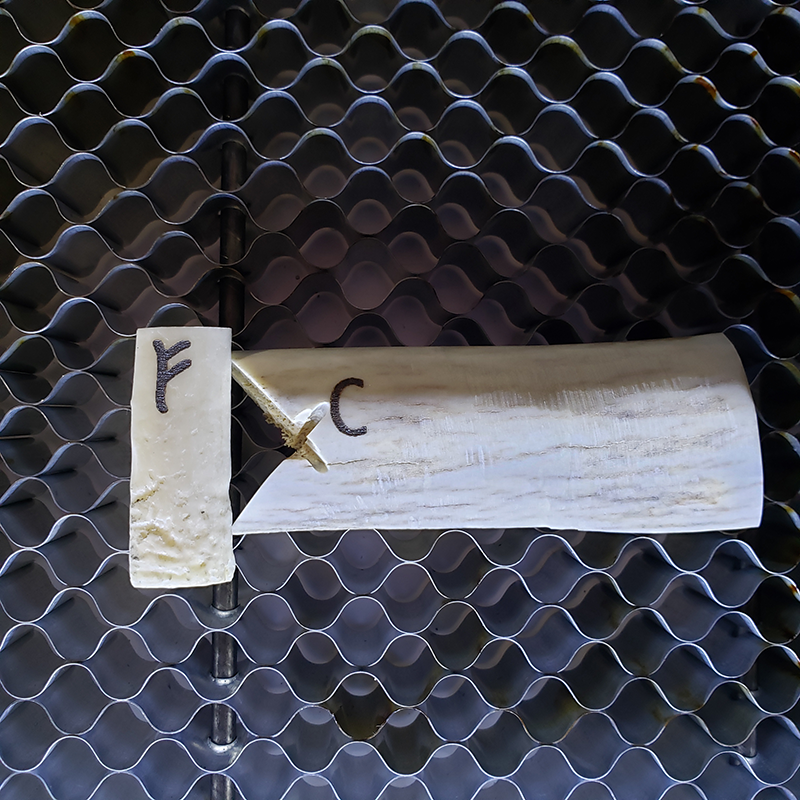
There is no setting for bone or antler on the Beam Studio software so I used the preset for leather and it was perfect for both of the etchings we did.
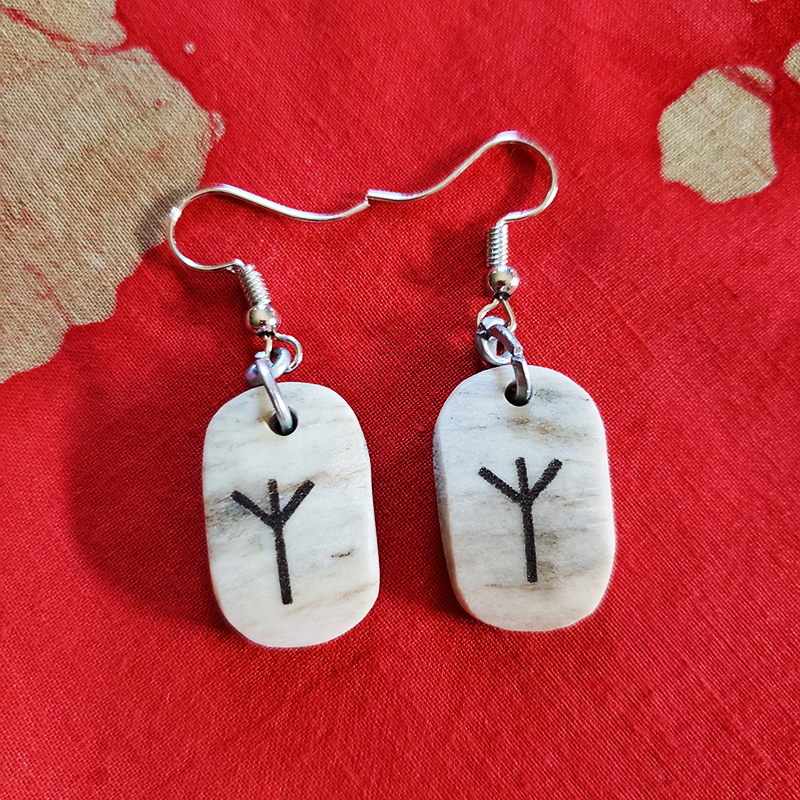
After the design was etched onto the bone, my roommate took it to the shop and used the grinder to finish the pieces that would eventually become a rosary and a set of rune earrings.
As with the leather, bone and antler are also very unpleasant in the "smell department" when being etched by a laser cutter. If you are a traditional artist and have used the grinder to form a piece of bone or antler, you can expect that same smell when you use the laser cutter.
Felt Materials Testing
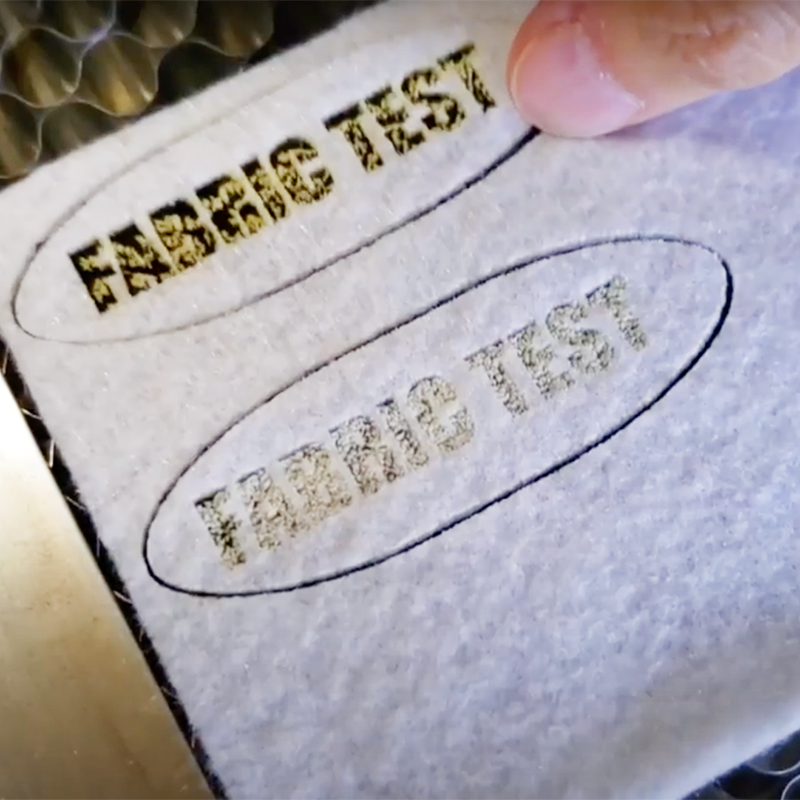
I had some felt laying around that I had used for another project and wanted to see how well it would cut and etch. I didn't have very high expectations for the etching part, as it is such a light material already but was excited to see how easily and smoothly it cut.
For the first test, I tried using the preset parameters for fabric and as you can see from the photo above, it pretty much disintegrated it so I had to dial it back a bit on the second try.
I don't think I will be using the laser cutter to etch on felt going forward but cutting will make my sewing projects much more interesting!
Etching and Cutting Denim with a Laser Cutter
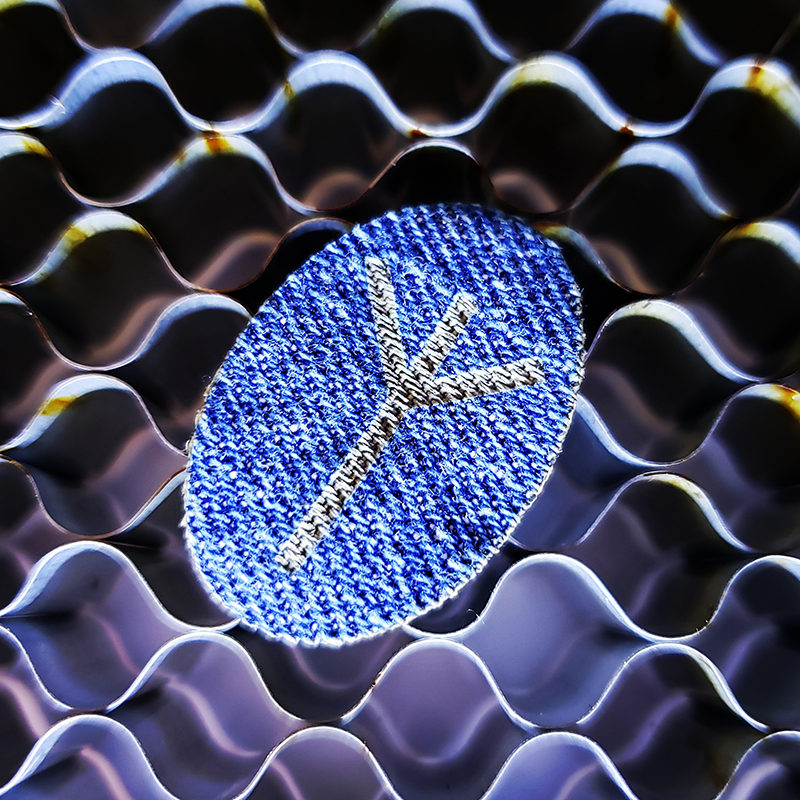
I was pleasantly surprised to discover how easy it was to work with denim on the laser cutter and how instead of the dark brown on the etch that I had seen previously with other materials I had tried, it turned out to be more of a lighter color.
The laser cut through the denim like butter with the preset parameters on Beam Studio and I am looking forward to seeing what kind of fun projects I can do in the future. I have a feeling that some of my favorite jeans are going to get some creative etchings on them! Stay tuned!
Canvas Laser Etched Bag
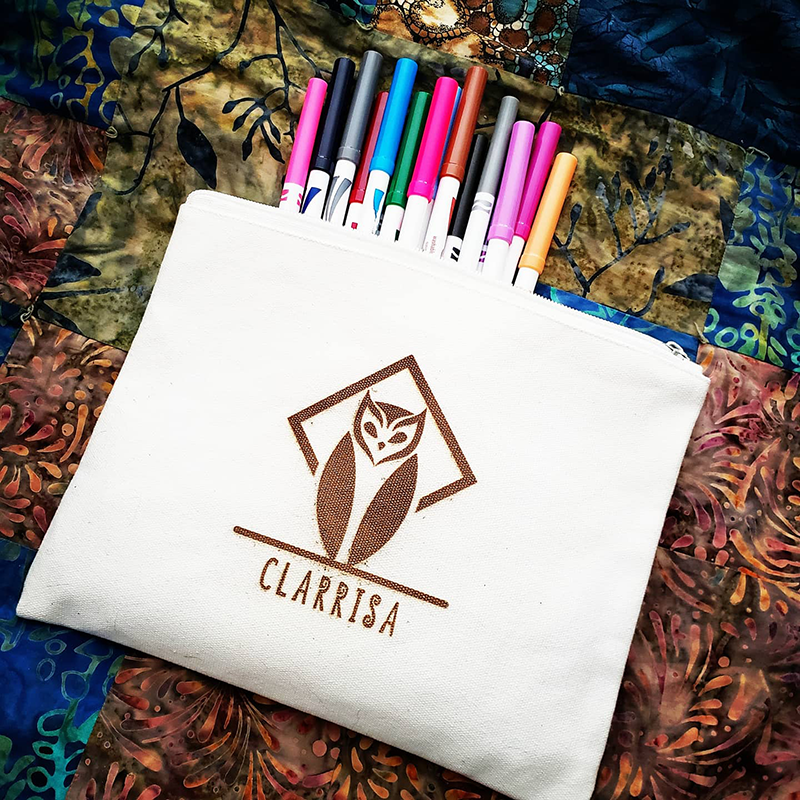
I was really curious to find out how canvas would etch with the laser cutter. I have some projects that I am working on that I am going to be using small canvas bags for and was thinking about how much work it would be to have to hand paint them all.
Now with the laser cutter, I can simply etch the design right onto the tote and have it consistent every single time as well as create quick customizations with ease. I used the preset settings for fabric etching for this and it turned out beautifully.
I am curious however, how this will hold up in the wash. I haven't tried washing it yet but when I do, I will update the blog here!
Etching on Cork

Cork was one of my favorite materials to test. There is no preset for this on Beam Studio so I used fabric etching and it worked like a charm. I loved how much contrast there was between the etched design and the cork background.
I will be playing around more with cork in the future.
Laser Cutting Acrylic on the FLUX beamo

I was really impressed with how smooth and precise the laser worked on acrylic. I used the preset parameters in the Beam Studio and bumped the passes down to 1 instead of 2 as it didn't need a second run.
Acrylic is calling to me now and I have all kinds of ideas for what I can make with it on the FLUX beamo!
Laser Etched Paper Mache Boxes
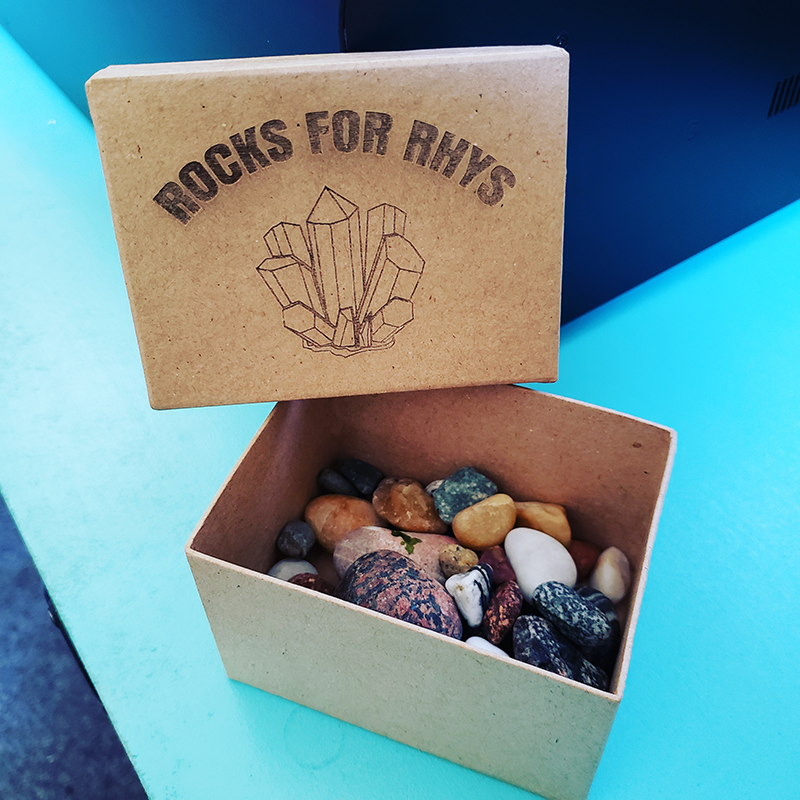
One of my favorite little fellas in my life happens to be an avid rock collector and had kept his collection in a variety of plastic containers. I wanted to give him a special box for some of the rocks I picked up for him on my travels this summer and purchased a cardboard/paper mache box to etch for him.
There was no preset for paper mache so I used the wood etching setting and it turned out pretty well. I had to dial it back a bit on power but otherwise kept the speed the same.
He loved his box and it is now overflowing with even more treasures!
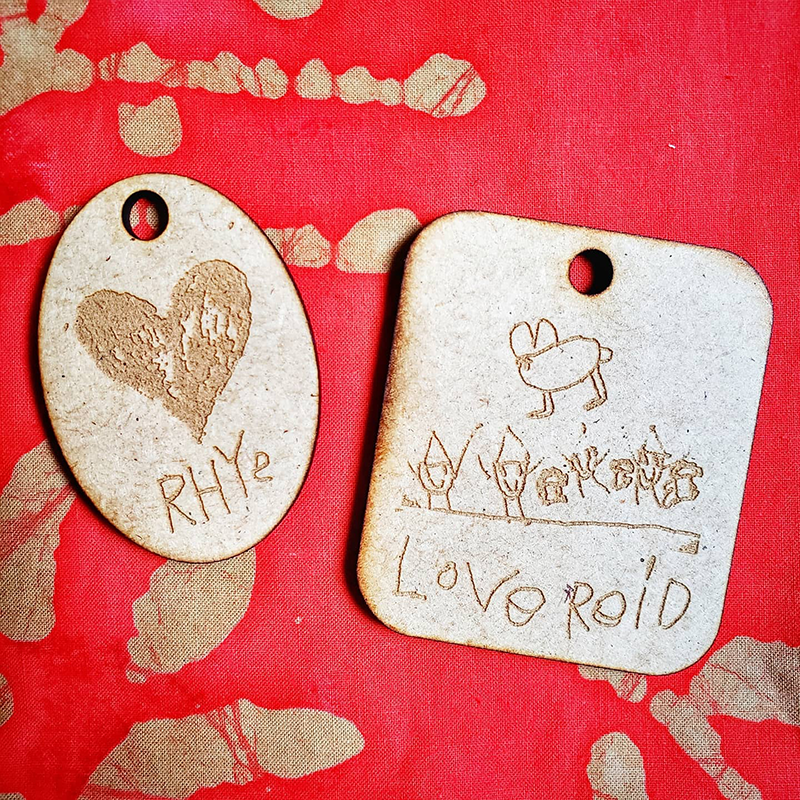
Etching and Cutting Paper
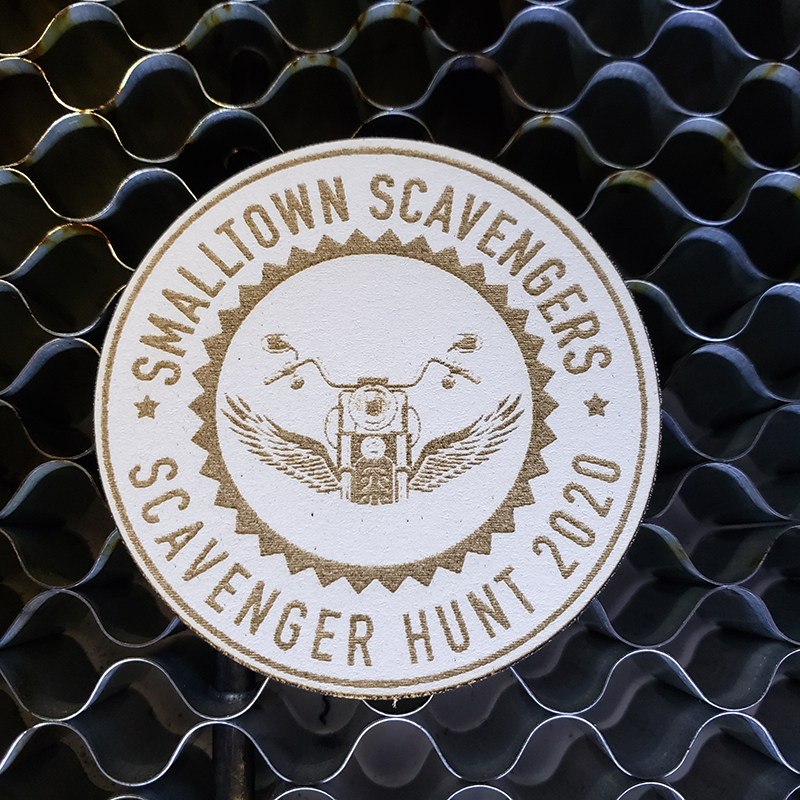
Honestly, as a new person using a laser cutter, paper was actually one of the materials I was most worried about trying on my own! In my mind, paper + flame source = fire.
Thankfully, that wasn't the case when I etched and cut this small test token for a project I am working on and nothing required me to call the fire department and have to explain how I set the garage on fire with a laser.
Cutting Leaves on a FLUX beamo Laser Cutter

I got this crazy idea to see if I could cut a jack-o-lantern face out of a fallen autumn leaf and make a fun decoration for Halloween.
My first try had me simply laying the leaf onto the FLUX beamo laser cutter bed and going for it, which resulted in the leaf getting scooted across the bed and folded in half and destroyed as it started cutting.
I thought the double-sided sticky tape would help hold it in place, and it did...but getting a fragile, decaying leaf off of the laser cutter bed with sticky tape holding it down turned out to be a bit of a struggle. I managed to get it off the bed for this lovely photo above but the sticky tape refused to come off without tearing the leaf so my dreams for a garland of cool creepy leaves was dashed.
For the leaves, I used the preset for fabric cutting.

I thought I would try again with a more sturdy, healthy leaf that was less likely to tear if I had to get tape off of the back and was pretty impressed with the result. I may attempt to work with natural materials like leaves again in the future.
I am intrigued.
Upcoming FLUX beamo Material Testing Videos
In the next few weeks, Bryce and I are going to do some testing with the FLUX beamo on metals, glass, tile, and a variety of other materials.
I will be sharing our results from those tests in a follow-up video and blog post so please check back and see what kind of adventures we go on as we continue to experiment, learn new things, and learn from our mistakes as new laser cutter users.
If you have a material you would like to have us test, please reach out to us at info@3duniverse.org and let us know what you are interested in having us try!
For more information on the FLUX beamo (30W) , the Beambox Compact (40W) or the Beambox Pro (50W) laser cutters, please visit our shop at 3D Universe!
Written By Jen Owen

Related Articles
Affordable Assistive Tech Created for Children with the Mayku Multiplier
May 15, 2025
Bethany Children's Health Center in Bethany, Oklahoma, cares for children with complex medical needs, striving... More
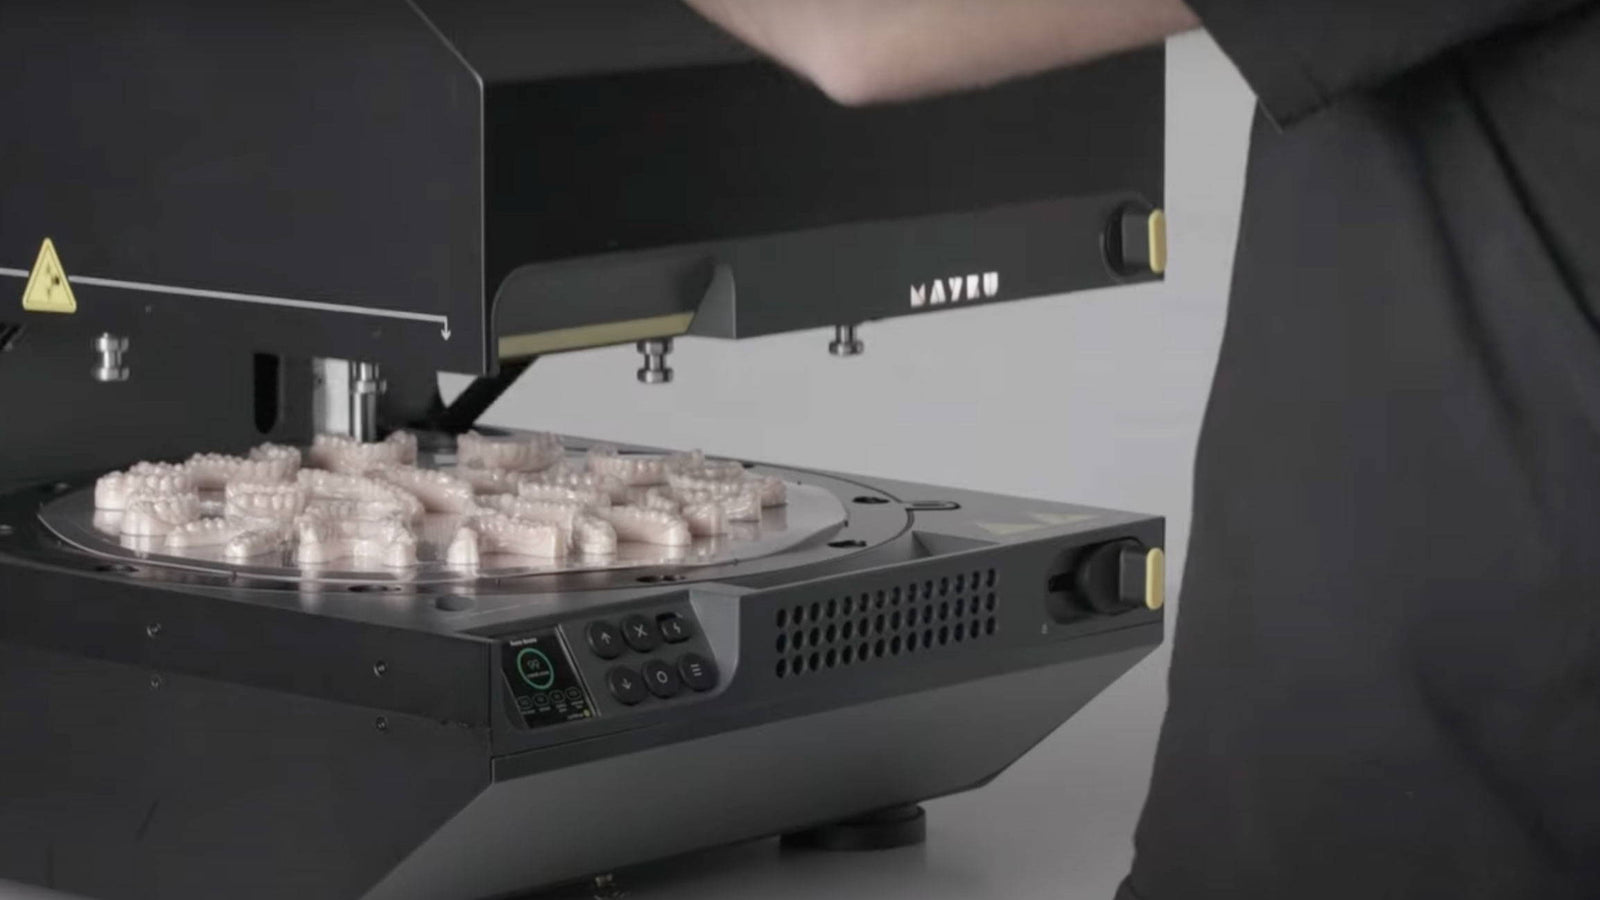
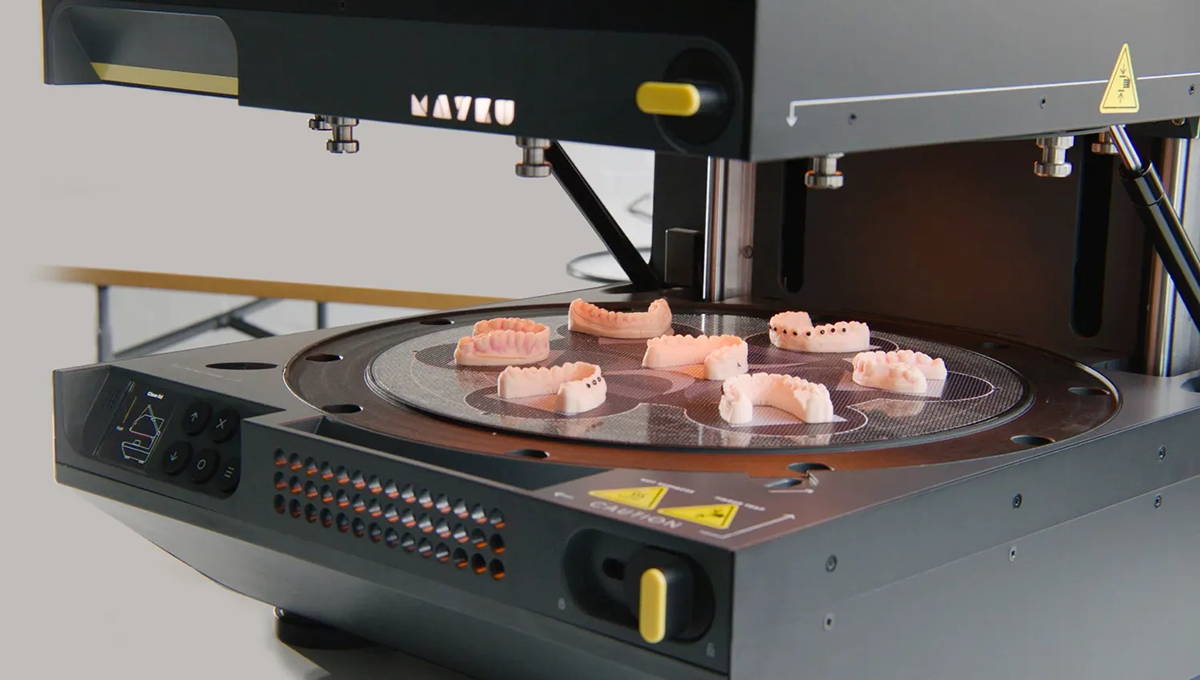
The Mayku Multiplier: A Game Changer in the Dental Industry
Apr 03, 2025
Benchtop pressure formers like the Mayku Multiplier, are revolutionizing the dental industry by enhancing the... More
Reshaping Aerospace Innovation with the Mayku Multiplier
Feb 10, 2025
At Bristol University’s aerospace department, students combine analytical methods with hands-on experimentation to design and... More
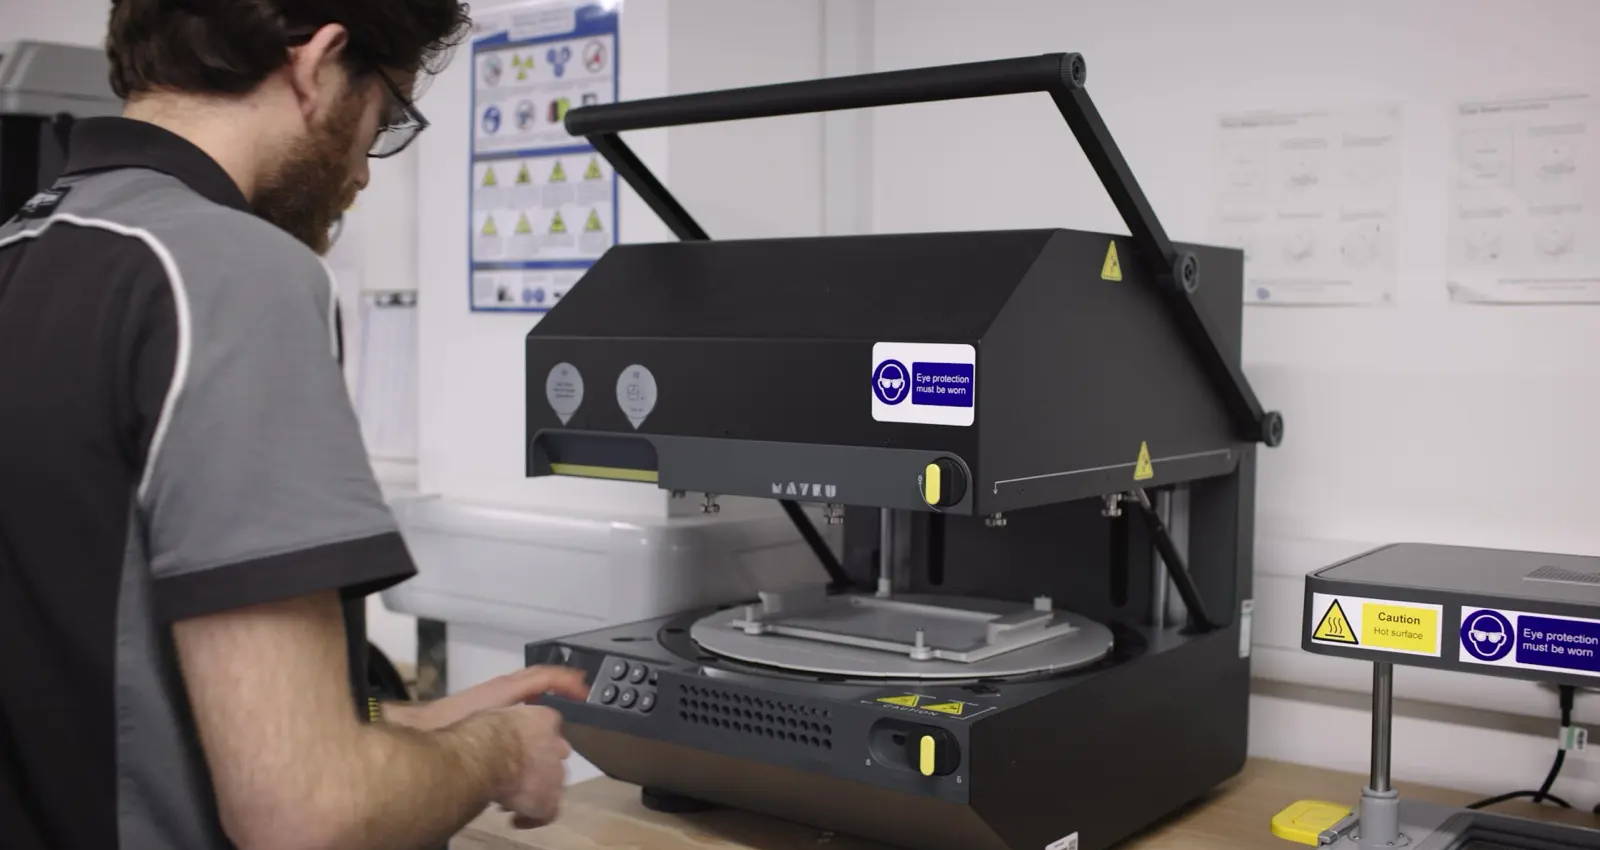
Revolutionizing the Dental Industry with the Mayku Multiplier
Dec 04, 2024
The Mayku Multiplier for Dental is a first-of-its-kind benchtop pressure former that achieves sub-one-micron resolution... More
Introducing the MY YARD Vacuum Forming Machines
Oct 01, 2024
We are excited to share that we have brought the MY YARD desktop vacuum forming... More
Rapid prototyping in R&D with the Mayku Multiplier
Sep 03, 2024
In the world of R&D (Research and Development) there are generally 4 common problems that... More
Search All Articles
Latest Posts From 3D Forming (Vacuum Forming & Pressure Forming)
All Blog Categories
-
3D Universe Untethered Video Podcast Series
-
Digital Fabrication in Education
-
Digital Fabrication Projects
-
Digital Fabrication Tutorials, Tips, and Tricks
-
Slicing Software
-
3D Printing Materials
-
Case Studies
-
Digital Fabrication Products
-
3D Forming (Vacuum Forming & Pressure Forming)
-
Laser Cutters
-
Digital Fabrication in the Workplace
-
3D Printed Prosthetics and Assistive Technology
-
3D Modeling (CAD)
-
Digital Fabrication in the News


