Tutorial: Build a Customized Bose Bluetooth Speaker
June 08, 2023
Looking for a fun 3D printing project, or a nice gift for someone special? Building a customized Bose Bluetooth speaker with 3D Printed Side panels may be the answer.
Bose offers a “BoseBuild” speaker cube that you can build yourself. And you can 3D print your own custom side-panels for it in whatever design you like.
At $149, the BoseBuild speaker cube isn't exactly cheap (but it is a Bose speaker, after all). You can purchase the kit here.
Once you receive the kit, you can download the BOSEbuild Sound app for your smartphone. This contains a guided tutorial for assembling the speaker. The kit includes plain side-panels, as well as cut-out templates you can place over the panels to create interesting lighting effects (the speaker has multi-colored LED lights inside and can light up different colors in response to your music).
But to really customize your speaker, you'll want to 3D print your own side-panels.
Start by downloading the STL file for the side panels here. You can also download an STL file for the clips that hold the panels in place here.
Now, it's time to customize the side panels! There are lots of ways of doing this, but here's the approach I used:
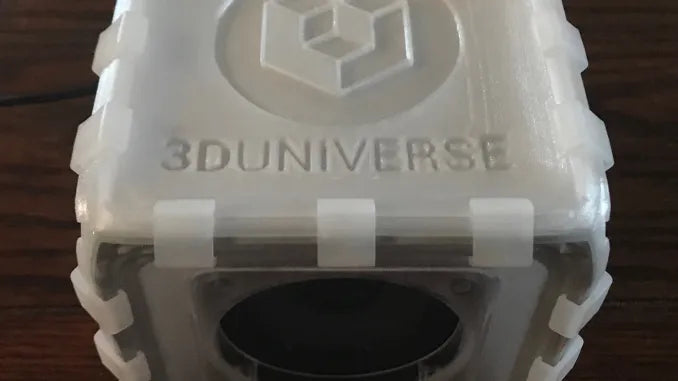
Using Selva3D, you can transform any 2D image into a 3D STL file. I used this to convert our 3D Universe logo into a printable STL. Make sure to set the height of the STL file to a high enough value that it will extend all the way through the speaker side panel.

I found that the STL file for the side panels from Thingiverse had some odd artifacts in it when I tried to edit it in TinkerCAD, so I ran it through the MakePrintable STL repair service. The resulting file was clean but rather large, so I used NetFabb (free license for students here) to reduce the number of triangles in the STL file by a little over half. This reduced it to a file of about 5MB – small enough for TinkerCAD to handle without much trouble.

Next, open TinkerCAD, create a new design, and import the optimized speaker side panel STL file:


Then import the STL file of your custom design (created using Selva3D) and position it on the panel:
Now, select the object you just imported and use the upwards pointing arrow to raise the object above the workplane by 1mm. This way, the design will be cut into the speaker panel, but won't go all the way through it.

Then, change the object from “Solid” to “Hole” in the Shape window.

Next, select both objects (CTRL-A on Windows or CMD-A on Mac) and click the Group button. This will result in our customized speaker panel!

Click Export to download the new STL file, and you're ready to start 3D printing!
The BoseBuild speaker has internal lighting, so you'll want to use a transparent filament for the optimal effect. I used Ultimaker CPE+ Transparent, but you could also use Polycarbonate, Nylon, or some other transparent material.
Now just clip the new speaker panel(s) in place using either the clips that came with the kit or your own 3D printed clips (in your choice of colors).
Now you're ready to play some music!

More 3D Universe blog posts:
Click HERE for another fun project.
Written By Jeremy Simon
There is so much happening in 3D printing right now! There is an enormous global community driving development, aided by each others’ efforts thanks to the Internet....
Related Articles
A Rapid, Cost-Effective Camera Bracket Solution for Defense Applications
Sep 05, 2025
This week we are focusing on a custom 3D printed camera bracket developed for military... More
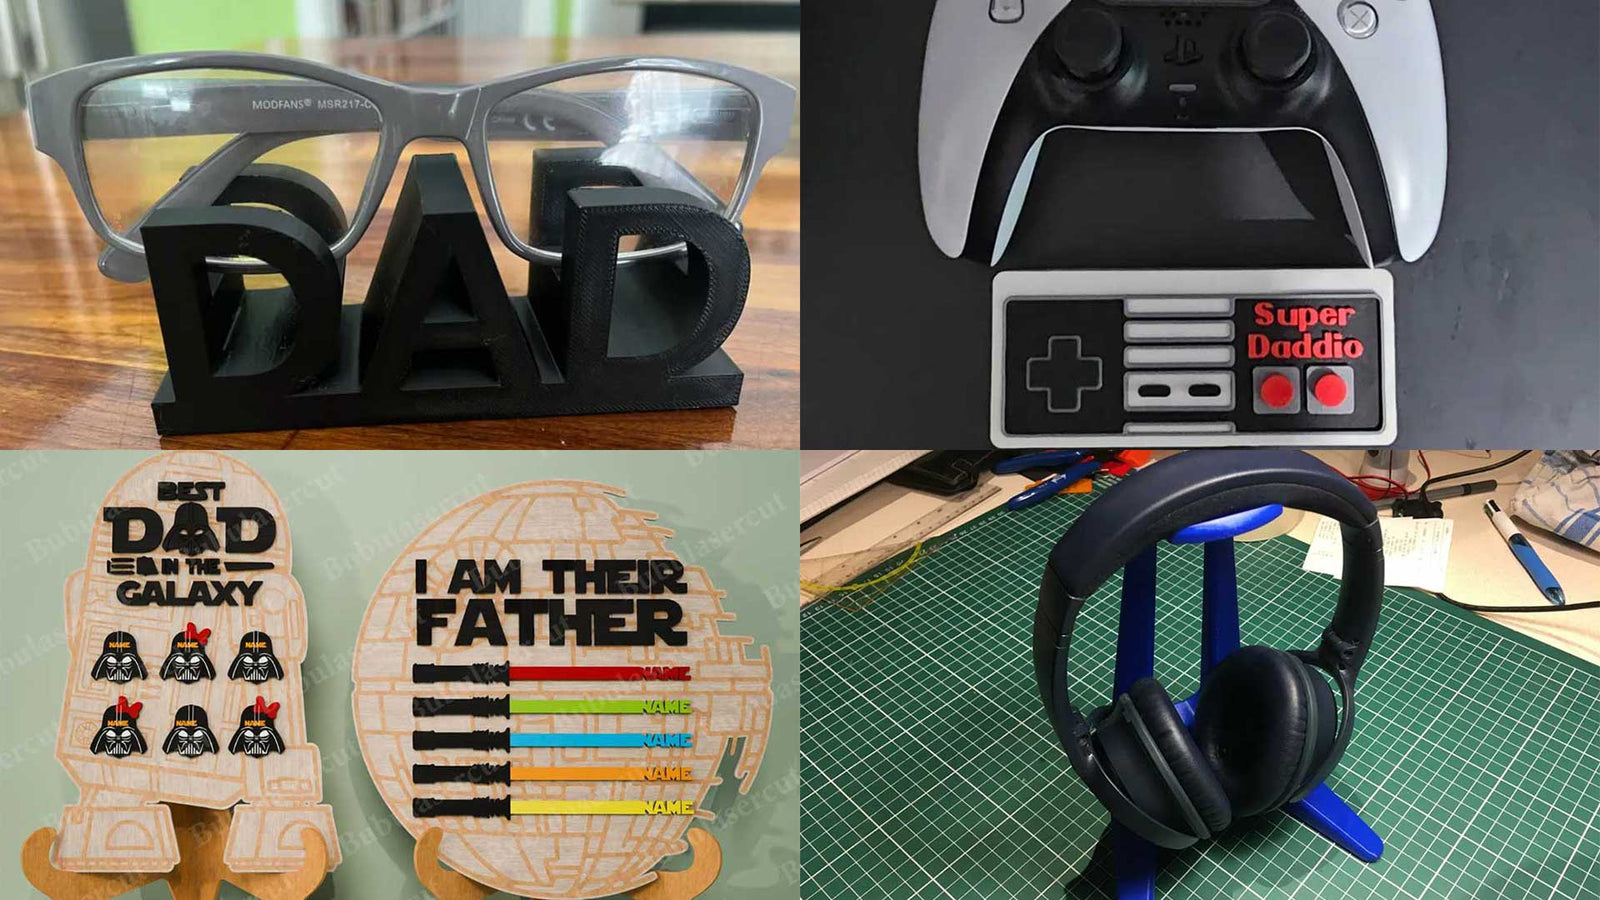
Best 3D Printed and Laser Cut Father's Day Gift Ideas in 2025!
Jun 12, 2025
Are you still searching for the perfect Father's Day gift for this year and finding... More
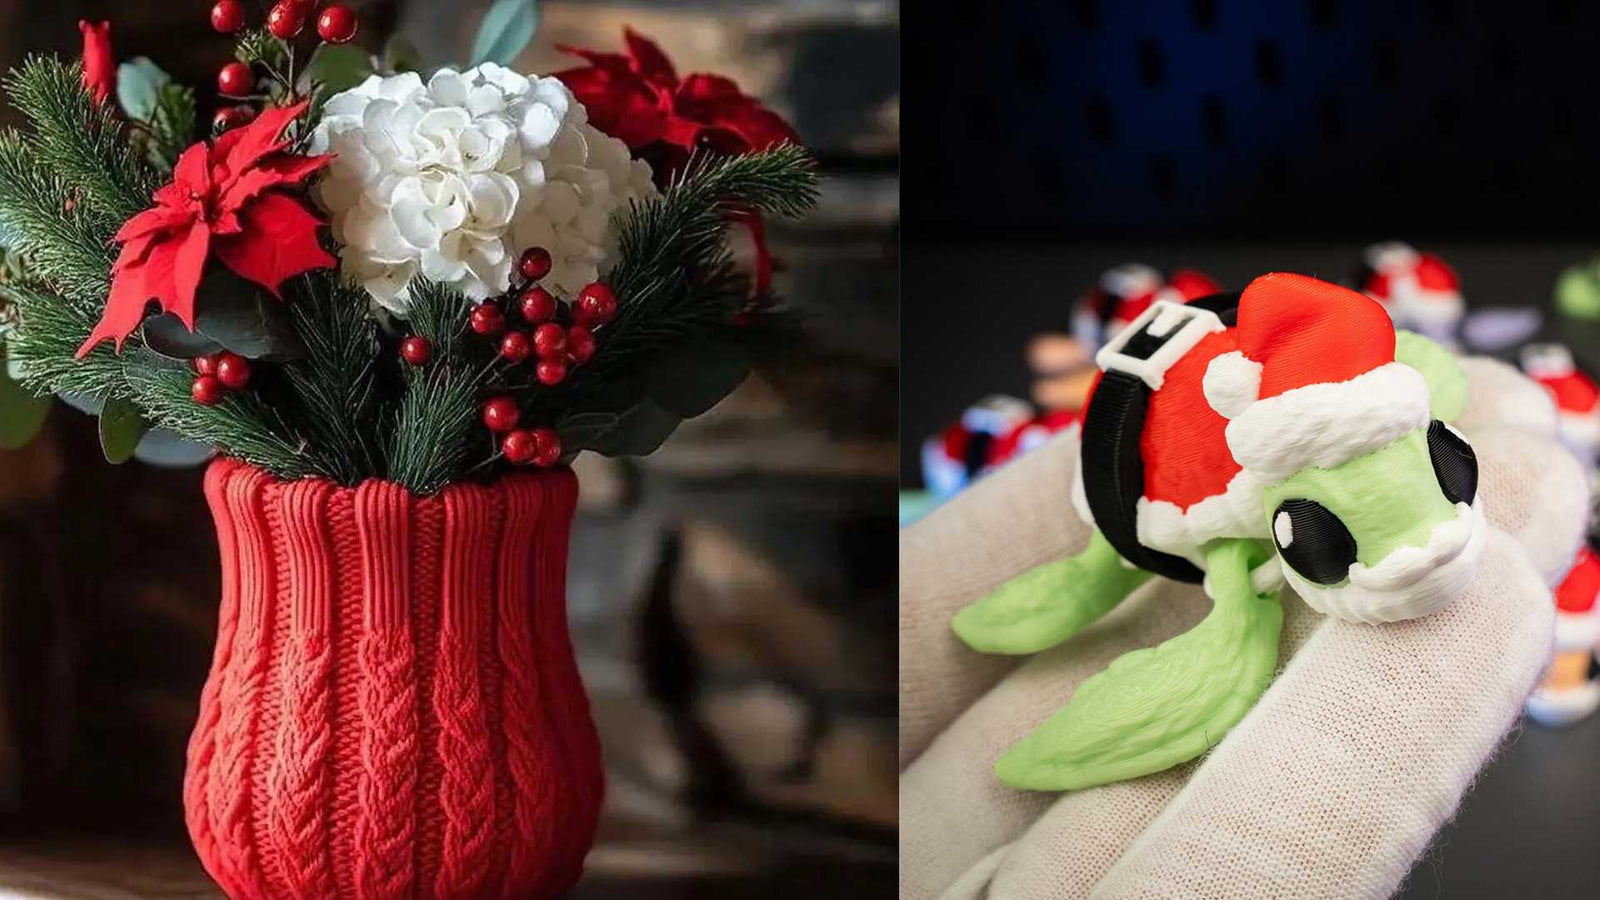
Fun Holiday 3D Printed Designs for 2024
Dec 17, 2024
It's holiday time again and we thought it would be fun to find some interesting... More
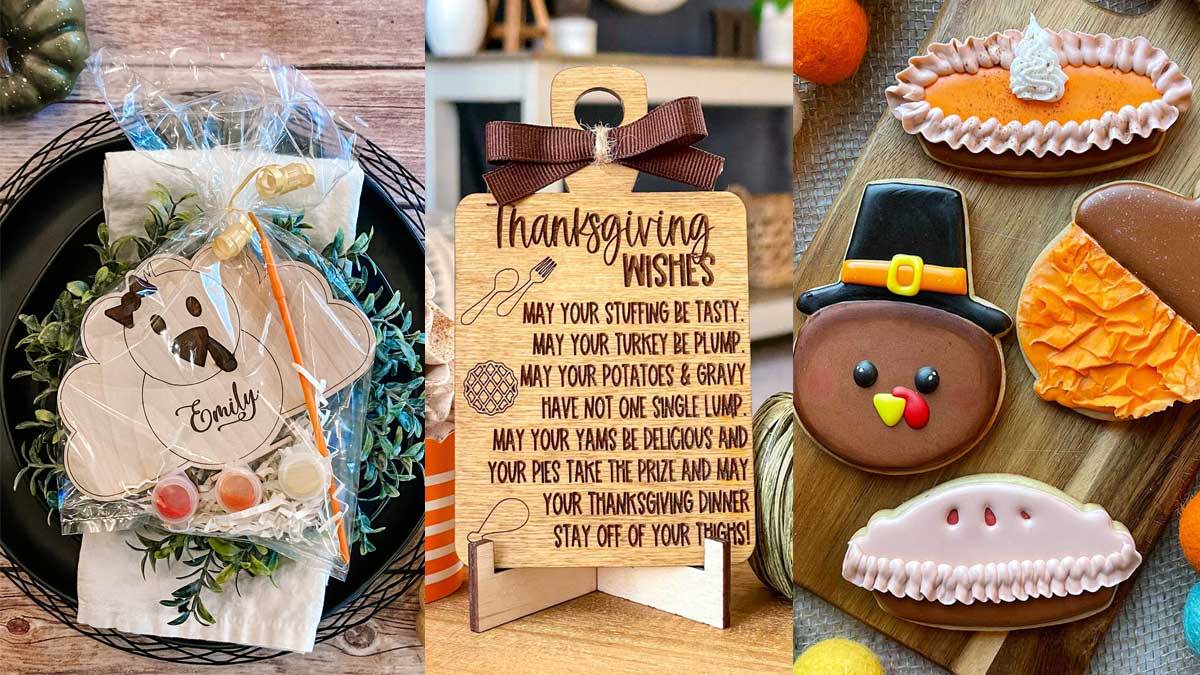
Thanksgiving Laser Cut and 3D Printed Project Ideas for 2024!
Sep 11, 2024
It's that time of year for holiday parties, family gatherings and feasting until we can't... More
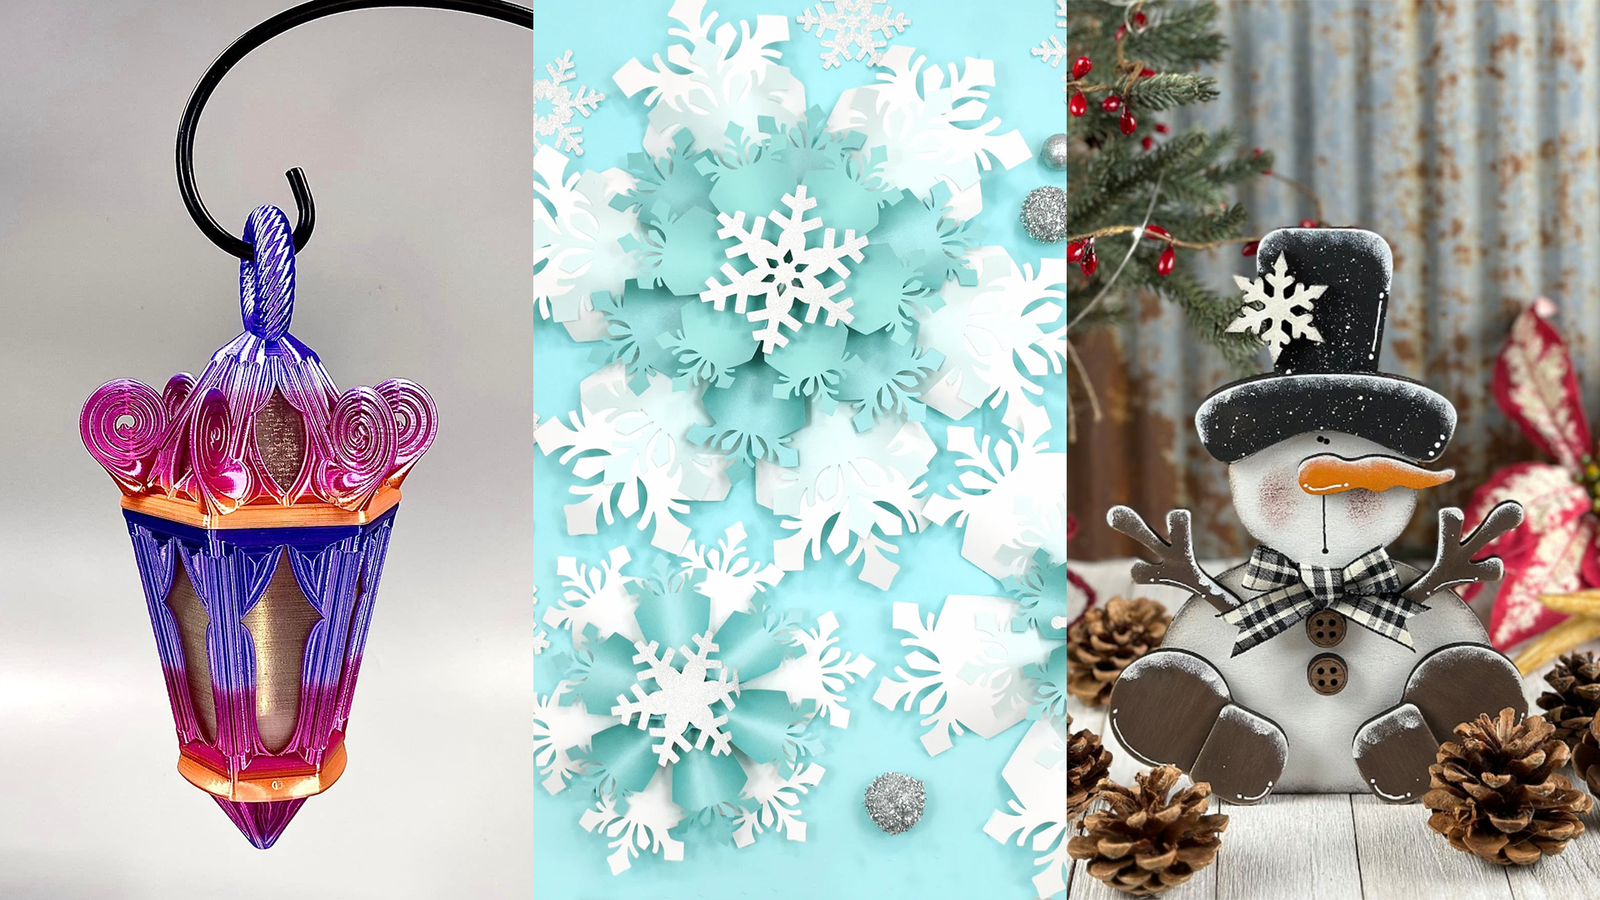
Laser Cut and 3D Printed Holiday Decoration Ideas
Sep 10, 2024
It's that time of year again! Time to fire up your 3D printers and laser... More
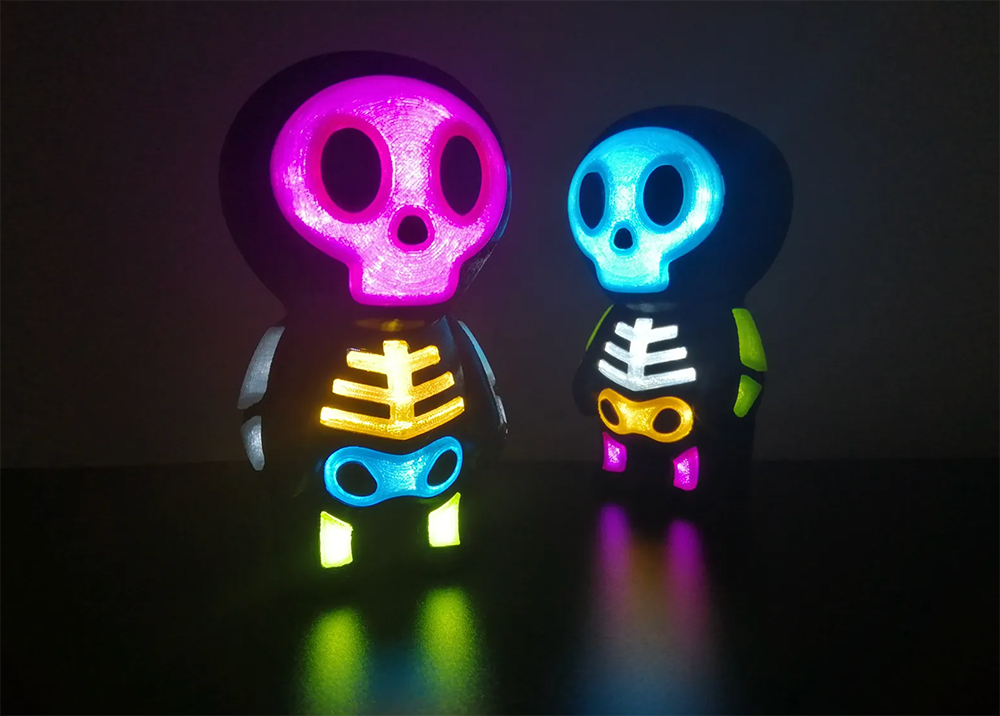
Halloween 3D Prints, Laser Cut and Thermoformed Designs!
Sep 10, 2024
It's spooky season again and the perfect time to fire up your 3D printers, thermoformers... More
Search All Articles
Latest Posts From Digital Fabrication Projects
All Blog Categories
-
3D Universe Untethered Video Podcast Series
-
Digital Fabrication in Education
-
Digital Fabrication Projects
-
Digital Fabrication Tutorials, Tips, and Tricks
-
Slicing Software
-
3D Printing Materials
-
Case Studies
-
Digital Fabrication Products
-
3D Forming (Vacuum Forming & Pressure Forming)
-
Laser Cutters
-
Digital Fabrication in the Workplace
-
3D Printed Prosthetics and Assistive Technology
-
3D Modeling (CAD)
-
Digital Fabrication in the News


