Painting Your 3D Prints
July 16, 2024
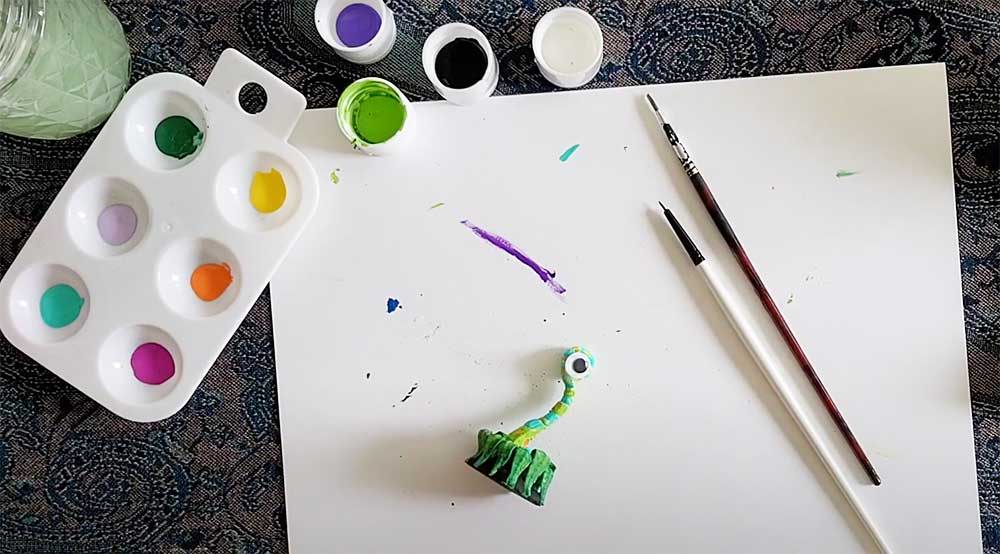
Whether you are 3D printing table top miniatures for gaming, home decor, cosplay costumes, jewelry, accessories, or anything else that sparks your imagination - sometimes you want to add a little more color and personality to your finished pieces by painting your 3D prints.
Below, we will share some helpful suggestions on how to go about taking your 3D prints to the next level of awesome with the process of painting using acrylics, enamels and spray paint, how to prep them and how to finish them safely.
What You Will Need to Get Started Painting 3D Prints
Depending on how detailed you want to get with your painted 3D prints, you will need to gather a few things to get started to make sure you can achieve the results you are hoping for as well as keep yourself safe while doing so.
Suggested items you may want to gather before you begin:
- Sandpaper and sanding blocks with different grades (for example: 220/320, 400/600 grit) keeping in mind that the larger the number listed on the package, the finer and smoother the result will be when you are finished sanding.
- Rotary tools, hand files, pliers and a knife to help sand down the models, take support materials off and prep it for sand paper applications.
- Spot putty to rebuild in the case of blemishes or cracks
- Paint Brushes of various sizes for fine detail work as well as general coatings
- Masking Tape/Painters Tape to protect paint as you layer
- A Spray booth/area for spray painting or air brushing
- Gloves and respirator to protect your eyes and lungs
- An old toothbrush, bottle brush or a fine scrub brush to remove dust and debris after sanding.
- Isopropyl alcohol to clean the prints after sanding
- Acrylic, Enamel, Spray or Model paints
- Primer for a base coat before you begin painting
- A dowel and a drill to mount your print to, for easy painting that will allow you to rotate as you print, without leaving finger prints on your finished product
- Regular and distilled water to clean your brushes and wipe your 3D prints to remove dust as you paint or to thin your paints for easier application and reduce the chance of brush strokes
- Soft cloth to wipe down prints after sanding
- Paper Towels for clean up or drying brushes between colors
- Wax paper, newspaper, parchment paper to set painted 3D prints to dry.
Which Type of Paint to Use for 3D Prints
There are a few different options for painting your 3D prints, depending on the type of material you are using to create them with your 3D printers.
Having a good coat or two of primer before beginning painting is highly recommended, no matter what color of filament or resin you have used to create your design.
-
Acrylic Paints - These are known to be the top choice for painting 3D printed objects because they are water based and easy to use, don't put out toxic fumes and are quick drying. Acrylics are one of the top choices for painting PLA materials as well as resin prints.
You can easily thin out your acrylic paints with water for air brushing and spraying and as a water soluble paint, it makes it much easier to clean up than enamle based paints.
Acrylic paints look the same dry as they do wet, so you will need to be careful to do even coats as it doesn't self level the way that enamel paints do.
-
Enamel Paints - These types of paints are known for their harder shell results as well as high glossy finishes but are also harder to use than acrylics and have a much longer drying time. Enamel paints are oil based and require using mineral spirits vs water to thin the paint when you are wanting different effects.
In order to fully dry enamel paints, the models will need 1-3 days to cure in a well ventilated area as the chemical reaction between the enamel paint and air, create toxic fumes that are dangerous to breathe in.
Enamel paints also resist peeling and discoloration and are self leveling so they reduce the chance of having brush strokes left on your finished products.
-
Spray Paint - Spray painting 3D printed parts is much like spray painting anything else. It is best to use a primer before beginning with the paints and should be done in a well ventilated area.
It is recommended to use a spray booth or fume hood when using spray paints, as well as a respirator to avoid breathing in toxic fumes and particles.
When choosing your paint, make sure to purchase spray paints that are specifically made to work with plastics for best results. Drying time generally ony takes about 30 minutes but you will want at least 24 hours for the finished product to fully cure and possibly more, depending on how many layers you are using.
A helpful tip or two when choosing to spray paint:- Spray and sweep side to side and up and down in even coats
- Do a test on cardboard or newspaper to flush the nozzle before you begin painting your project to make sure there are no dried paint particles or debris in the spray
- Do a practice test on a rock or wood block to figure out the correct distance to put your piece to get a quality spray coat
- Make sure your 3D print has been sanded and then wiped smooth and clean before you begin spray painting as spray paint will pick up any particles and bumps you may not see with your naked eye until you have already painted over it.
Smoothing Your 3D Prints
Sanding is the most time consuming and important step towards painting your 3D prints. SLA (resin) parts tend to come right off of the 3D printer with a generally smooth surface already, but you may need to lightly sand them to get them prepped for printing.
3D models made with FDM 3D printers will require much more work in the sanding department! Layer lines and spots where support materials were connected can be quite rough and will need to be sanded down evenly to ensure a nice finish when you paint the parts.
Start sanding with a lower grade sandpaper and then move up to a finer grade for a more smooth surface. Some folks prefer sanding blocks so they can have a better chance of an even surface as they are easier to apply consistent pressure vs basic sand paper that is more flimsy.
If you can't reach the small spaces, you can try using a dremel or rotary tool to get into the places where sandpaper or blocks will not reach.
Make sure you thoroughly clean your 3D print after sanding with water, alcohol and a dry soft cloth to remove any debris that may make your painted pieces harder to paint or produce unwelcome blemishes.
Priming Your 3D Prints for Painting
Before you begin priming and painting your 3D prints, make sure that you have removed all of the support material as well as cleaned off any remnants of adhesives and glue that you may have used to fix your print to the print bed so that the paint will stick evenly to your final project.
Once they have been sanded, cleaned and wiped down, you can begin the process of applying primers to your 3D prints in preparation for painting. Priming your 3D prints before painting them creates an even colored, smooth surface for you to work with.
When you start the process, make sure to mix the spray primer in the can with a swirling motion to move the little ball inside around and get everything mixed well together.
Once the primer is well mixed, do your first coat and rotate your part as you spray for even coats. Be mindful to watch out for pooling of primers so that you don't end up losing detail under the thickness of the primer. It's suggested to mount your 3D print to some dowels or a surface that you can rotate easily so you can get an even coating.
If you find spots that need to be filled, blemishes or cracks, use some spot putty to fill it in and respray
When spraying the final coat of primer, make sure to keep it light. Too thick will result in the loss of fine details you may want to retain in your final product.
The Painting Process
One of the best pieces of advice for painting anything, is to do a test spot before you start the whole process.
Once you begin, make sure that the first coat is completely dried (and cured) before you apply the next coat to make sure you don't get any defects or pooling of paint that will need to be buffed or sanded out again to get an even coat.
If you are using enamel or spray paint, wear a respirator and paint in a well ventilated area to protect your lungs from toxic chemicals and particles.
Airbrushing is a popular way to layer colors and make smooth transitions between shading and colors as well as applying even coats. You can water down acrylics easily for this process to produce a nice, even, light, spray.
Airbrushing is quite popular for painting 3D printed models but you can also use a paint brush, being mindful of brush strokes that may be left behind.
Make sure your 3D models are completely dry before handling them.
Finishing Your Painted 3D Prints with a Clear Coat
Once you have painted your piece and it has fully dried, it is time to apply a clear coat to help seal the paint with your chosen finish: glossy, semi-glossy or matte.
Clear coating your finished pieces helps to increase the life span of your project as well as improve wear resistence, especially for 3D prints that will be handled a lot (like table top gaming) or used outdoors (for UV protection).
This will help protect your hard work from scratches, chips, bumps and bruises and other marks that are bound to happen.
Before you start using your newly painted and finished item, make sure the piece has had sufficient time to dry. Generally, waiting at least 24/48 hours is recommended after applying a clear coat to your finished products.
Questions about SLA or FDM Printers and Painting 3D Printed Parts?
Do you still have questions about which type of 3D printer you want to purchase to make your 3D models?
Need help deciding which material would be best suited for your 3D printing needs?
Can't decide if you want to go with an FDM or SLA (resin) printer?
Feel free to reach out and ask us any questions you may have!
Email us at info@shop3duniverse.com for more information and answers to your questions!
Written By Jen Owen

Related Articles

Top Mother’s Day Gift Files to 3D Print, Laser Cut & Press at Home
Apr 29, 2026
Mother’s Day is quickly approaching! Now is the perfect time to create something for your... More

Crack Open Creativity: Easter Design Ideas for Makers
Apr 02, 2026
Spring is in the air, and that means it’s time to swap winter projects for... More

Make It With Love: Valentine’s Day Files for 3D Printing, Laser Cutting & More
Jan 29, 2026
Valentine’s Day is all about meaningful gestures—and nothing says “made with love” quite like something... More
A Rapid, Cost-Effective Camera Bracket Solution for Defense Applications
Sep 05, 2025
This week we are focusing on a custom 3D printed camera bracket developed for military... More
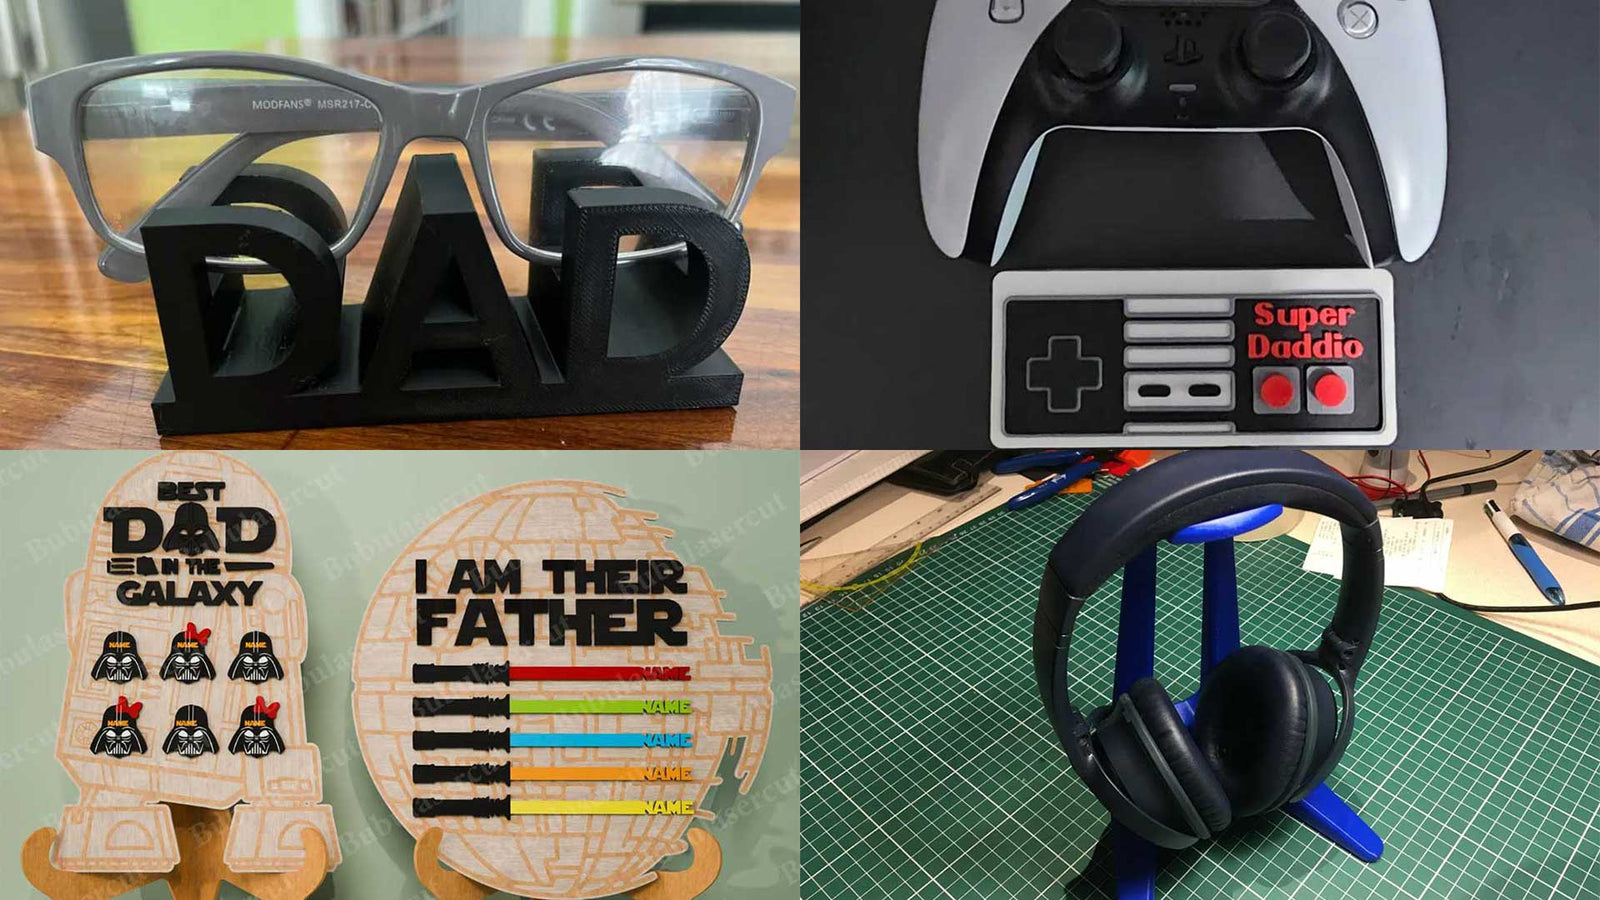
Best 3D Printed and Laser Cut Father's Day Gift Ideas in 2025!
Jun 12, 2025
Are you still searching for the perfect Father's Day gift for this year and finding... More
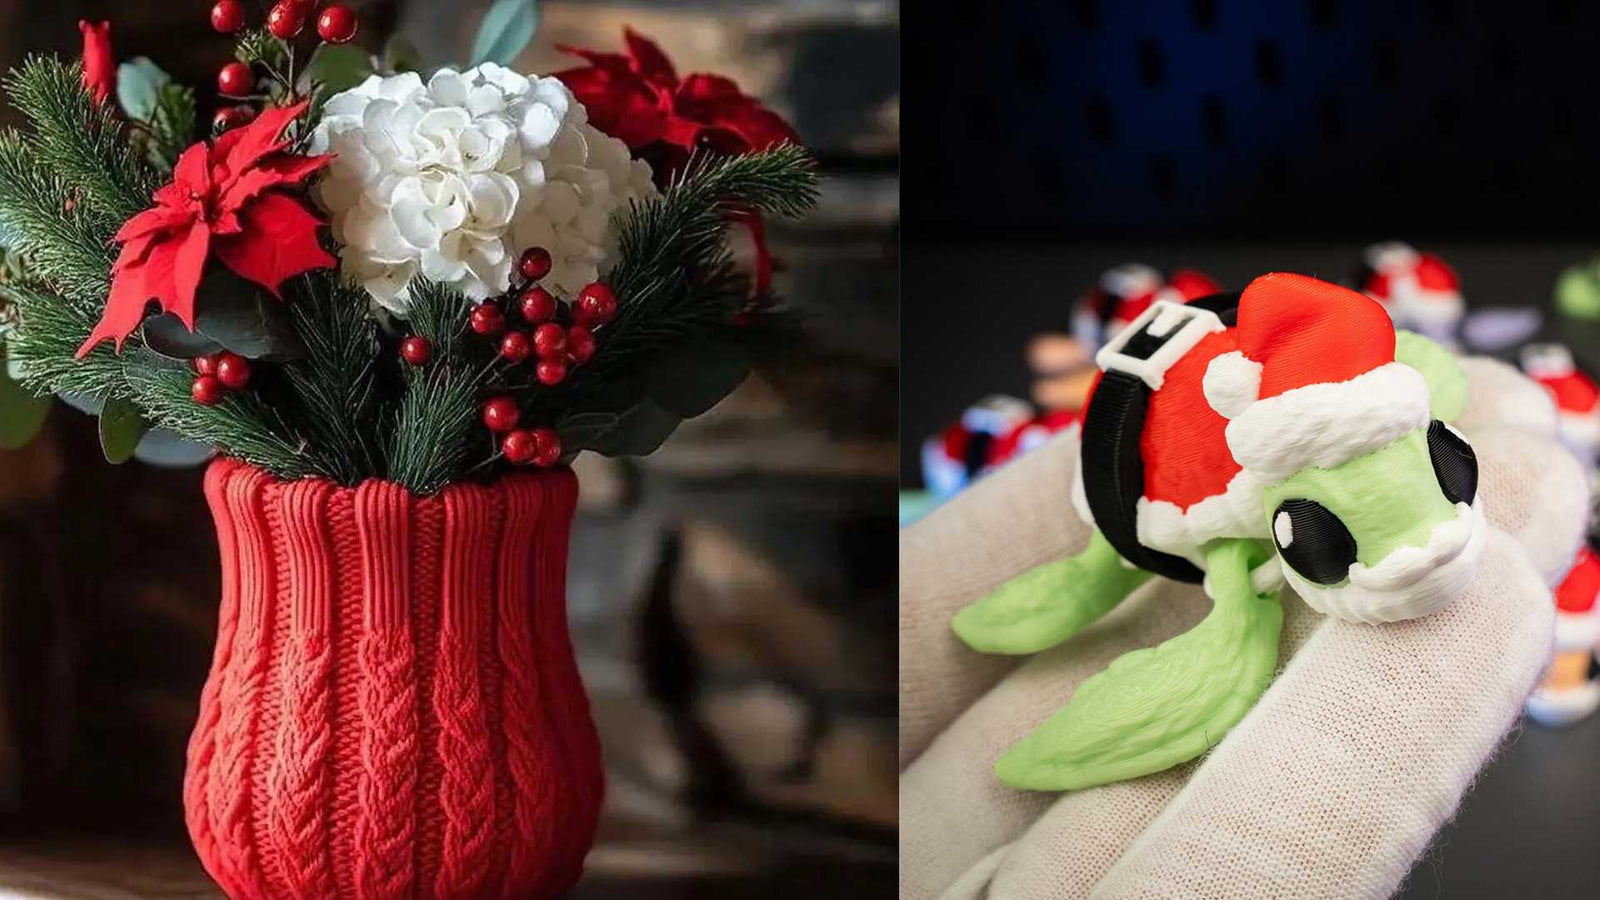
Fun Holiday 3D Printed Designs for 2024
Dec 17, 2024
It's holiday time again and we thought it would be fun to find some interesting... More
Search All Articles
Latest Posts From Digital Fabrication Projects
-

Top Mother’s Day Gift Files to 3D Print, Laser Cut & Press at Home
-

Crack Open Creativity: Easter Design Ideas for Makers
-

Make It With Love: Valentine’s Day Files for 3D Printing, Laser Cutting & More
-

A Rapid, Cost-Effective Camera Bracket Solution for Defense Applications
-

Best 3D Printed and Laser Cut Father's Day Gift Ideas in 2025!
All Blog Categories
-
3D Universe Untethered Video Podcast Series
-
Digital Fabrication in Education
-
Digital Fabrication Projects
-
Digital Fabrication Tutorials, Tips, and Tricks
-
Slicing Software
-
3D Printing Materials
-
Case Studies
-
Digital Fabrication Products
-
3D Forming (Vacuum Forming & Pressure Forming)
-
Laser Cutters
-
Digital Fabrication in the Workplace
-
3D Printed Prosthetics and Assistive Technology
-
3D Modeling (CAD)
-
Digital Fabrication in the News


