Introducing the Raptor Hand by e-NABLE
June 08, 2023

I had the rare privilege recently to work with a team of amazing individuals to help design the Raptor Hand by e-NABLE. This is the latest model of 3D printable prosthetic hands.
The 3D modeling work was done by Ivan Owen, Peter Binkley, Frankie Flood, and Andreas Bastian I provided project management and coordination, as well as 3D printing and testing of design iterations.
These guys are my heroes! I've been doing project management for over 20 years, but I've never witnessed a team work so effectively and efficiently as what I witnessed with this team.
They started with a blank slate, designed original 3D models for all the parts of the Raptor Hand, including many iterations and improvements - and all within a period of less than one month, on top of working their full-time jobs!
The Raptor Hand by e-NABLE was introduced at the recent Prosthetists Meet Printers conference with Johns Hopkins. Please check out Jen Owen's terrific blog post describing that event. I can't possibly describe it any better than she did.
The design this team came up with is truly elegant. A lot of thought was given to what worked best with previous designs, and where there were issues that could be improved upon.
The Raptor Hand is intended to bring together the best and most widely tested ideas from a year of crowdsourced innovation.
The objectives in designing the Raptor Hand were as follows:
- To simplify fabrication and assembly and repair for makers and recipients alike
- To provide a platform and reference design for future innovations, incremental and radical
- To identify a core features set and standardized dimensions embodied in accessible 3D models with progressive licensing terms that will ensure widespread availability and future development.
e-NABLE's prior 'go to' designs included the Cyborg Beast, the Talon hand, the Ody hand, and the Talon Beast.
To these classics, the Raptor Hand by e-NABLE adds the following features:
- Easier and quicker printing (no supports required)
- Easier and quicker assembly (no Chicago Screws required, simplified cord installation)
- An improved tensioning system (modular design, allowing for easier future development)
- Improved documentation (in progress)
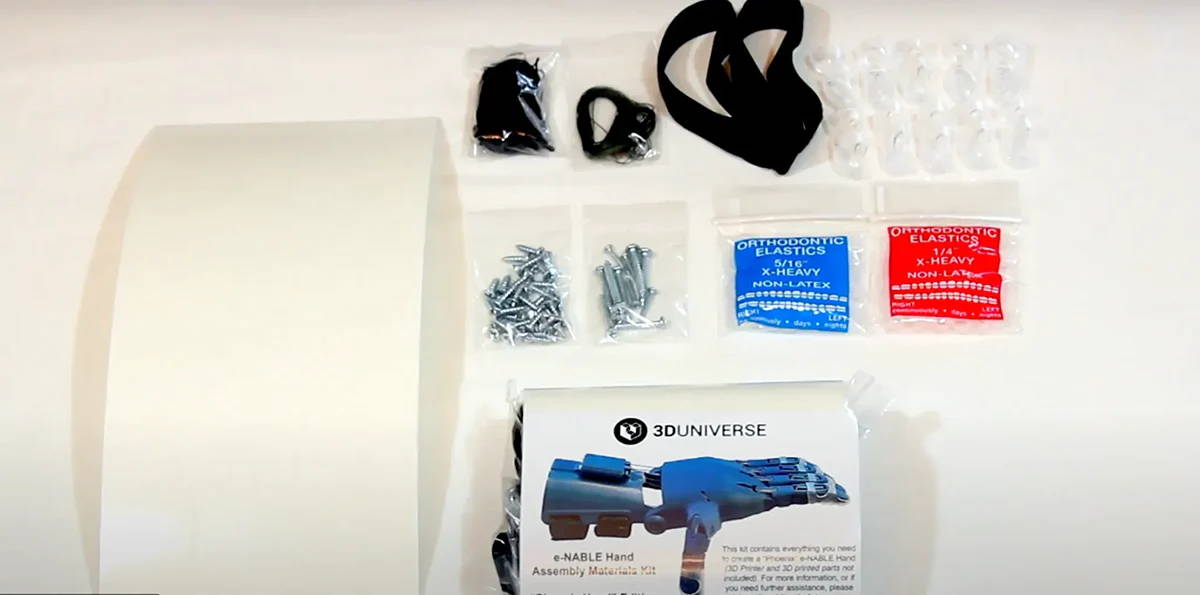
All of the parts needed for assembly can be found easily in most areas. If you prefer to get everything in one place, 3D Universe offers assembly materials kits with all the parts needed for producing a Raptor Hand.
Instructions
The Raptor Hand instruction manual is in the process of being developed. Until then, please refer to the following video tutorial for assembly instructions.
Printing instructions:
- Print without supports (palm and gauntlet have some supports built into the model)
- Scale all parts as needed (the Raptor Hand is designed to work at scales from 100% through 170%)
- At 100%, the inside of the palm area measures 55mm
- Measure across the widest part of the palm, then add 5mm for padding, then divide by 55 to get the scaling factor (for example, if the palm is 65mm wide, then 65 + 5 = 70, and 70 / 55 = 1.27 - so your scaling multiplier would be 1.27 or 127%)
- PLA is recommended for this design
- Suggested settings are 0.2mm layer height, 35% infill, 2 outlines
- Refer to file names for part descriptions. The number in square brackets at the end of each file name indicates how many copies of that STL file need to be printed for a complete hand assembly.
Parts reference:

If you have a 3D printer with a large enough build plate, you can print all of the parts for an entire Raptor Hand in one pass.
STL files for printing a Raptor Hand can be downloaded from:
Thingiverse: http://www.thingiverse.com/thing:476403
YouMagine: https://www.youmagine.com/designs/the-raptor-hand-by-e-nable
Learn more about getting started with e-NABLE HERE.
Learn about e-NABLE Web Central HERE.
More 3D Universe blog posts:
Learn how to assemble the 'tensioner' lines on the Cyborg Beast 3D printed prosthesis HERE
My Cyborg Beast 3D Printed Prosthesis: Assembly and Testing post can be found HERE
Check out my post titled 'Man Compares His $50 3D Printed Hand to His $42K Prosthesis' HERE
Written By Jeremy Simon

There is so much happening in 3D printing right now! There is an enormous global community driving development, aided by each others’ efforts thanks to the Internet....
Related Articles
e-NABLE 3D Printed Hand Assembly Materials Kits - Now Compatible with Phoenix and Kinetic Hand Designs!
Mar 13, 2024
At 3D Universe, we are very passionate about using 3D printing for the greater good... More
FREE 3D Printed Hands and Arms | 10+ Years of the e-NABLE Communty
Dec 13, 2023
The e-NABLE open-source community is a group of committed volunteers who are using 3D printing... More
The e-NABLE Community and How to Get Involved
Sep 26, 2022
Are you interested in getting the e-NABLE project into your classroom? Enjoy a round-table panel... More

COVID-19 Accelerates the Fourth Industrial Revolution
Jan 07, 2021
“The Fourth Industrial Revolution is a way of describing the blurring of boundaries between the... More
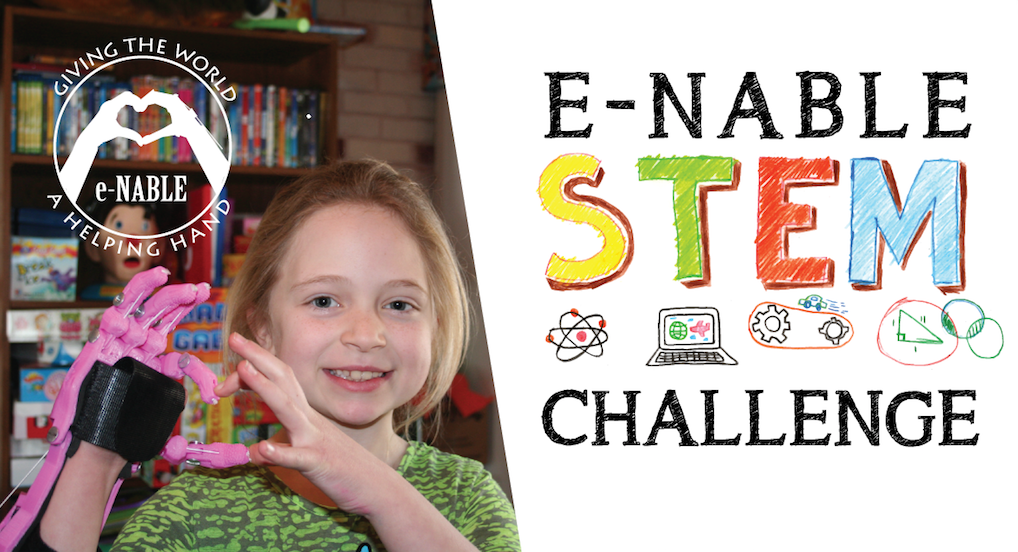
e-NABLE STEM Challenge Winners Announced!
Mar 09, 2020
The #enableSTEMchallenge Back in February, e-NABLE teamed up with 3D Universe, Ultimaker, Bit Space Chicago... More
Positive Ways 3D Printing Impacts Humanitarian Aid
Dec 02, 2019
Relief efforts for those affected by natural disasters or wars around the world are often... More
Search All Articles
Latest Posts From 3D Printed Prosthetics and Assistive Technology
-

e-NABLE 3D Printed Hand Assembly Materials Kits - Now Compatible with Phoenix and Kinetic Hand Designs!
-

FREE 3D Printed Hands and Arms | 10+ Years of the e-NABLE Communty
-

The e-NABLE Community and How to Get Involved
-

COVID-19 Accelerates the Fourth Industrial Revolution
-

e-NABLE STEM Challenge Winners Announced!
All Blog Categories
-
3D Universe Untethered Video Podcast Series
-
Digital Fabrication in Education
-
Digital Fabrication Projects
-
Digital Fabrication Tutorials, Tips, and Tricks
-
Slicing Software
-
3D Printing Materials
-
Case Studies
-
Digital Fabrication Products
-
3D Forming (Vacuum Forming & Pressure Forming)
-
Laser Cutters
-
Digital Fabrication in the Workplace
-
3D Printed Prosthetics and Assistive Technology
-
3D Modeling (CAD)
-
Digital Fabrication in the News


