How to Assemble the "Tendon" Lines for the Cyborg Beast
June 08, 2023

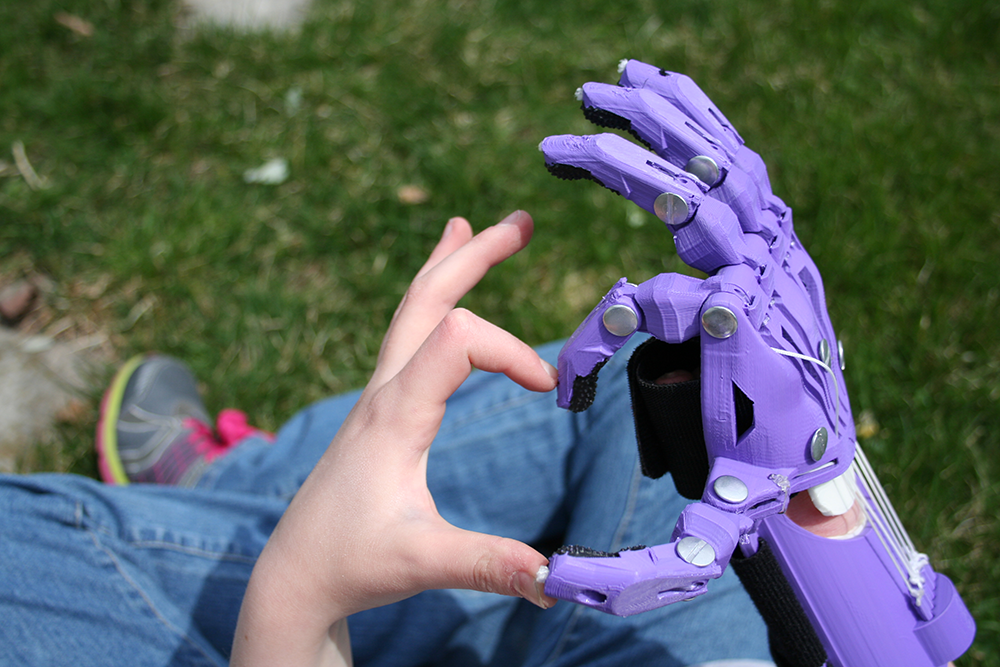
After posting another video showing the overall assembly process for the Cyborg Beast. I was asked to show how to assemble the ?tendon? lines for the Cyborg Beast 3D printed prosthesis in more detail.
Below you will find Part 2 of Assembling the Cyborg Beast, showing a close-up view of how to install those tendon lines.
A big thanks to the great work of those who contributed to the Cyborg Beast prosthesis, including Jorge Zuniga, Frankie Flood, Ivan Owen, David Orgeman, and others in the e-NABLE community.
For more information about the e-NABLE community, please visit http://enablingthefuture.org.
To purchase the assembly materials for the Cyborg Beast 3D printed prosthesis click HERE.
More 3D Universe blog posts:
My Cyborg Beast 3D Printed Prosthesis: Assembly and Testing post can be found HERE?
Check out the Flexy-Hand HERE?
Written By Jeremy Simon

There is so much happening in 3D printing right now! There is an enormous global community driving development, aided by each others’ efforts thanks to the Internet....
Related Articles
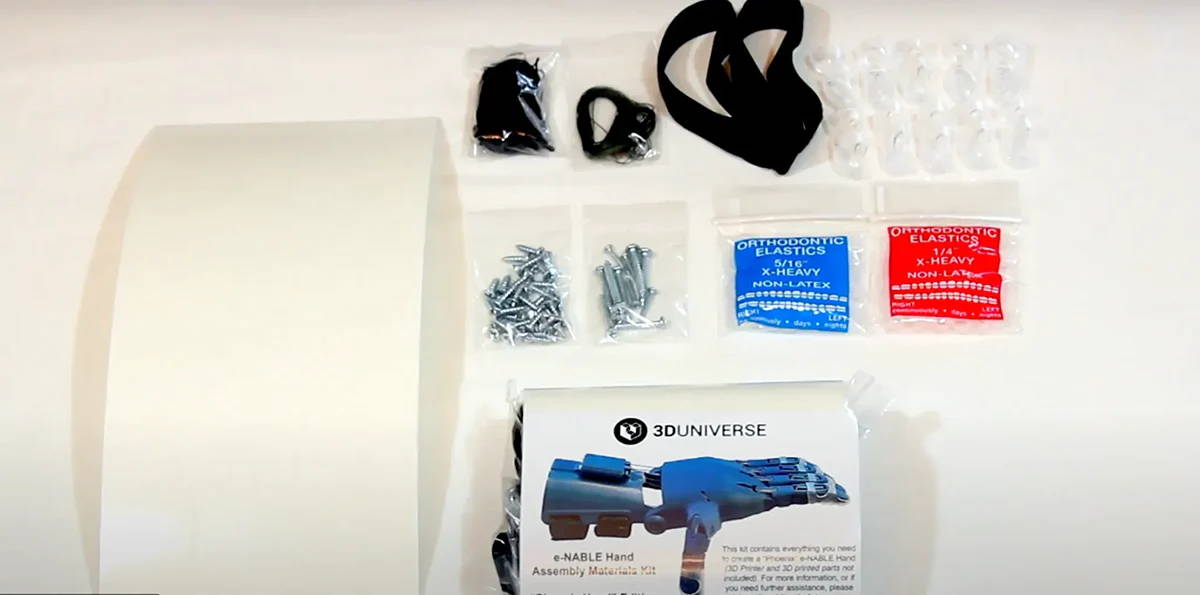
e-NABLE 3D Printed Hand Assembly Materials Kits - Now Compatible with Phoenix and Kinetic Hand Designs!
Mar 13, 2024
At 3D Universe, we are very passionate about using 3D printing for the greater good... More
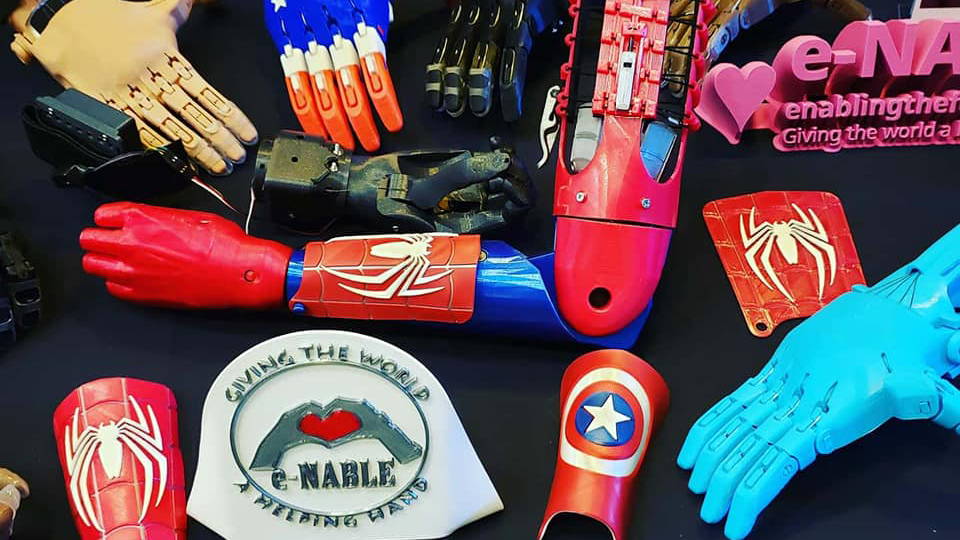
FREE 3D Printed Hands and Arms | 10+ Years of the e-NABLE Communty
Dec 13, 2023
The e-NABLE open-source community is a group of committed volunteers who are using 3D printing... More
The e-NABLE Community and How to Get Involved
Sep 26, 2022
Are you interested in getting the e-NABLE project into your classroom? Enjoy a round-table panel... More

COVID-19 Accelerates the Fourth Industrial Revolution
Jan 07, 2021
“The Fourth Industrial Revolution is a way of describing the blurring of boundaries between the... More
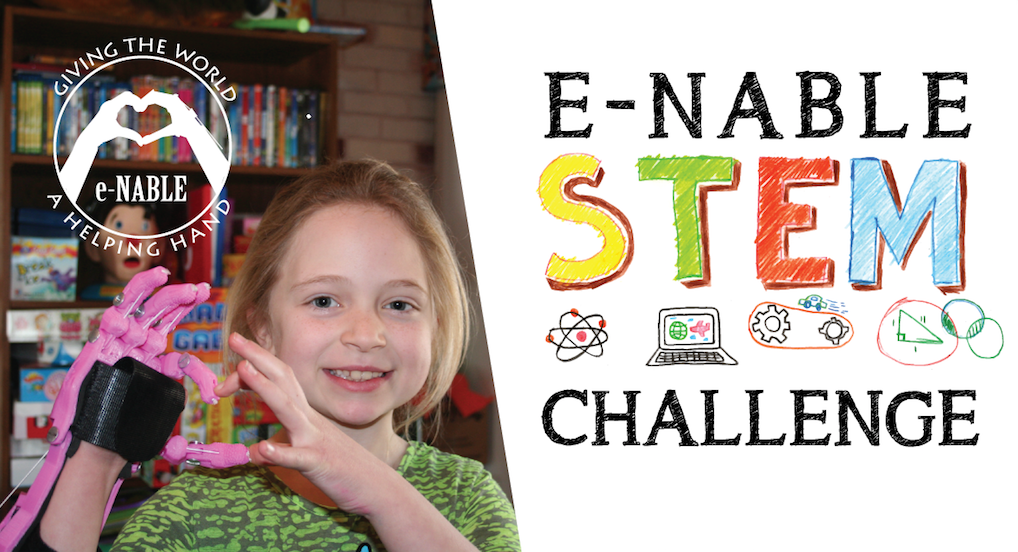
e-NABLE STEM Challenge Winners Announced!
Mar 09, 2020
The #enableSTEMchallenge Back in February, e-NABLE teamed up with 3D Universe, Ultimaker, Bit Space Chicago... More
Positive Ways 3D Printing Impacts Humanitarian Aid
Dec 02, 2019
Relief efforts for those affected by natural disasters or wars around the world are often... More
Search All Articles
Latest Posts From 3D Printed Prosthetics and Assistive Technology
-

e-NABLE 3D Printed Hand Assembly Materials Kits - Now Compatible with Phoenix and Kinetic Hand Designs!
-

FREE 3D Printed Hands and Arms | 10+ Years of the e-NABLE Communty
-

The e-NABLE Community and How to Get Involved
-

COVID-19 Accelerates the Fourth Industrial Revolution
-

e-NABLE STEM Challenge Winners Announced!
All Blog Categories
-
3D Universe Untethered Video Podcast Series
-
Digital Fabrication in Education
-
Digital Fabrication Projects
-
Digital Fabrication Tutorials, Tips, and Tricks
-
Slicing Software
-
3D Printing Materials
-
Case Studies
-
Digital Fabrication Products
-
3D Forming (Vacuum Forming & Pressure Forming)
-
Laser Cutters
-
Digital Fabrication in the Workplace
-
3D Printed Prosthetics and Assistive Technology
-
3D Modeling (CAD)
-
Digital Fabrication in the News


