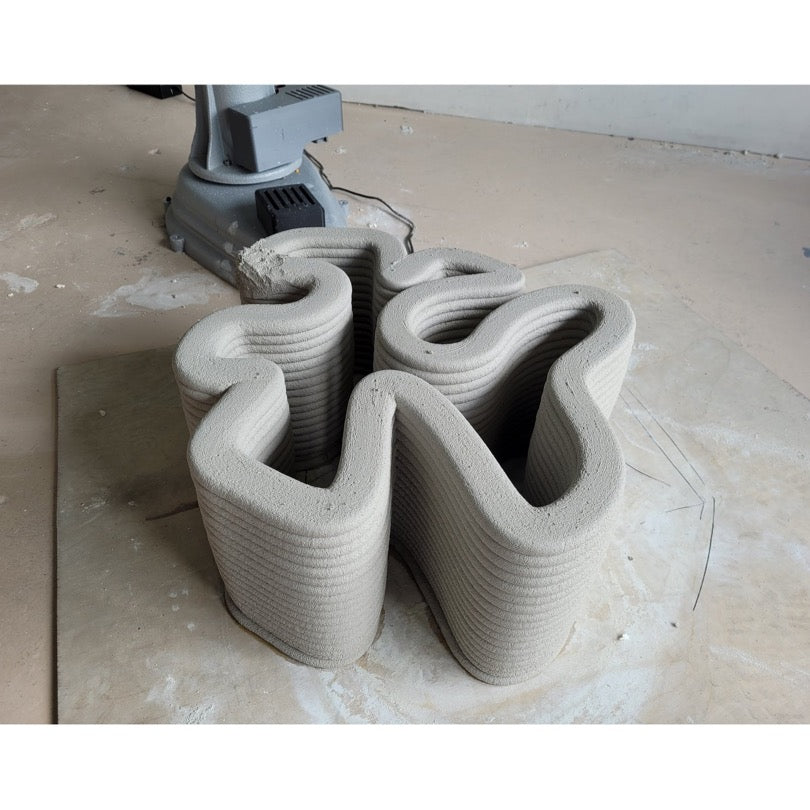
3D PotterBot Scara Elite Roadrunner
Large-scale 3D ceramic and cement printing
By 3D PotterRequest A Quote
To request a quote, please fill out the form below.
You can also call us at 800-689-4344 or email us at info@3duniverse.org.
Or fill out the form below, and we'll reach out within one business day.

Teachers, Educators, & Administrators
If you're part of an academic institution, we're committed to collaborating with you to arrange exclusive pricing and flexible payment options. Simply request a quote using the form below to get started, and when you're ready to order, we'll provide Net 30 payment terms for qualifying organizations.

State & Local Goverment Agencies
We offer special pricing for government agencies. 3D Universe is an authorized GSA contractor and has UEI, CAGE, and SAM codes available. Simply request a quote using the form below to get started, and when you're ready to order, we'll provide Net 30 payment terms for qualifying organizations.
Overview
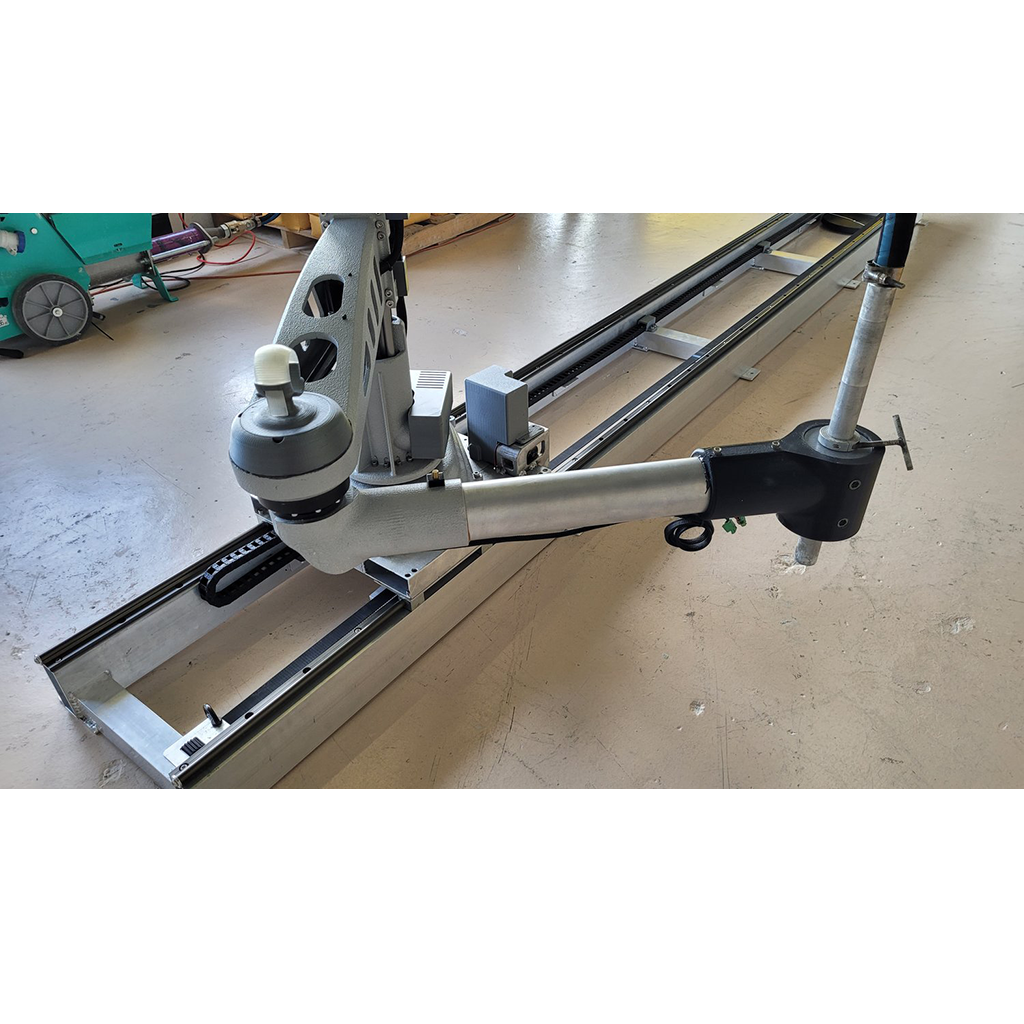
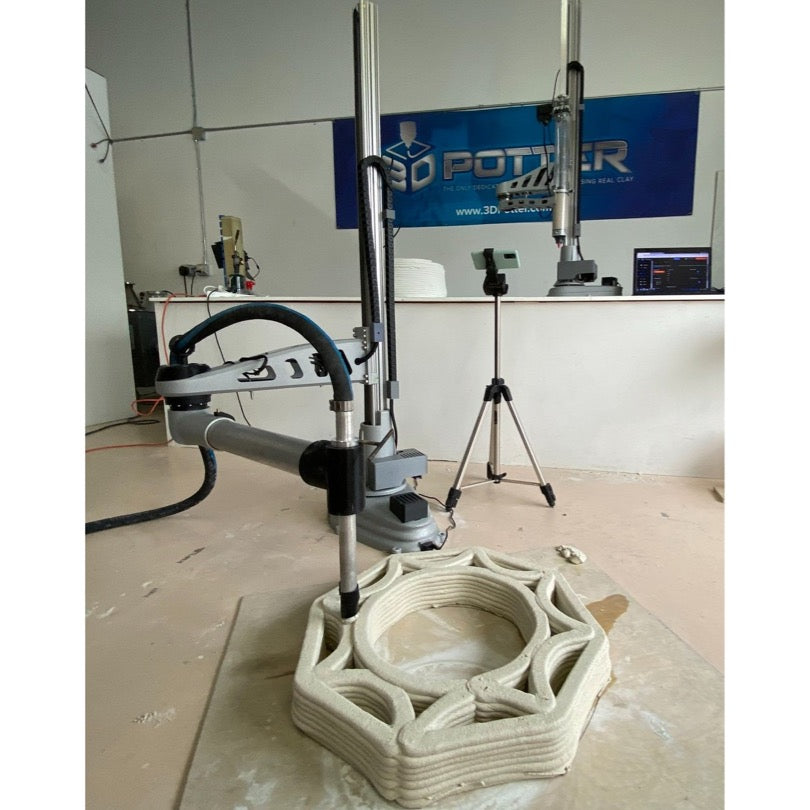
Scara Elite Roadrunner
This is the 3D Potter Scara Elite v2 Printer combined with the Roadrunner track.
It adds another axis of control, allowing you to make even larger creations, such as full size structures and walls. Include a pump and you are ready to start printing!
Scara Elite V2
The Scara Elite v2 is 3D Potter's refined viable large-scale ceramic 3D printer. The Elite prints with clay or cement and has a much larger build volume than the Scara v4.
The advanced design and substantial construction can handle onboard loads like the 3D Potter 4000ml clay extruder or a hose assembly. Where the v2 really shines is when it's coupled with a large capacity continuous high-pressure hose extrusion system which can deliver clay loads between 85 - 250 lbs of continuous extrusion.
Speed and Noise
The Scara Elite v2 is capable of extreme speeds however speed is relative when it comes to ceramic 3D printing. Realistically you won’t want to exceed 130 mm/s. Many factors determine the speed like nozzle size, layer height, and achieving a good adhesion on the interlayer of the clay.
Even with a fast printing speed the printer maintains low noise, which allows operation in any area without disturbing the surrounding environment.
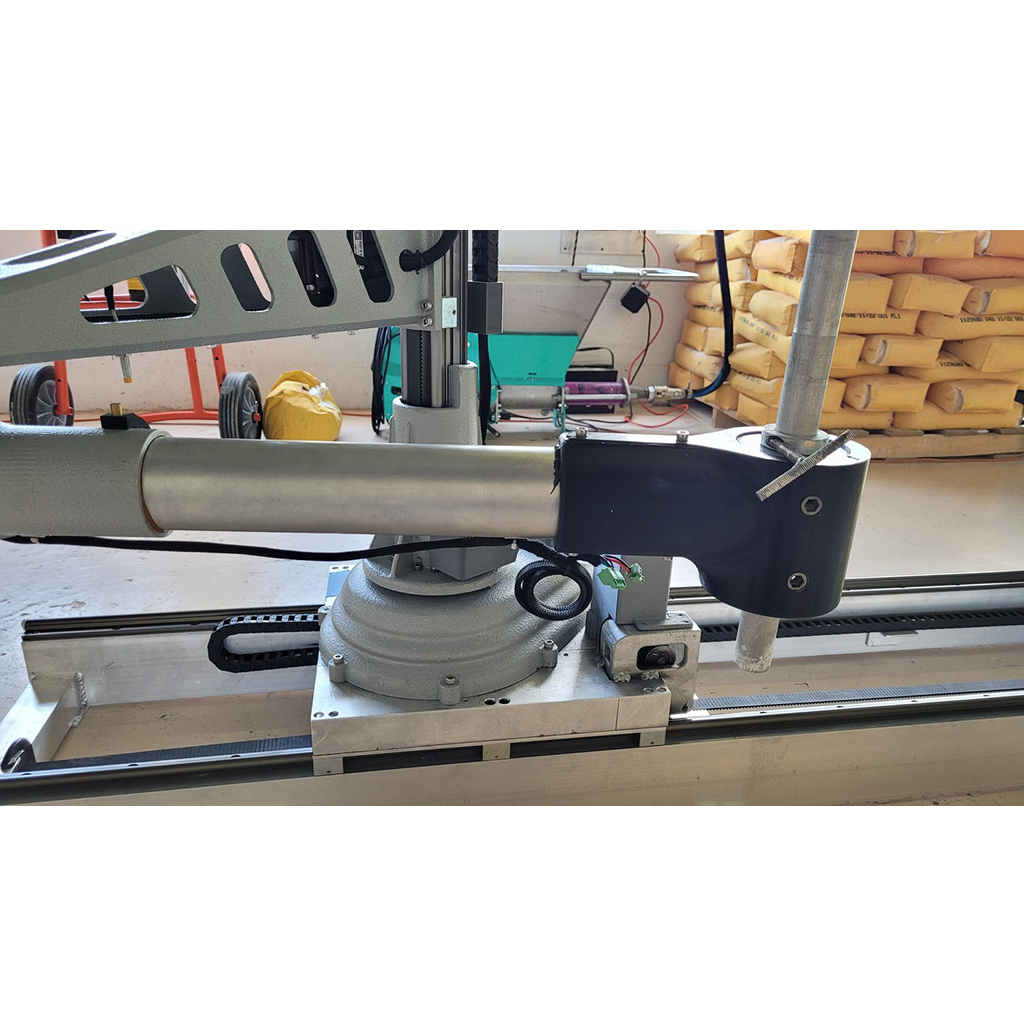
Construction and Design
3DPotter was able to achieve high precision and accuracy with this large Scara arm robot only through diligent design and robust construction techniques. The majority of this printer is crafted out of heavy aircraft grade 6061 aluminum utilizing CNC and welded components for maximum strength and rigidity. The main rail components are from IGUS* which is one of the leading German manufacturers of precision guide rails.
The drive motors are a brand very sophisticated hybrid closed-loop stepper motors. These have onboard computers with telemetry that continually update their position for zero error positioning.
Drive Mechanisms
This is a dedicated heavy-duty purpose-built robot.
The main drives are sophisticated harmonic drive units**. These are the same drives used on large industrial robots similar to the ones that are now in many large manufacturing facilities. These drives are extremely heavy-duty and capable of precision movement down to fractions of a second of a degree.
This means very precise prints with no backlash or jittery movements at realistic speeds. These drives are designed for maximum rigidity with extreme accuracy.
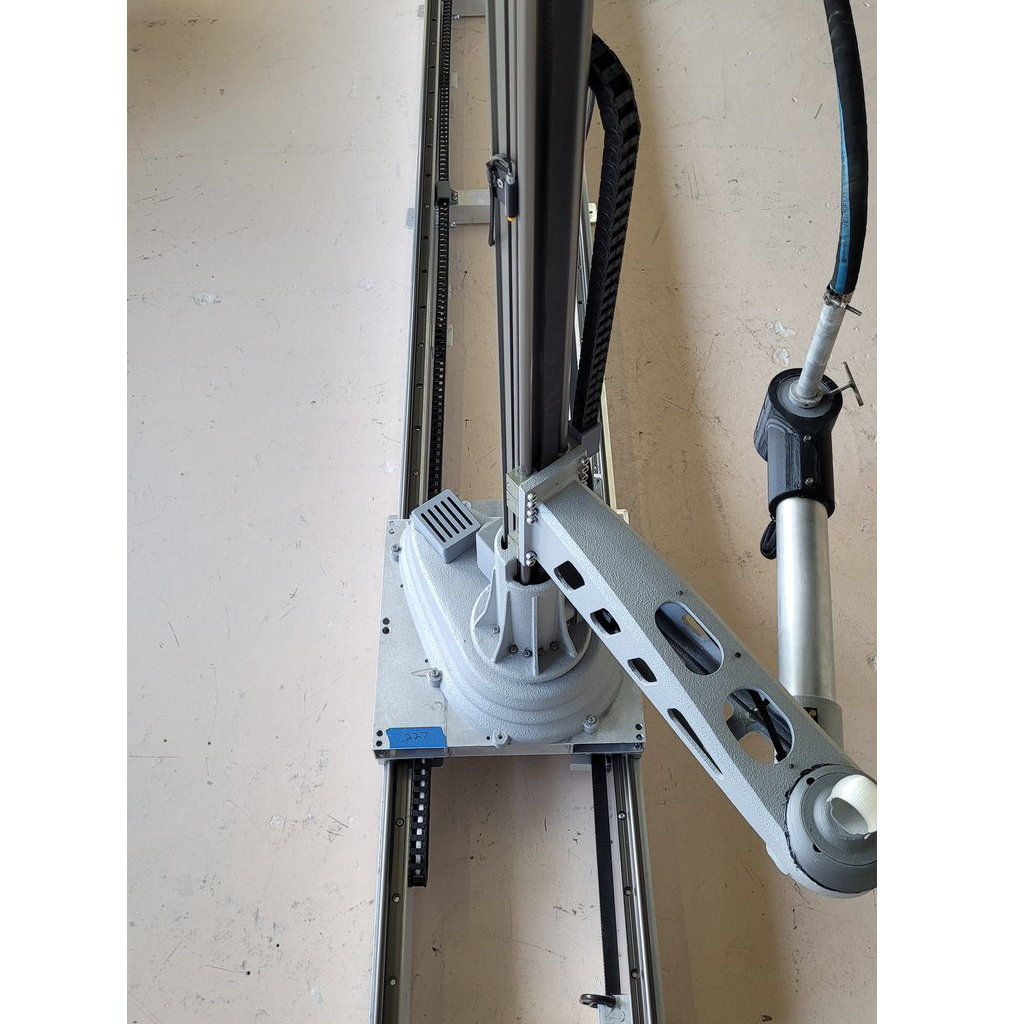
Space Needed For Setup
The real advantage is this machine can be positioned on a substantial table top and you can start printing right away within a limited envelope area. Or you can give it its own dedicated space for partial or full envelope.
The space needed is really determined by the end-user and how much of the print envelope they choose to use. Whether on the table top or on the floor, the Scara Elite will require direct mounting for maximum stability.
This is achieved with multiple screws to secure the printer to the surface it is on. If you choose to use a tabletop it must be of substantial construction, the minimum is 1.5" thick heavy plywood or wood construction. If a inadequate table is used, the results from the printer will be diminished depending on the build envelope and speed at which the prints are created with.
Software Requirements
None! The only requirements is a web browser interface.
For object generation, the Scara Elite is similar to the rest of the 3D Potter line ceramic printers. Like any other 3D printer it requires an STL file to be sliced by a third-party program. We recommend using Simplify3D. Then transfer the file onto the printer’s SD card via WiFi.
User Interface (Wifi)
Duet Web Control is a fully developed UI for the Scara. Opened in a web browser, it can be used on your laptop, tablet, phone, or other WiFi capable device.
Print Status
Once a print is started, it shows information about the model being printed. Layer times, estimated time remaining, file information and more are available for view. It also allows for print and extrusion speed control to be adjusted in real-time.
G-Code Files
The G-Code Files page allows g-code files for printing to be uploaded, edited, or downloaded. A summary of the file is given such as size, layer height, and what the file was generated by.
Build Envelope
The Scara Elite offers 68 inches in Z height and 112 inches in diameter.
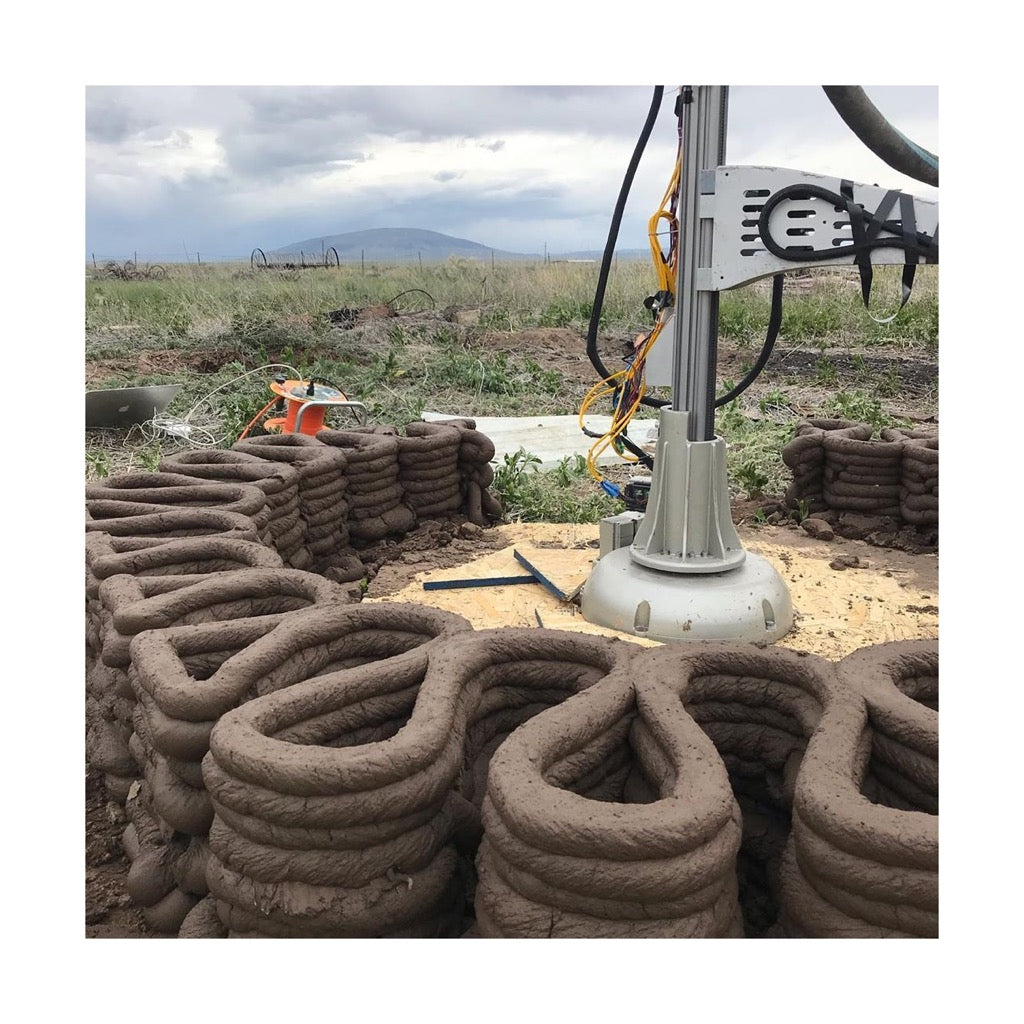
The build envelope is quite unique because it's capable of printing 360 degrees with continuous rotation. This means you can create a huge vessel with the printer initially residing inside the vessel or structure. This opens up the possibility to print small habitats and structures (houses). Larger printers are available for this potential habitat project.
Another unique ability is printing multiple objects within the specified envelope in a sequential mode. For instance, you could print a particular vessel starting on the far left side and continue to print these vessels until there is no more space left.
Print Area
For PDF drawings see the links below
3D Potterbot Ceramic Printer Comparison Chart
Package Contents
3D PotterBot Scara Elite Roadrunner
Package Contents
What's Included
- Scara Elite v2 and Roadrunner Rail System
- Power Supply
- Hex Key Set
Specifications
Specifications
Printing Envelope:
X- 248” (6300mm)
Y- 110” (2800mm)
Z- 68” (1727mm)
Minimum Printing Envelope:
X- 157" (4000 mm)
Y- 39" (1000 mm)
Printer size:
W-22” L-162” H-95”
Maximum Operational space needed: W-116” L-278” H-100”
Weight with rail system: ~120lbs. (~54kg)
Normal operational space needed: W-~48” L-~60” H-~90”
Average speed: 1.2’’ to 3.9’’/s (30 to 100 mm/s)
Power Supply: Output - 24V ~15 amps, Input - 110-220V, 50-60 Hertz.
Power consumption: 24V ~10 amps, ~240 Watt
Main controller board running Duet3D with Atmel SAM4E8E: 120MHz ARM Cortex-M4
Full control through web interface, no apps or software installation. Non-WiFi versions are available, please contact us if you would like this type of connection (Ethernet connection).
Helpful Resources
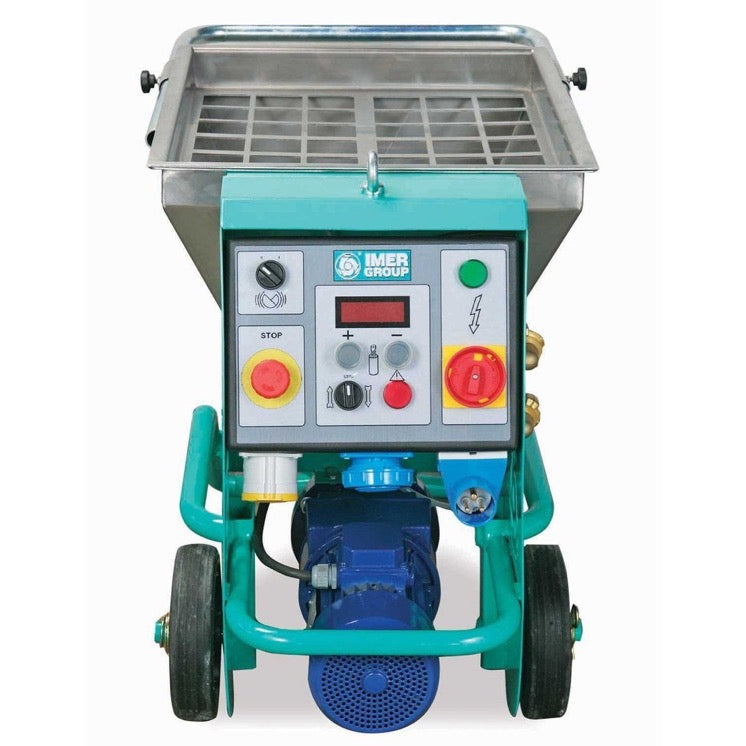
The Pugmill
The easiest way to load extruder tubes is with a pugill. For best results, a de-airing pug mill and a double auger will give you better performance than a single auger.
Although a single auger is adequate, the consistency of the clay is more critical when it comes to loading the tubes. The consistency of the clay should be similar to standard throwing clay, but wetter. This can be accomplished by running the clay through the pug mill and adding a small quantity of water. If too much water is added to the clay the pug mill can actually not function sufficiently enough to load the tubes. This happens because the auger has no traction against the side of the pug mill as the clay mixture becomes too loose. It also depends on the pug mill and its ability to forcefully push the clay. It is necessary to have an adaptor for the nozzle of the pug mill to attach the polycarbonate tube for loading.
Recommended De-airing Pugmills
The Peter Pugger VPM-9 and VPM-20 series, which are ready-to-use with the 3D Potter machines with their existing pugmill adapter are a great option for your needs.
Loading By Hand
Using a 25 lb. bag of prepared clay, cut the clay into 4 pieces and put a microfiber towel in between the 4 pieces. Add 15 ounces of water to the bag, close the bag and make it airtight. Wait until the water has penetrated the clay, approximately one to two days. Now using the moist clay roll it into a cylinder a little bit smaller than the inside of the tube you are loading.
Put the nozzle on the tube with tape over the end and gently tap the clay into the tube. Make sure to tap the tube and nozzle on a soft surface. This is the best method to load your tubes without a pug mill.
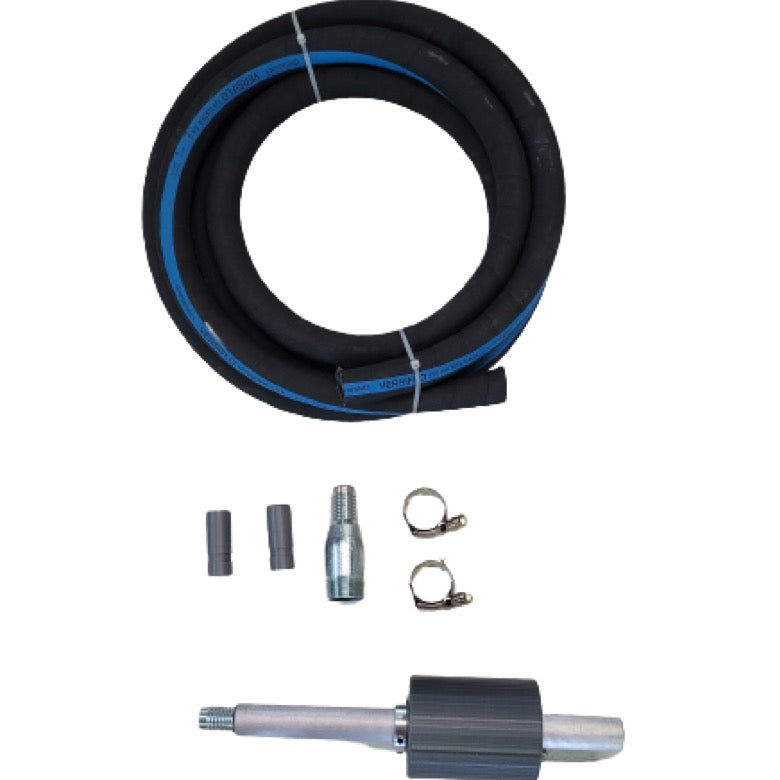
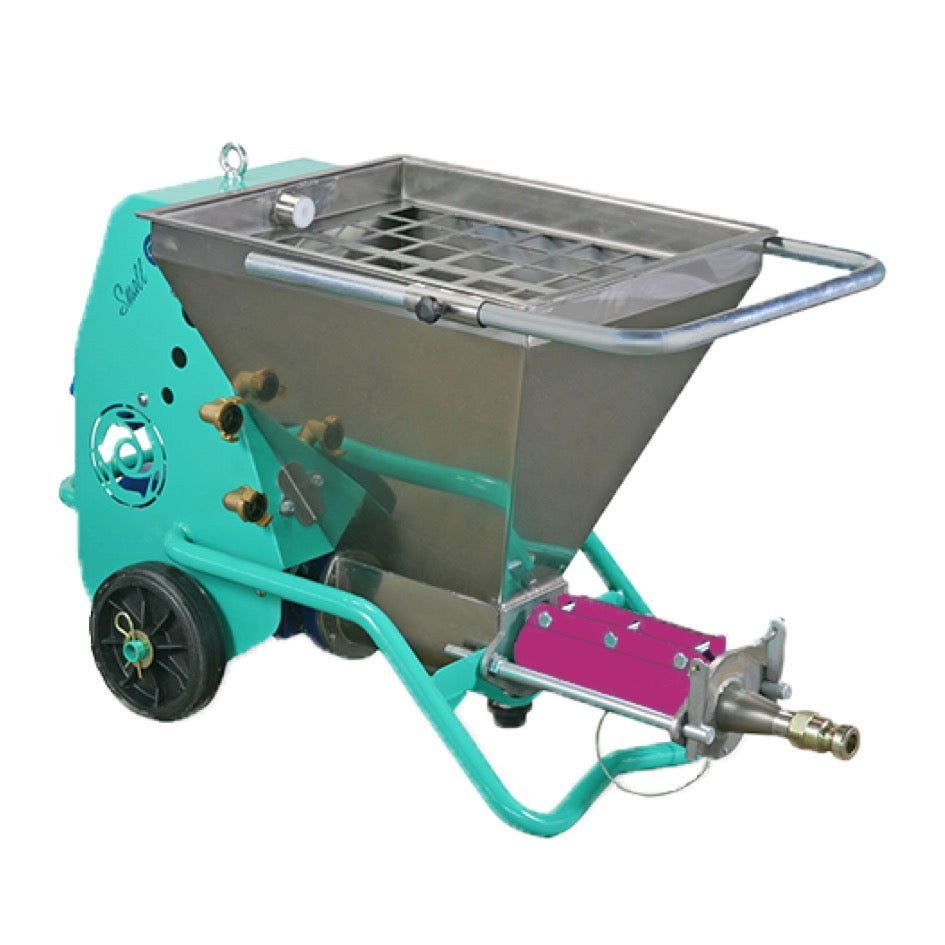
Wall Mount Clay Extruder
We now offer an easy way of handloading tubes without the added expense of purchasing a large pug mill. Although a de-airing pug mill is by far the best way to load the tubes, this wall-mounted loader is a very good second choice.