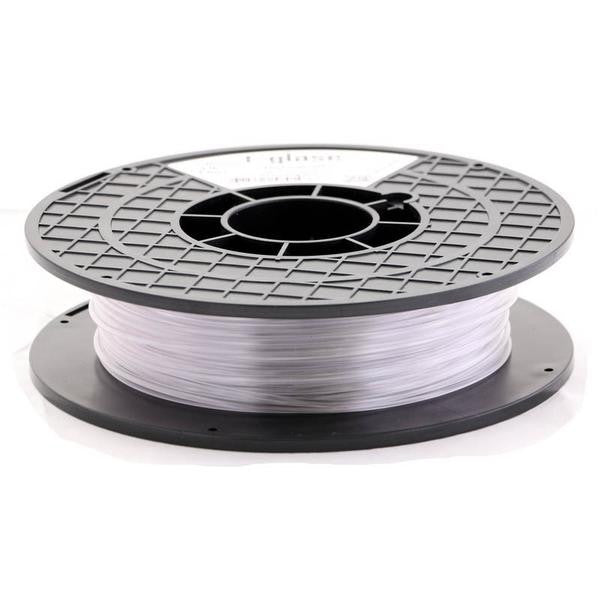
Taulman T-Glase PETT 3D Printing Filament (1 lb)
High-strength, translucent filament
By TaulmanMAIN FEATURES OF TAULMAN T-GLASE
Strength - Specifications on the strength of t-glase will be posted as soon as the data is returned from the test labs. We have started using a local test lab along with the lab's at a few universities to accumulate data. The process involves printing several "test bars" These are bars printed at 5" x .5" x .25". The setup for printing these is 1 perimeter and 100% solid layers.
Temperature - Optimum temperature is about 212c to 224C, but will print down to 207C and up to about 235C.
NOTE: A feature of t-glase was to select a polymer that easily sticks to heated acrylic and glass print tables for the smoothest bottom surface possible. While t-glase meets this requirement, it results in a low glass transition temperature. The effects of a low TG is that parts printed in t-glase, should not be exposed to high temperature use or applications. The measured TG of t-glase is 78C.
FDA approved – t-glase is specifically made of FDA approved polymers for direct food contact/containers. This includes cups and other liquid storage parts as well as utensils. We are working with the chemical company to provide you with FDA related documentation so you may sell your printed parts that meet FDA requirements. These documents will be posted below when available.
Environmental - While t-glase is not biodegradable like PLA, it is a material that’s considered 100% reclaimable. Thus the new “struders” that convert failed prints back to usable line work perfectly with t-glase. If you have a “struder”, you can actually mix in 12% of the total weight in discarded clear water bottles. Please keep in mind, that the polymer used in most water bottles, has a slightly higher melt temp and that adding them to the mix, may increase print temp a few degrees.
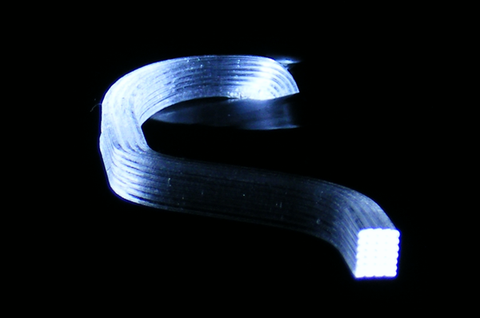
Clarity – t-glase is considered colorless per industrial classifications. t-glase is considered "water clear" as it will not degrade to a color in multiple layters of applied thickness. t-glase’s clarity supports industry’s requirements for non-destructive evaluation of 3D Printed parts.

Shrinkage - Very low shrinkage makes printing large flat surfaces a breeze. And it easily prints to acrylic, glass, Kapton and other platforms.
Bridging - Those of us that have printed with acrylics and poly carbonates are always envious of their bridging capabilities due to glass temperature. And the new t-glase is very impressive at bridging.
Fumes - Unlike some lines, there are no odors or fumes when 3D Printing with t-glase.
PRINTING TIPS
To take full advantage of the unique optical properties of T-Glase and get clear prints, you simply need to increase your layer thickness to a minimum of 70% but preferably 80% of your nozzle setting. This significantly widens the optical path, thus allowing less internal reflections within each thread. Your nozzle size actually determines the smallest thread you should extrude - not the largest. Even if you have a .4mm nozzle, you can change the nozzle value in your slicer to .6, and it will calculate a greater amount of material to output that equates to a .6mm nozzle and it will increase thread spacing to accommodate this increase.
Here are the print settings we recommend:
1. Nozzle Size - If you don’t have a larger nozzle, on the order of .7mm or larger, you can still change the nozzle setting in your slicer. The slicer will allow more material out, thus equating to a larger nozzle. There are limits, but testers of t-glase found they could increase their .5mm nozzle up to .7mm. NOTE: Nozzles smaller than .5mm will create a rather large amount of pressure on the extruding gears and components, and the line may begin to slip.
2. Layer thickness – As most of us are used to printing at .2mm to .25mm layers, the bonding from thread to thread with t-glase is such that if your part does not require vertical high resolution transitions, you can easily increase your layer thicness/height/size to 70% - 90% of the nozzle setting.
3. Print speed – Due to the 2 points above, you will be allowing more material to pass through the heater block, than you would with standard settings. Because it takes time to heat up a quantity of material, you MUST slow down the printer to allow for this difference. A good place to start is 25% - 30% of your usual speed. The assumptions here is that you are printing hollow items like vases and such that shouldn’t take a long time due to very little infill. NOTE: Do not try printing at current speeds. We want you to be successful and reducing print speed is just as important as a larger nozzle.


